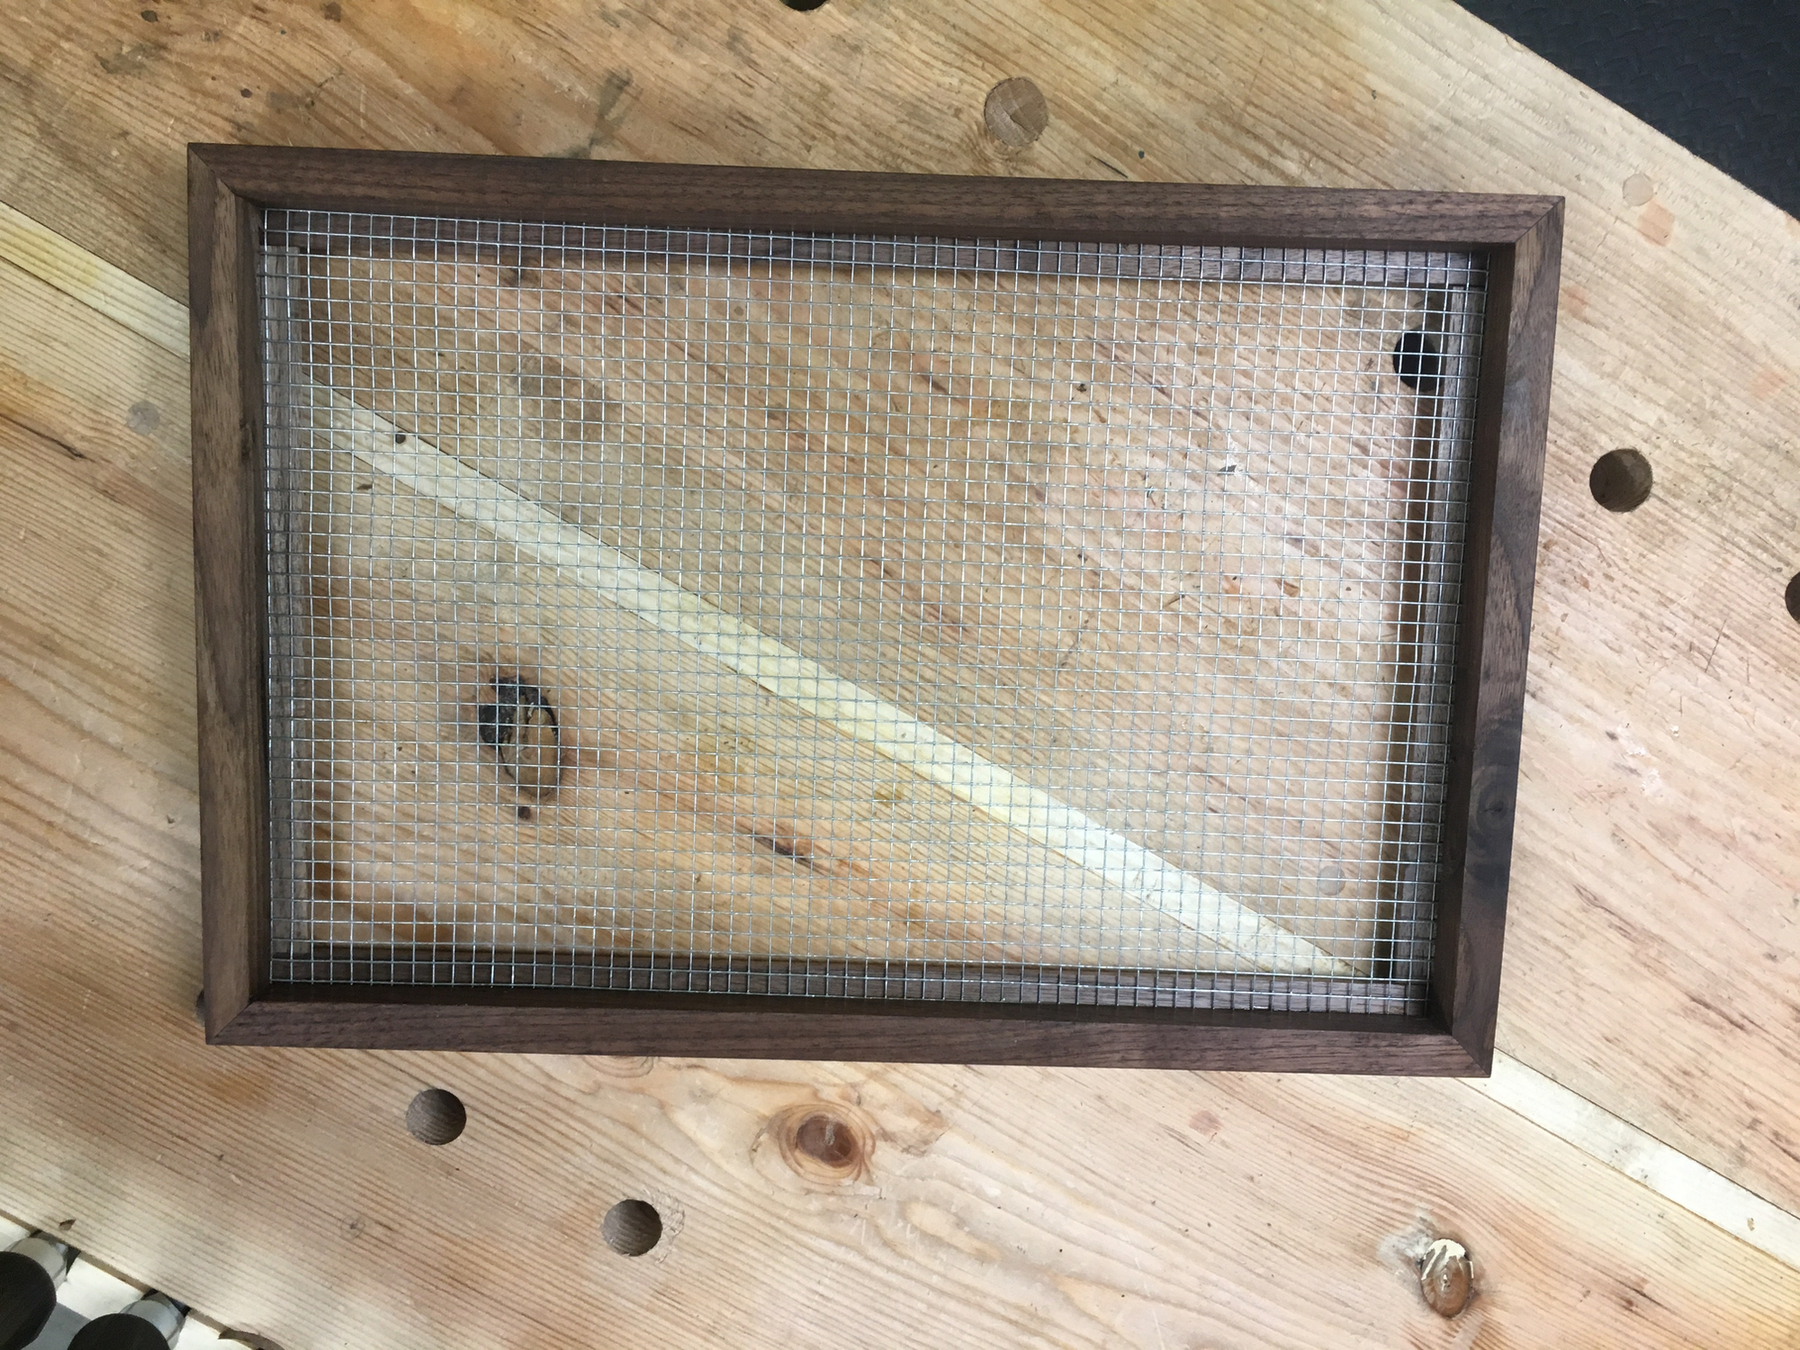
Here’s a project using scrap walnut tongue-and-groove boards I was given by friend, which I used to create a small tray to dry herbs — my wife does a lot with herbal tinctures and such and needed a rack to dry some of the plants and mushrooms she collects while foraging.
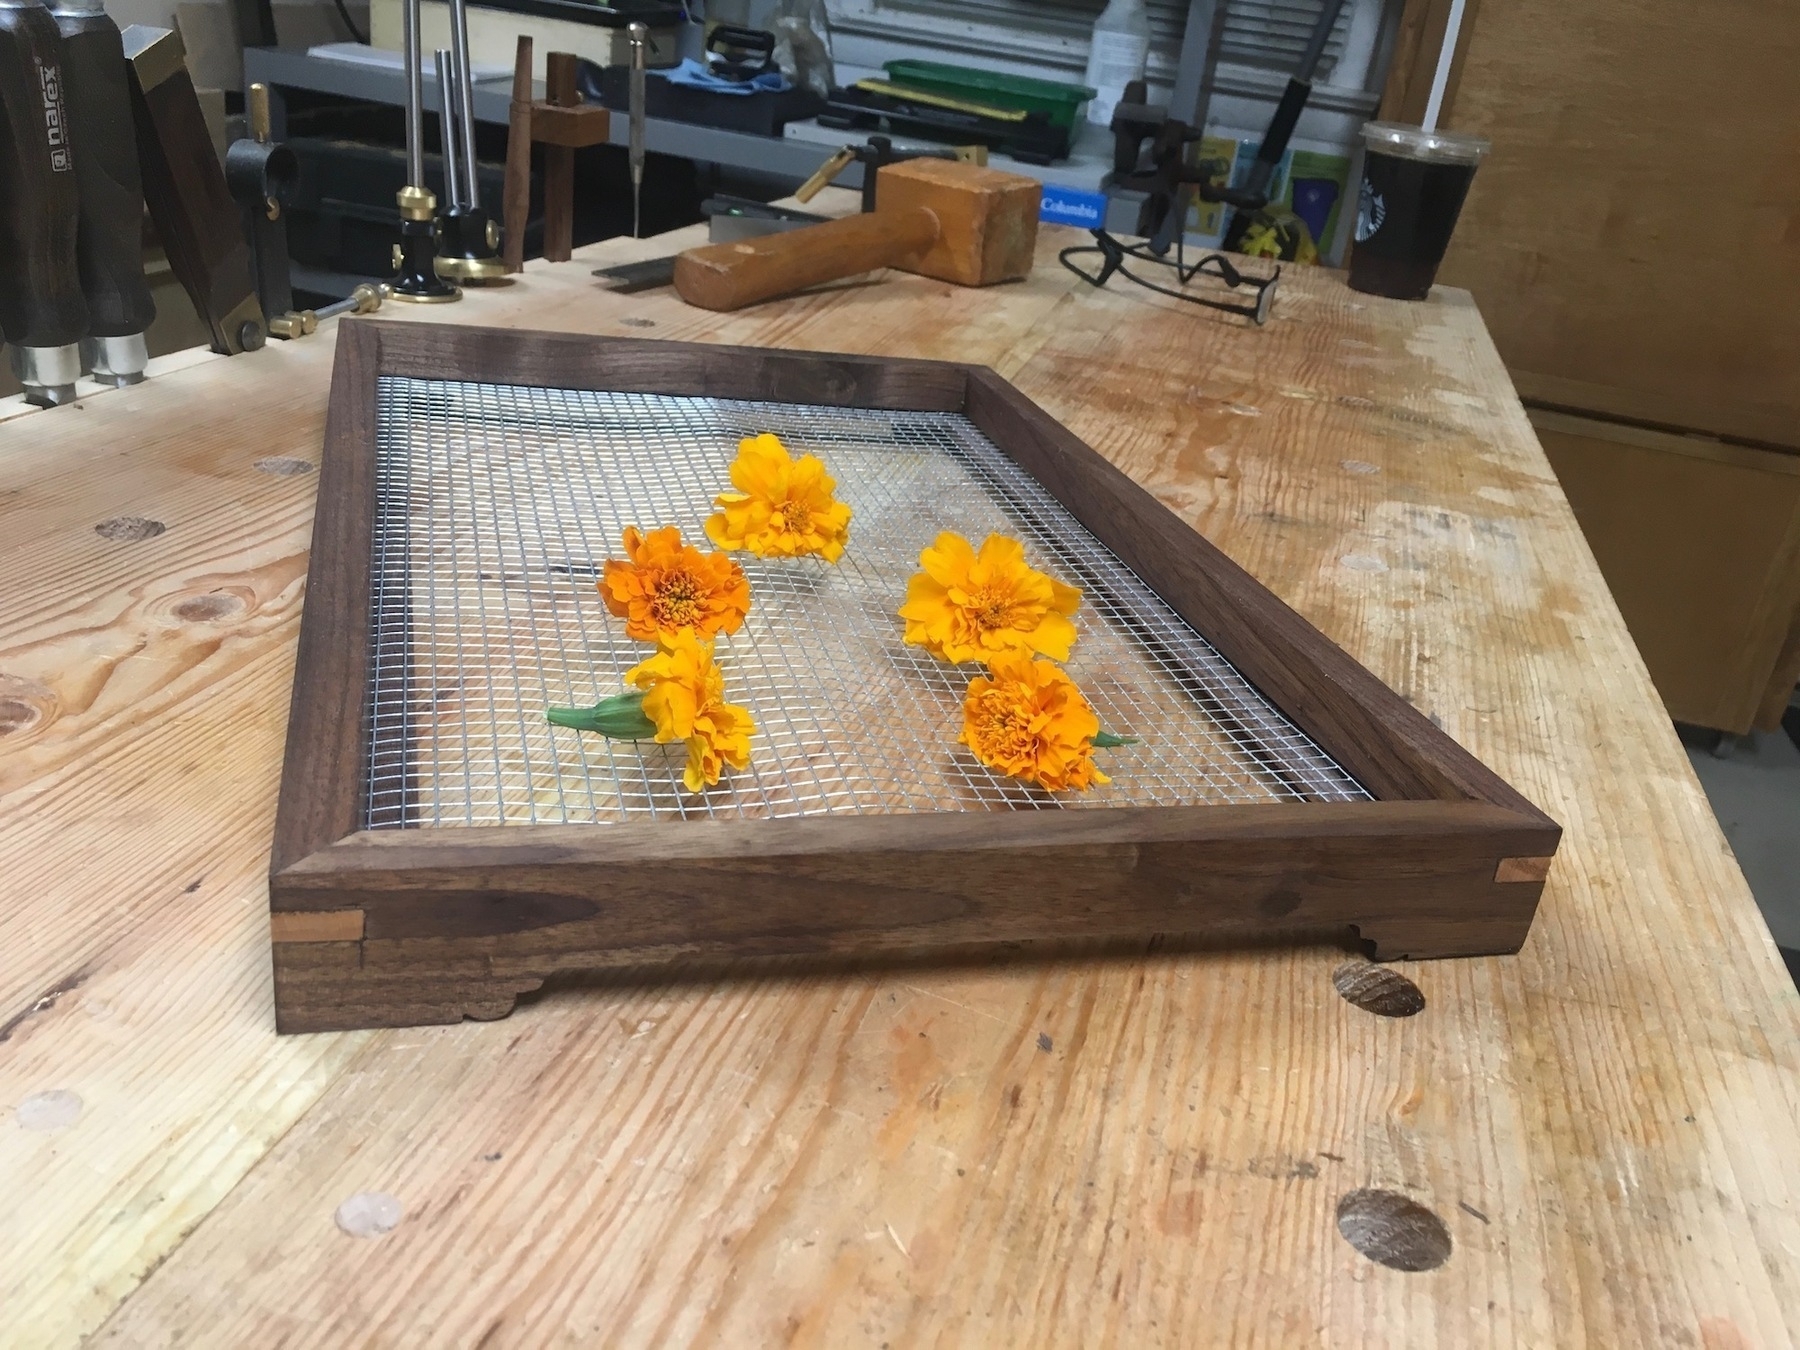
This is the final drying rack:
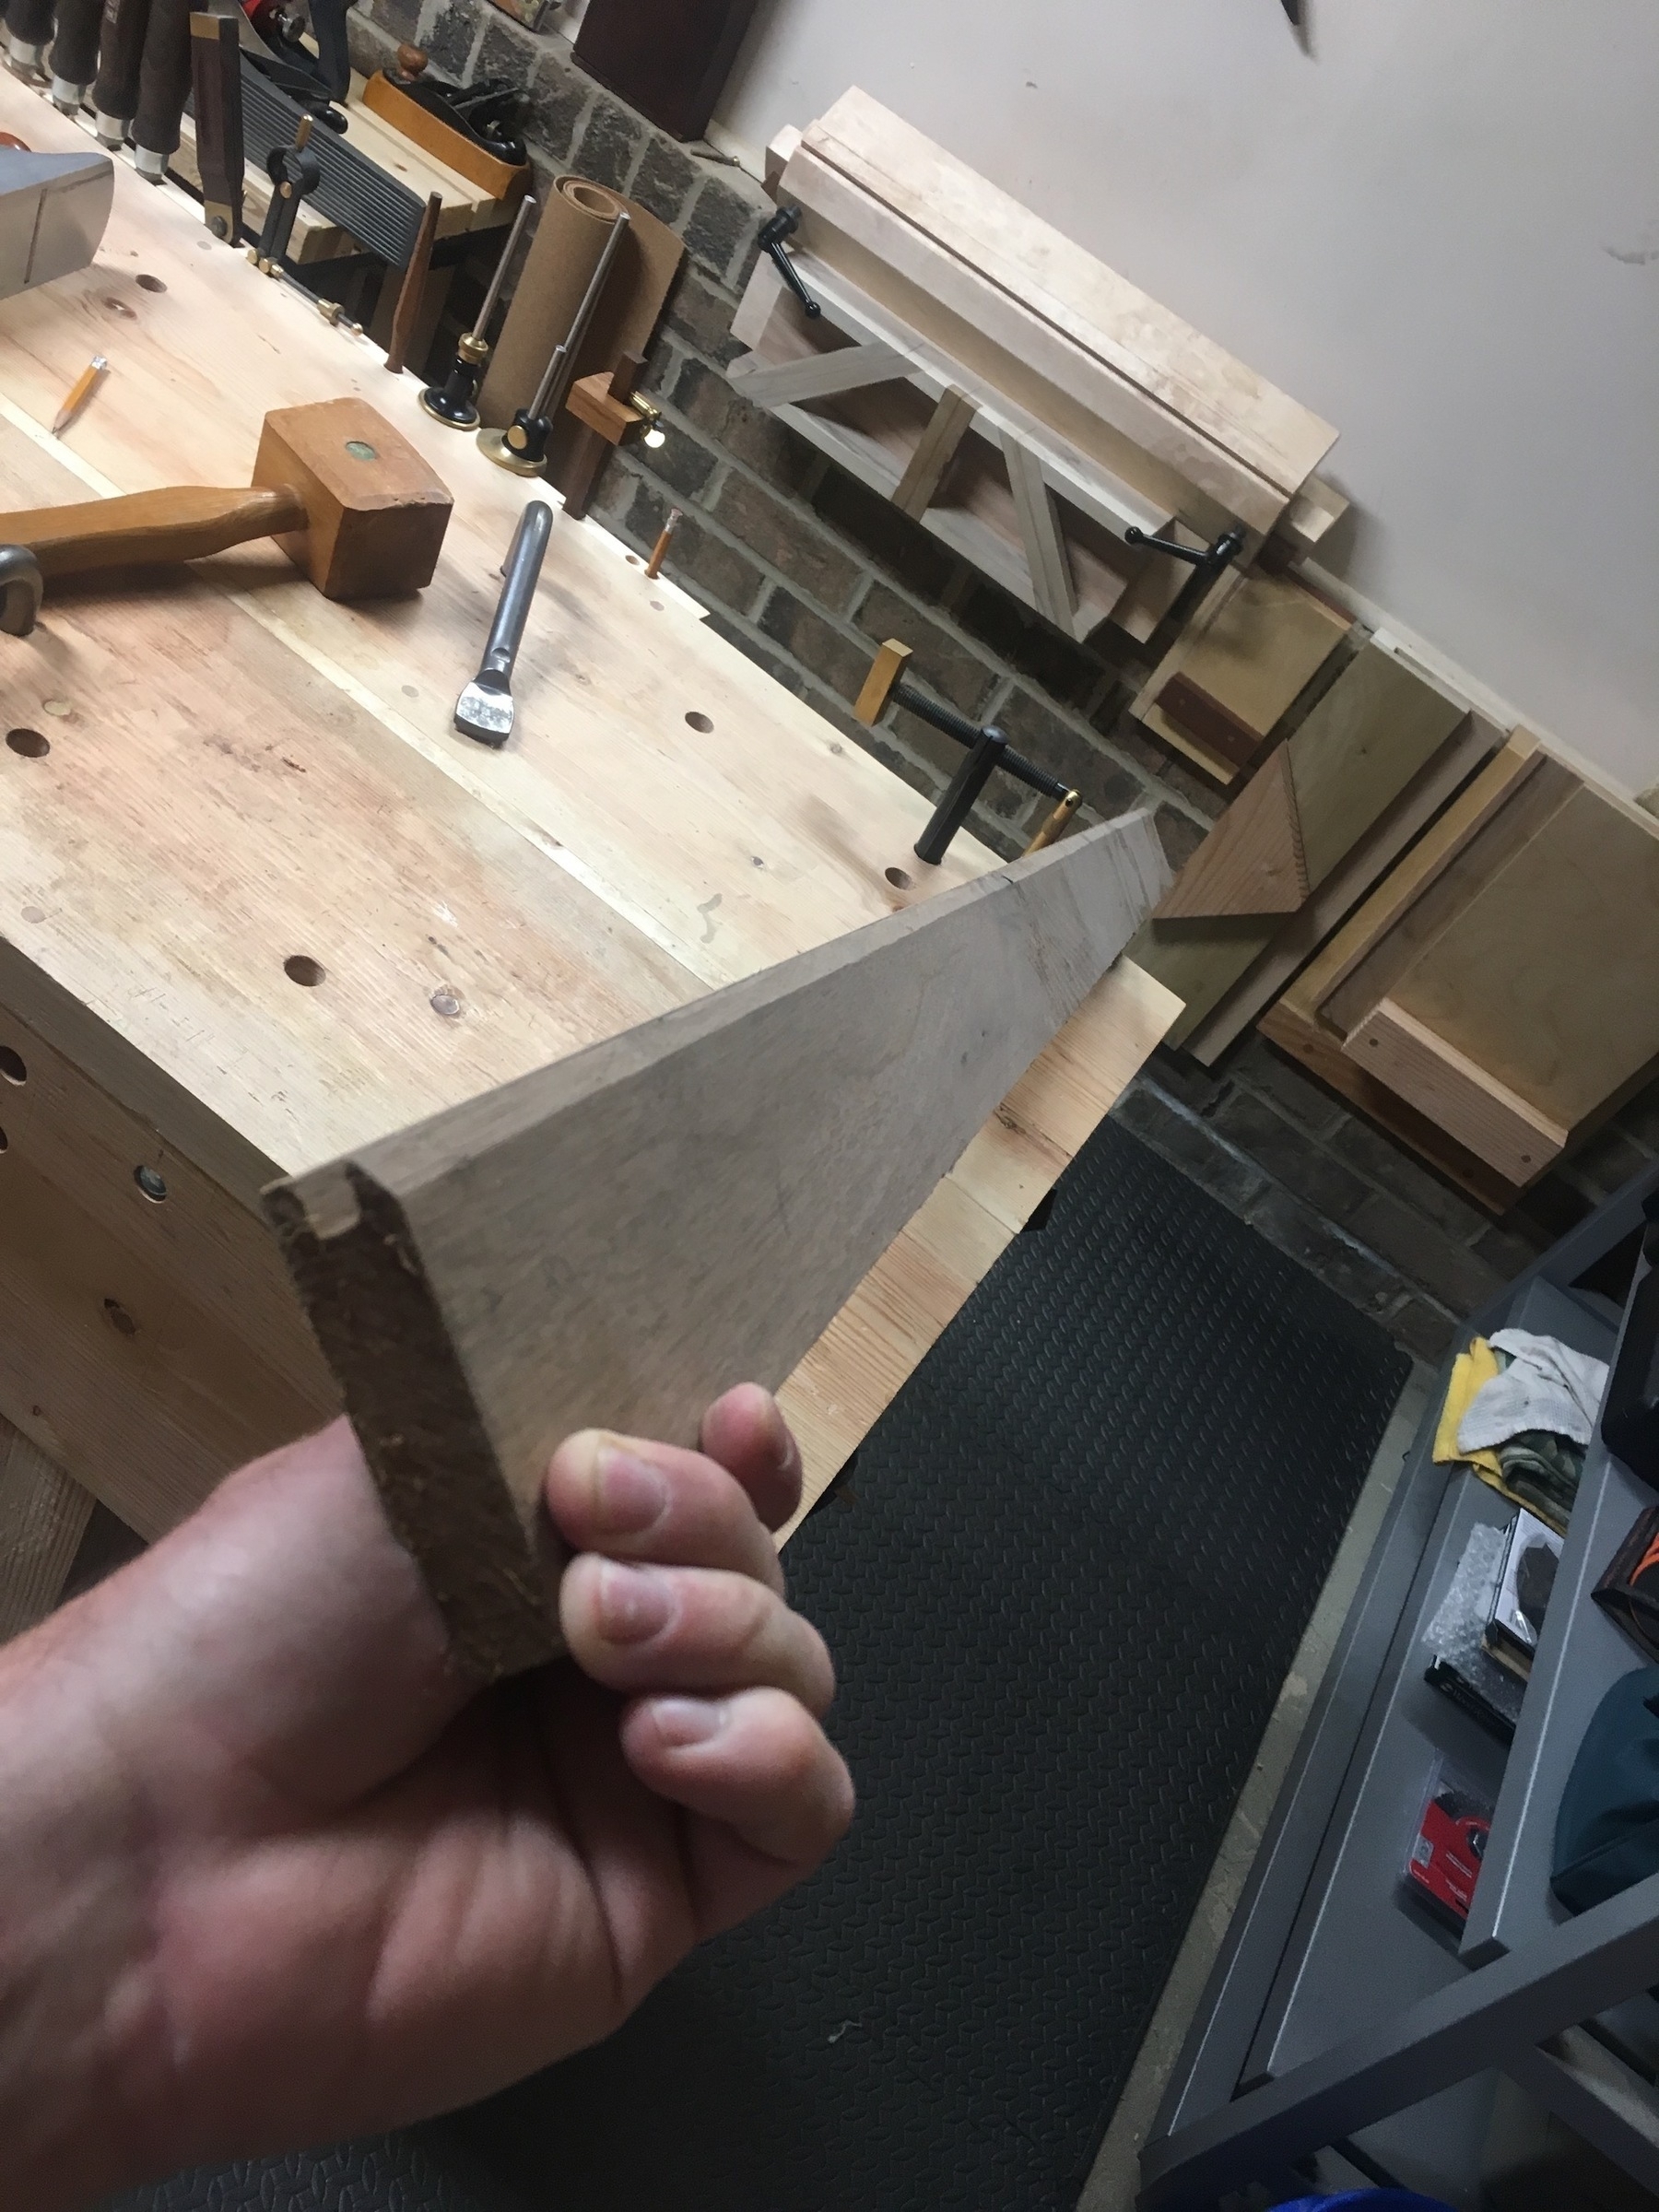
The biggest challenge in creating this was the small size. Here is the walnut board I started with:
I used a holding tool I previously made called a Raamtang to keep all the small bits held firmly while I worked on them. This small wooden vise has proven invaluable over the years and is worth the time and effort to build if you create a lot of smaller projects.
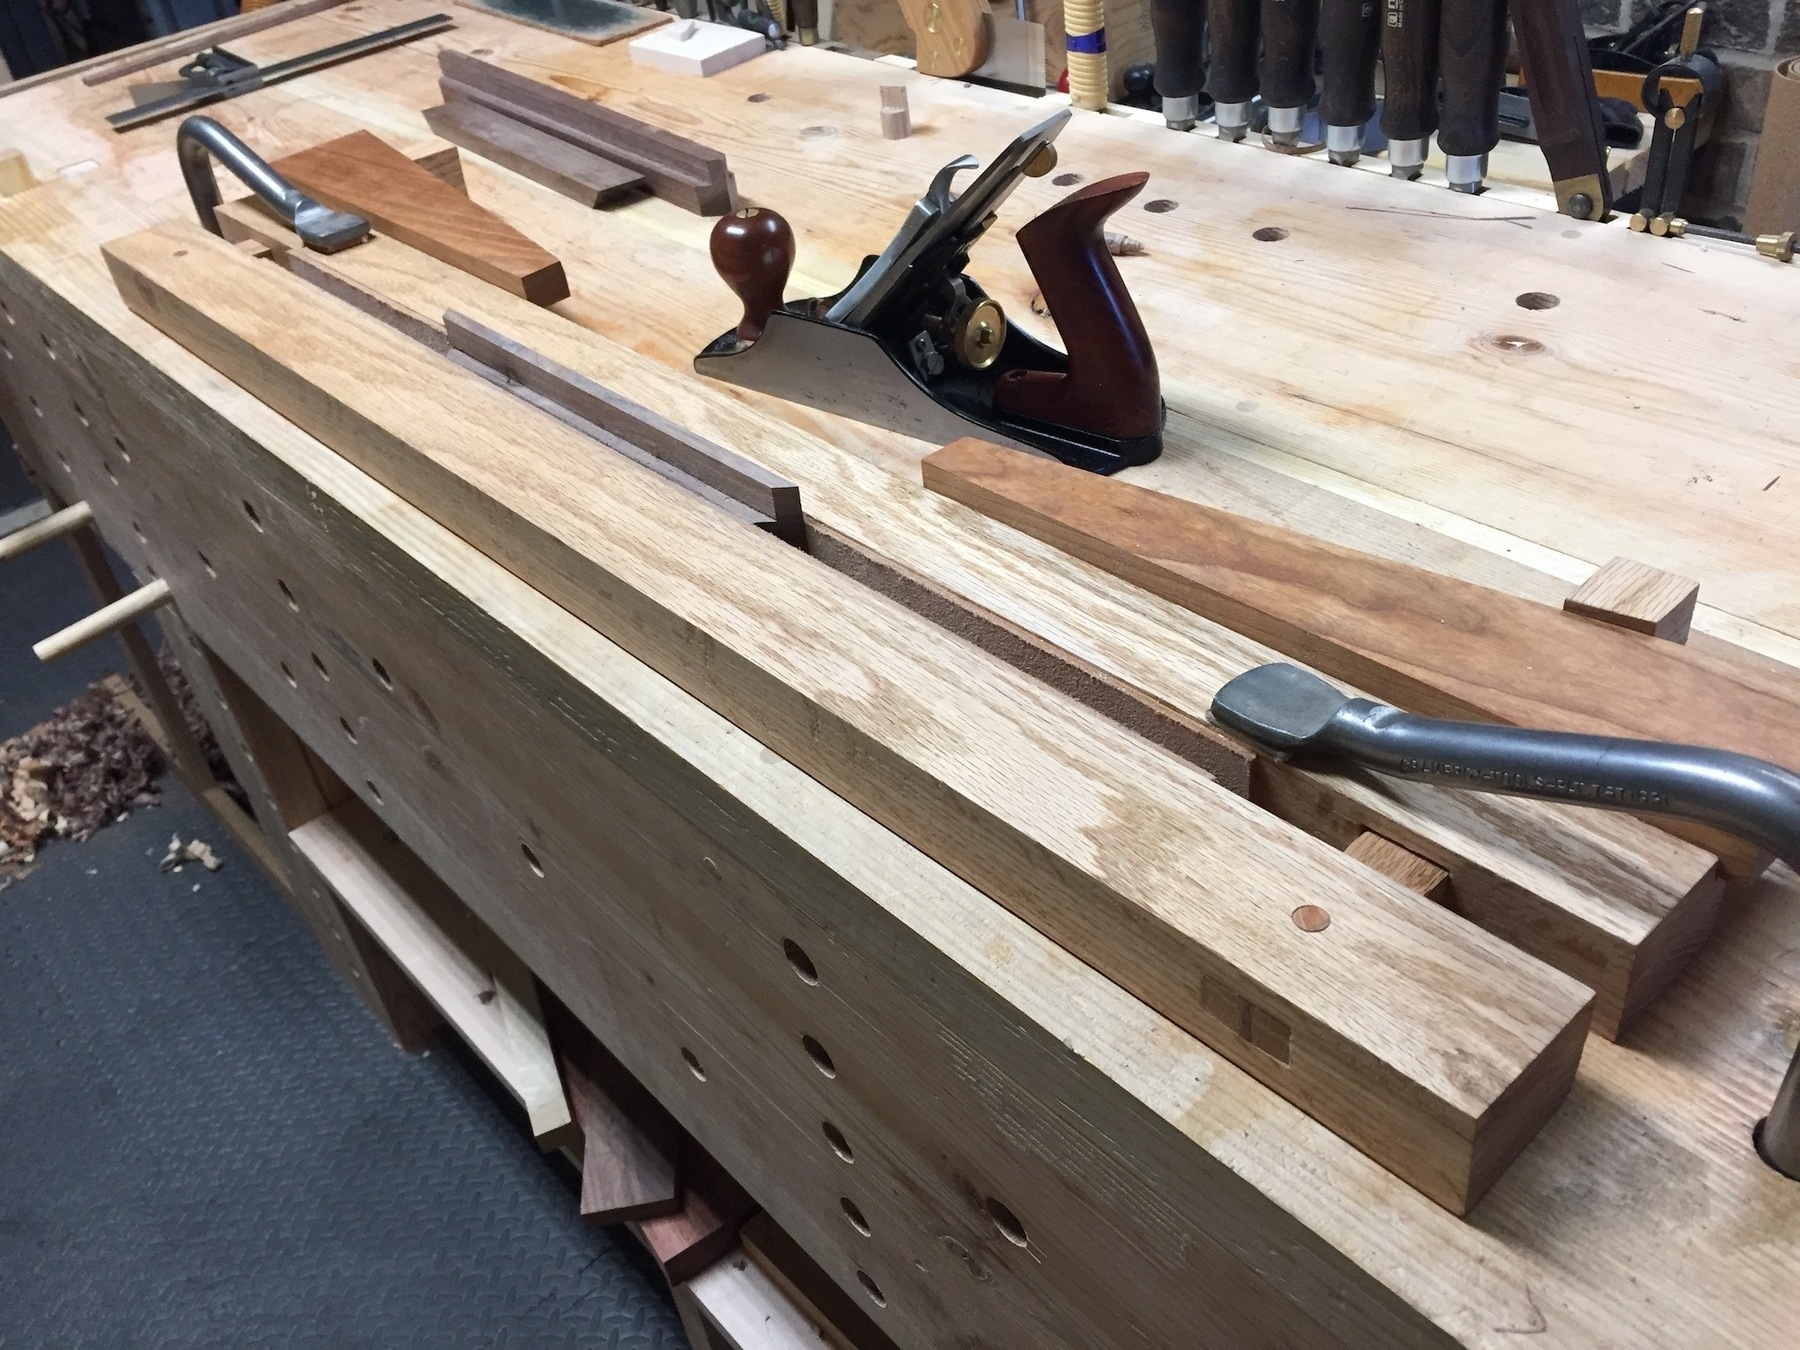
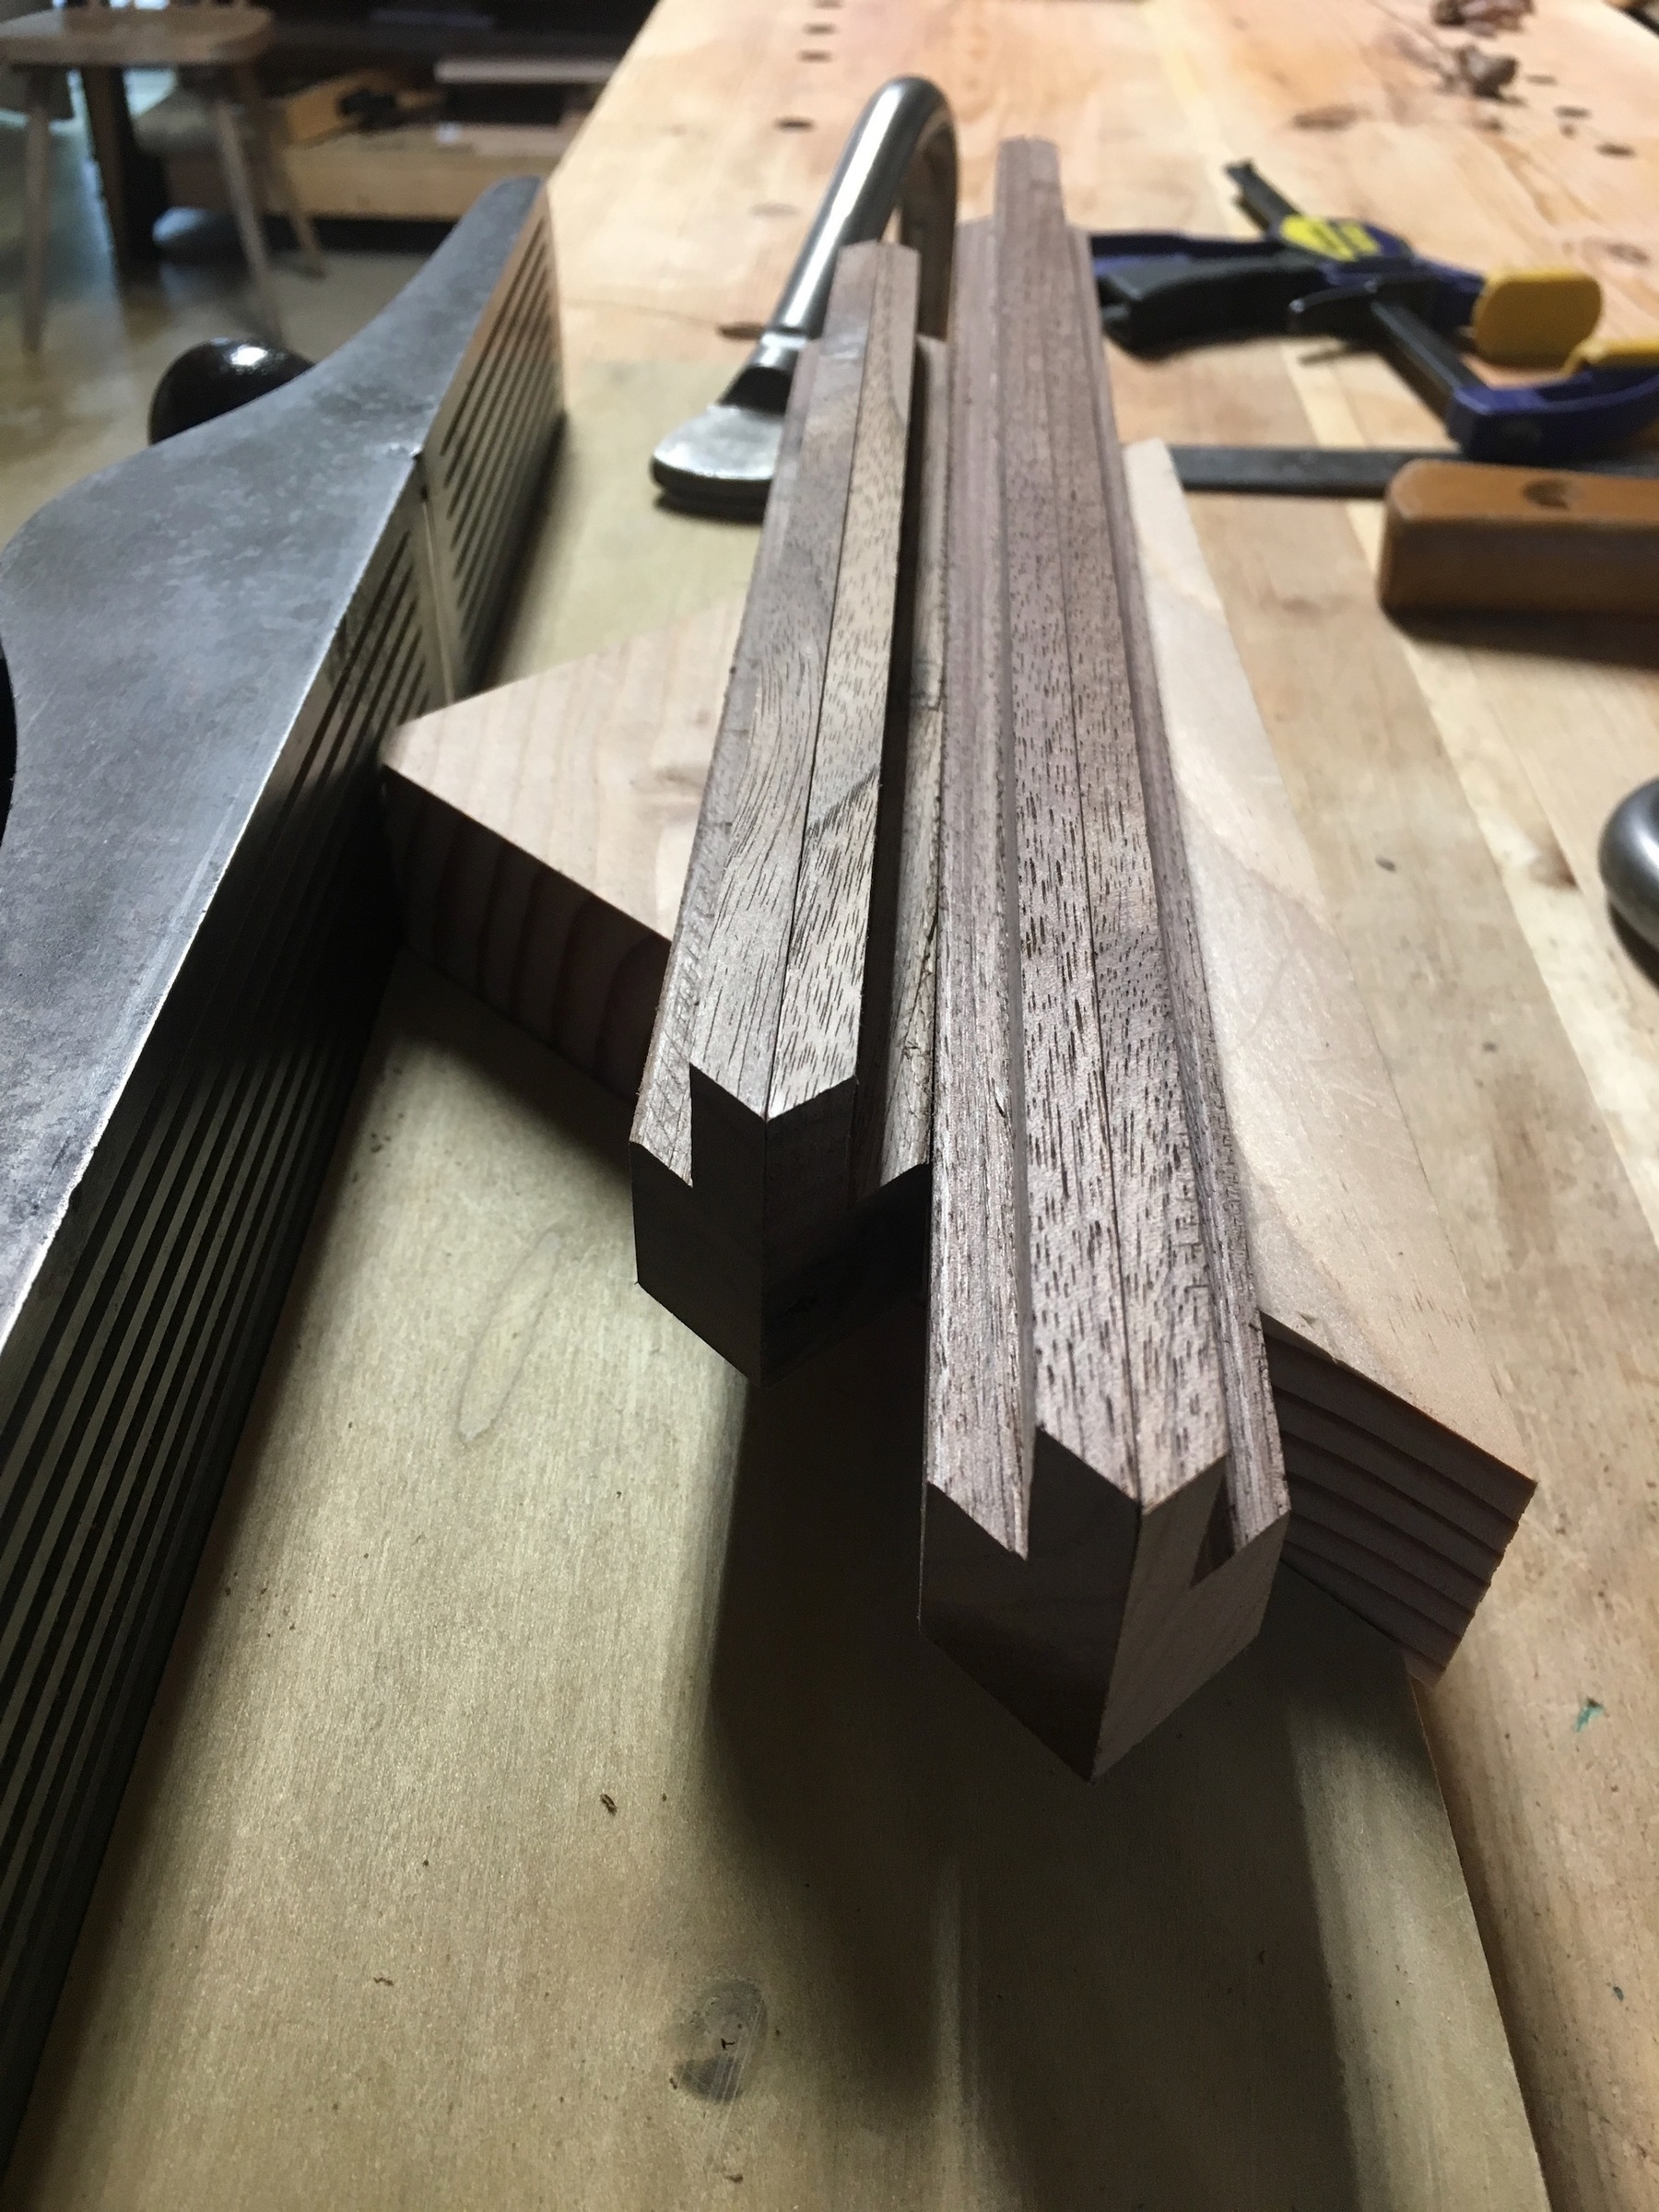
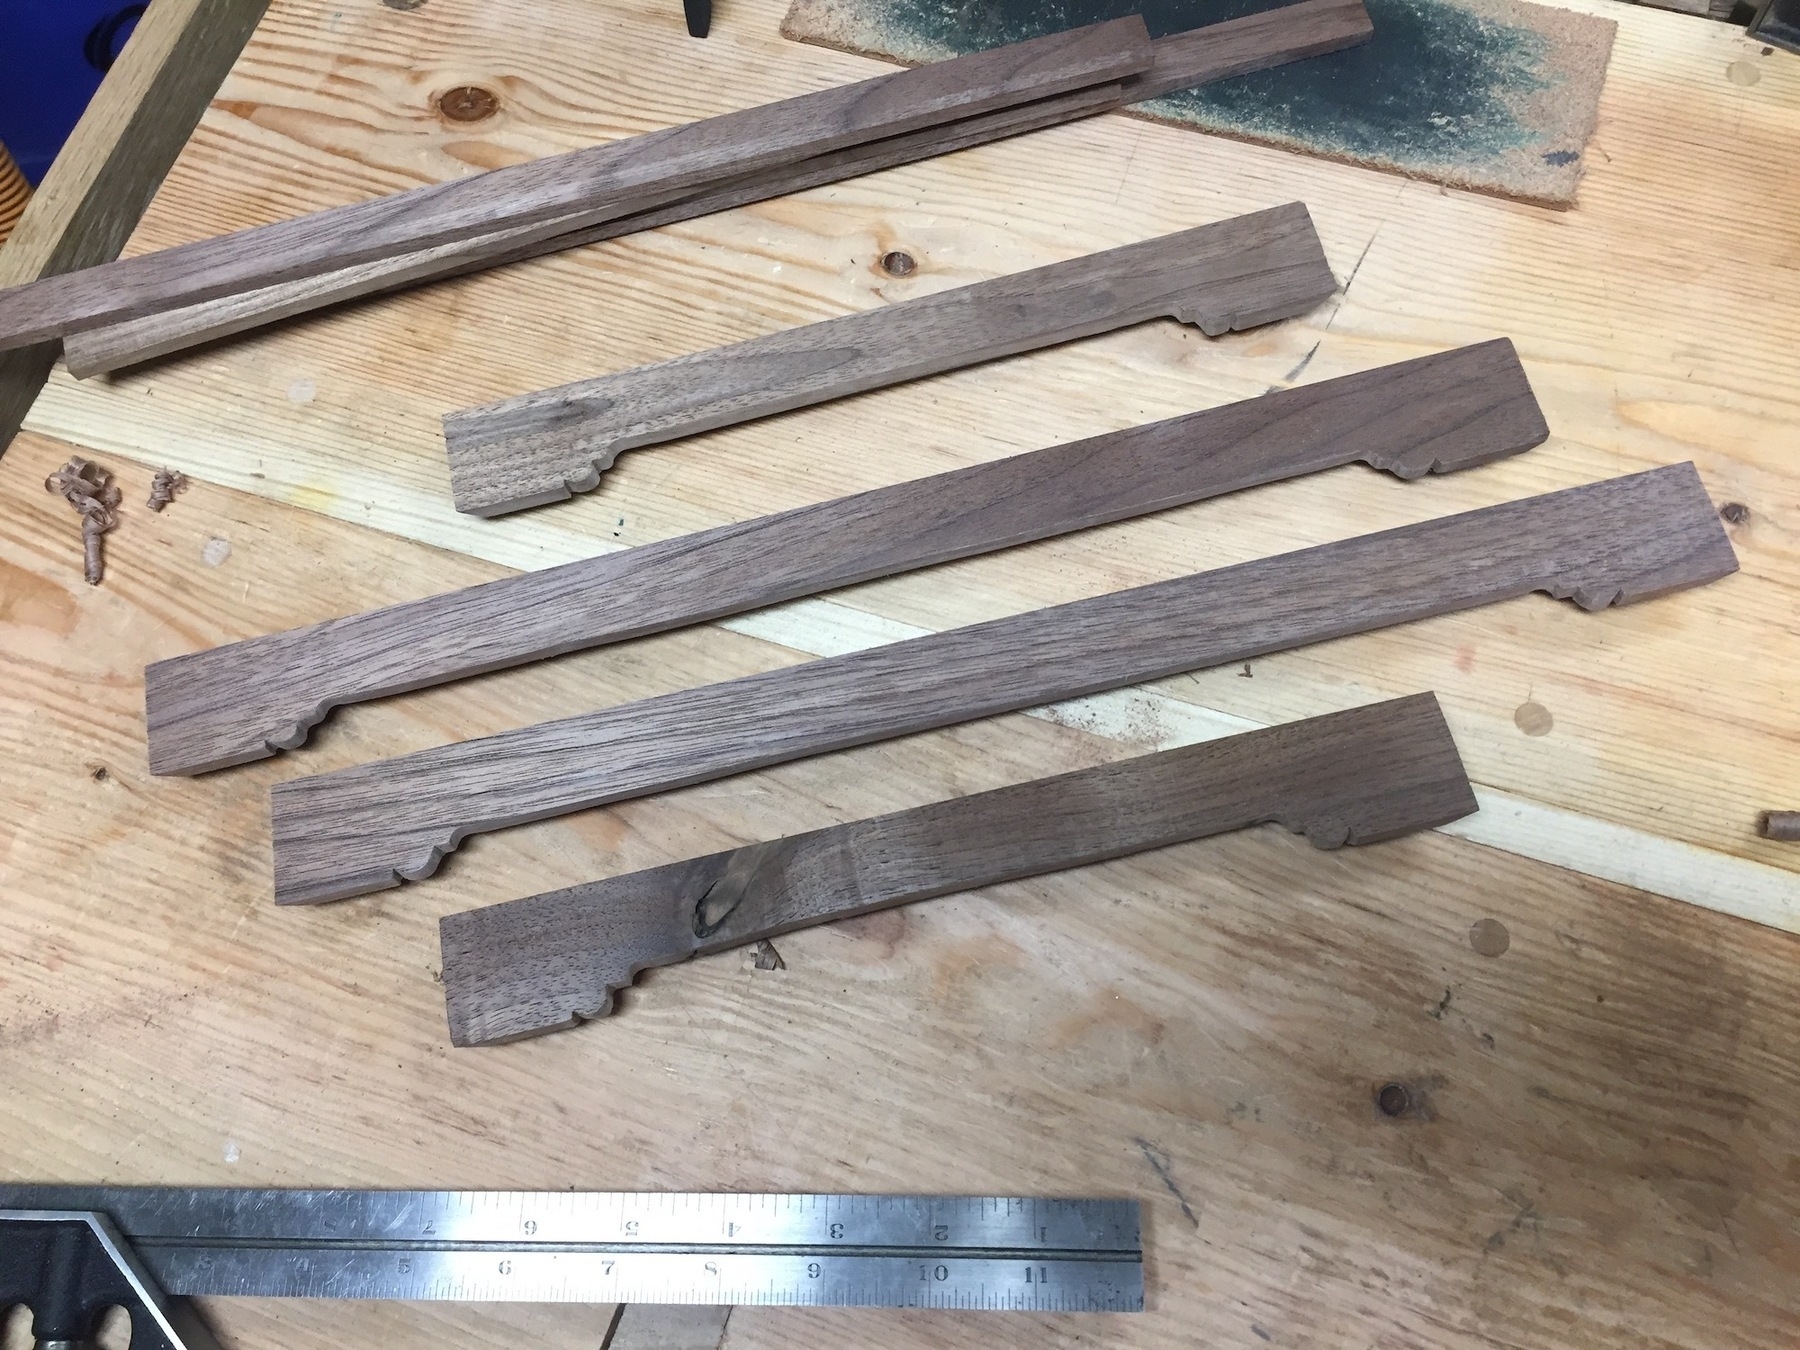
I decided to make this a simple mitered box, but will add splines for strength. I cut the angles free hand and then dialed them in with this 45 degree shooting board I made. The final pieces are shown here resting on top of the shooting board.
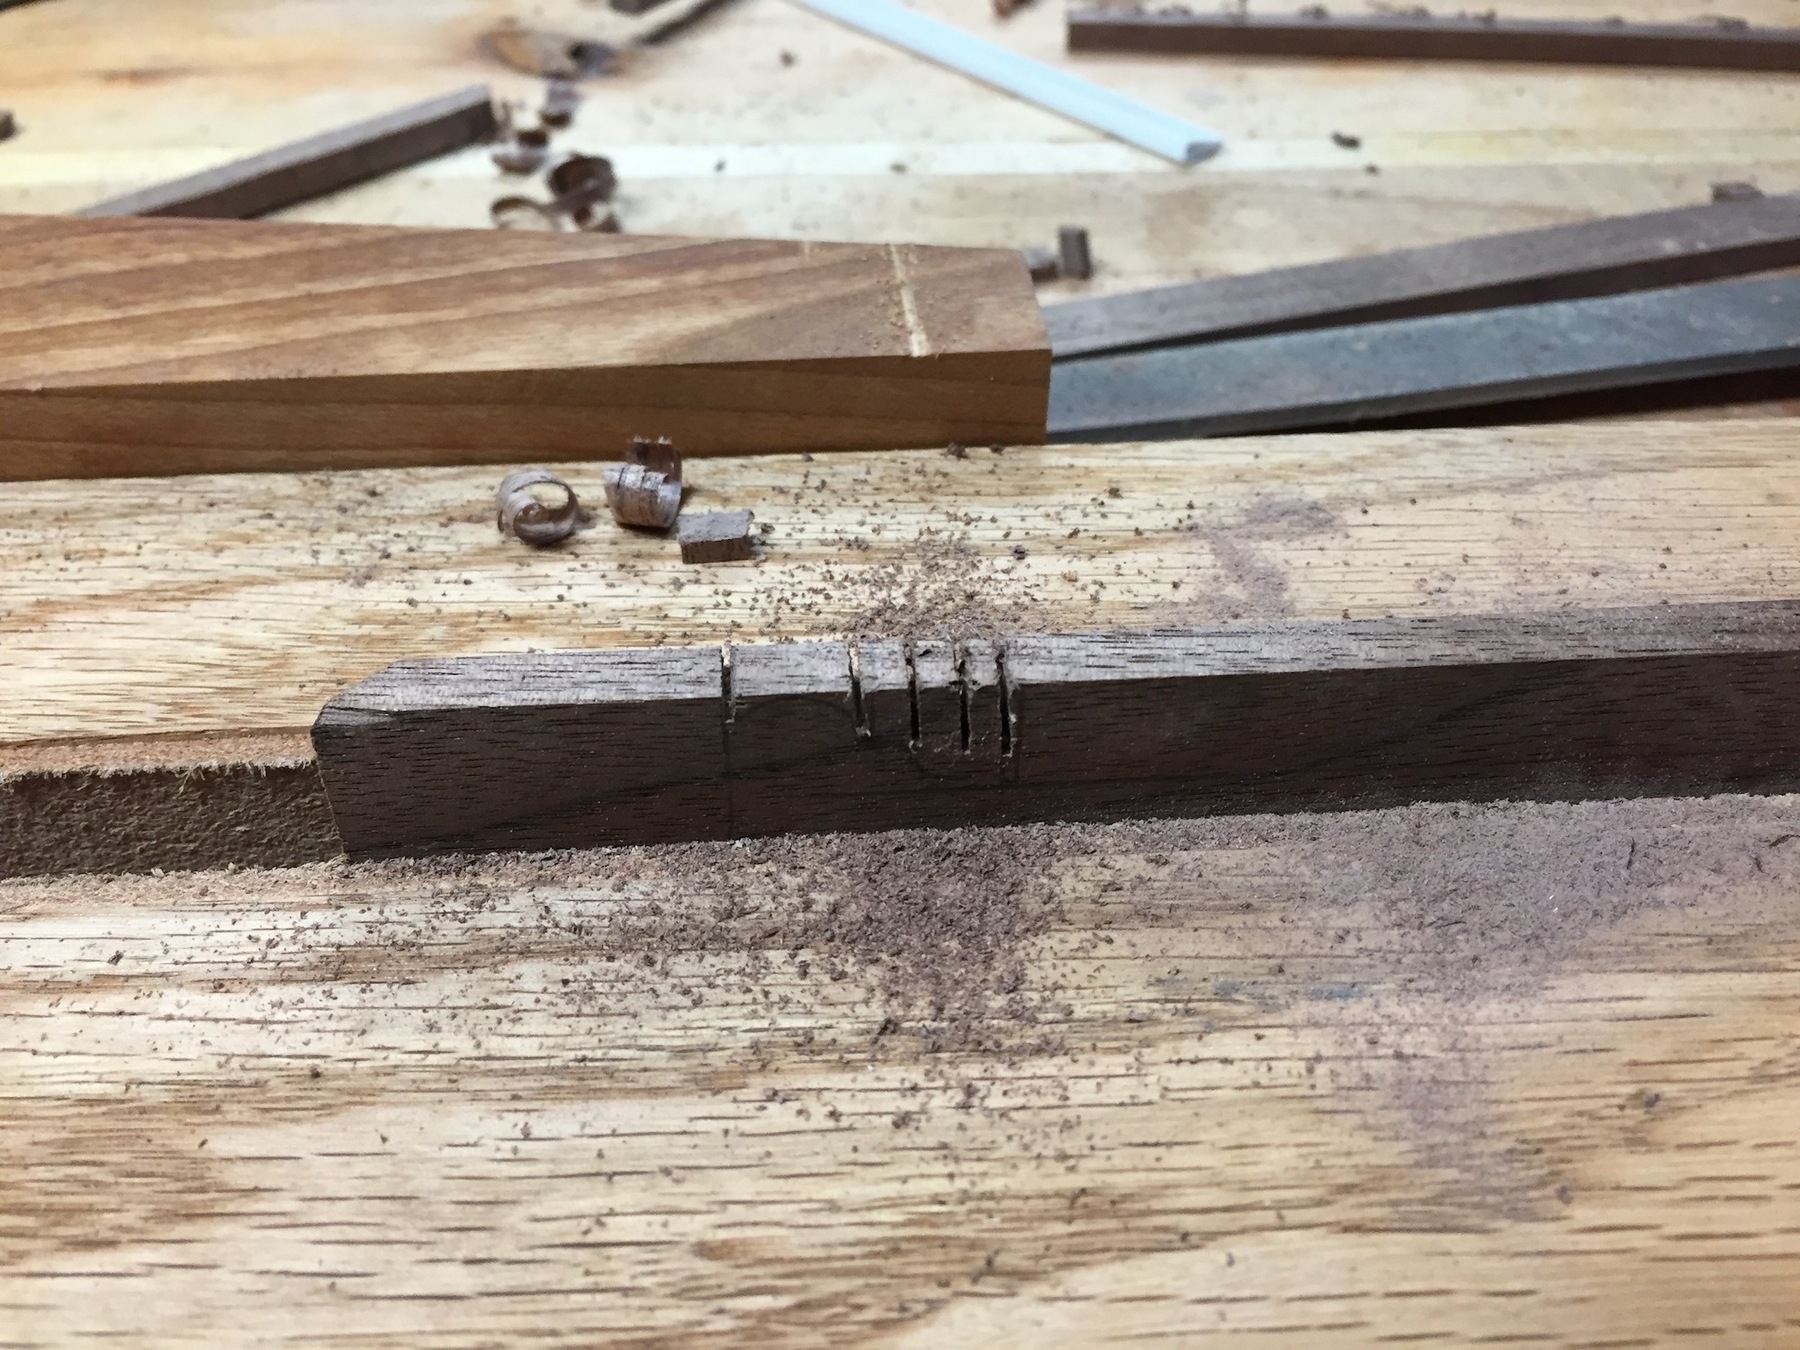
I added a fancy curve to the four edges of the tray. I drew the curve on paper then traced it onto the wood. I used a backsaw to cut the to lines of the curve.
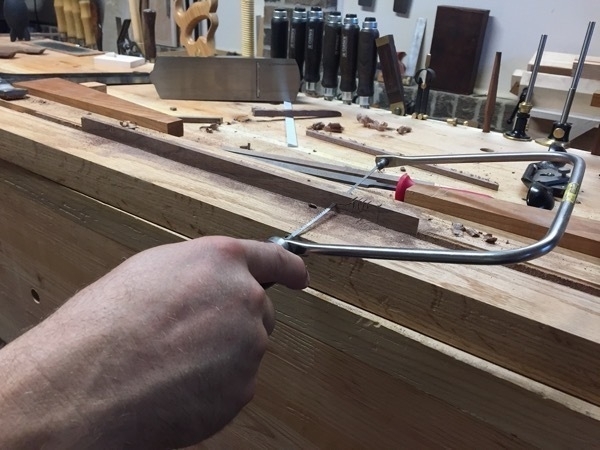
Then used a coping saw to get near my lines.
Then cleaned it all up with files and a spokeshave.
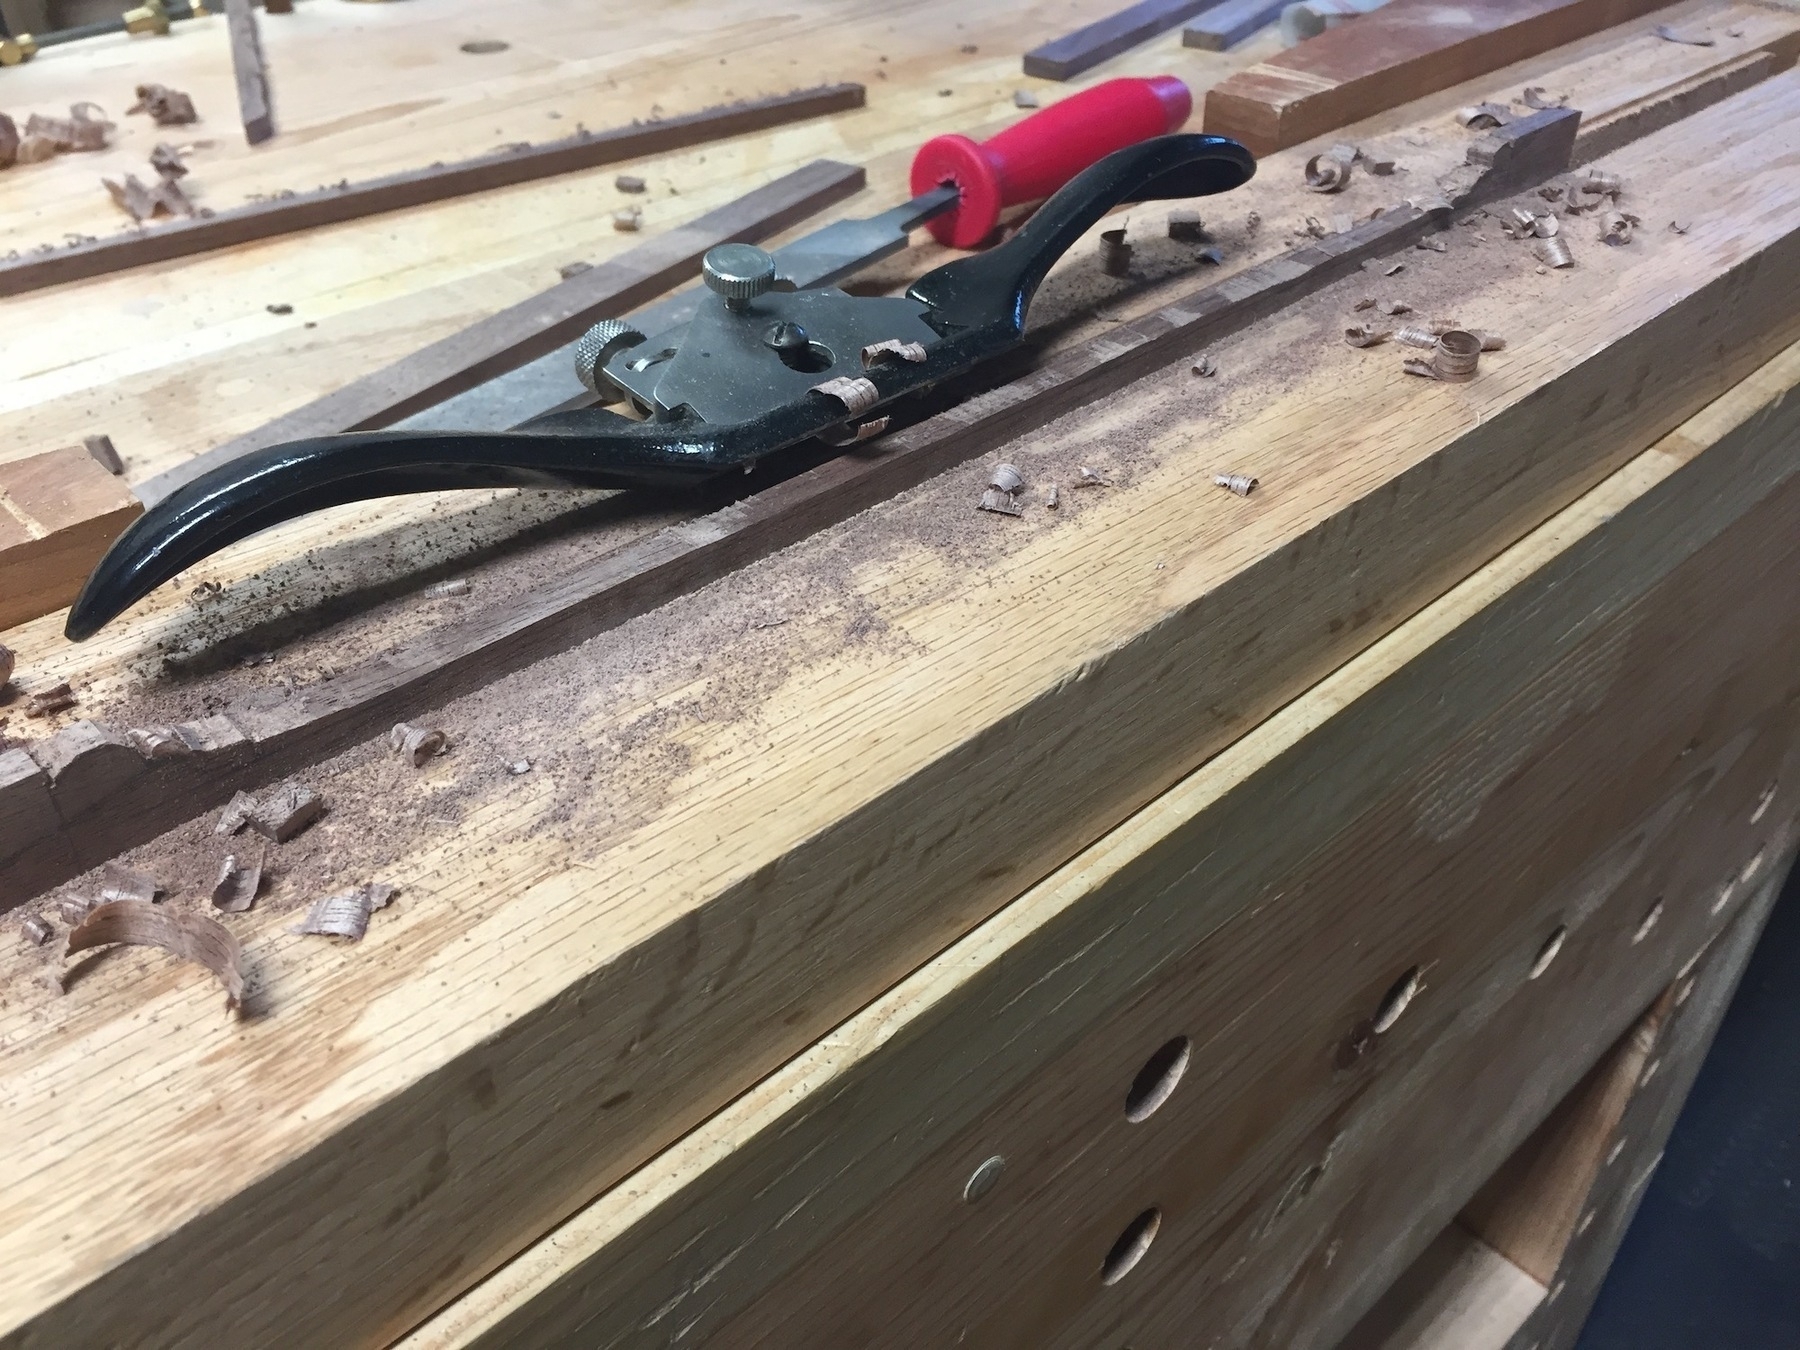
Here are the final curved edges.
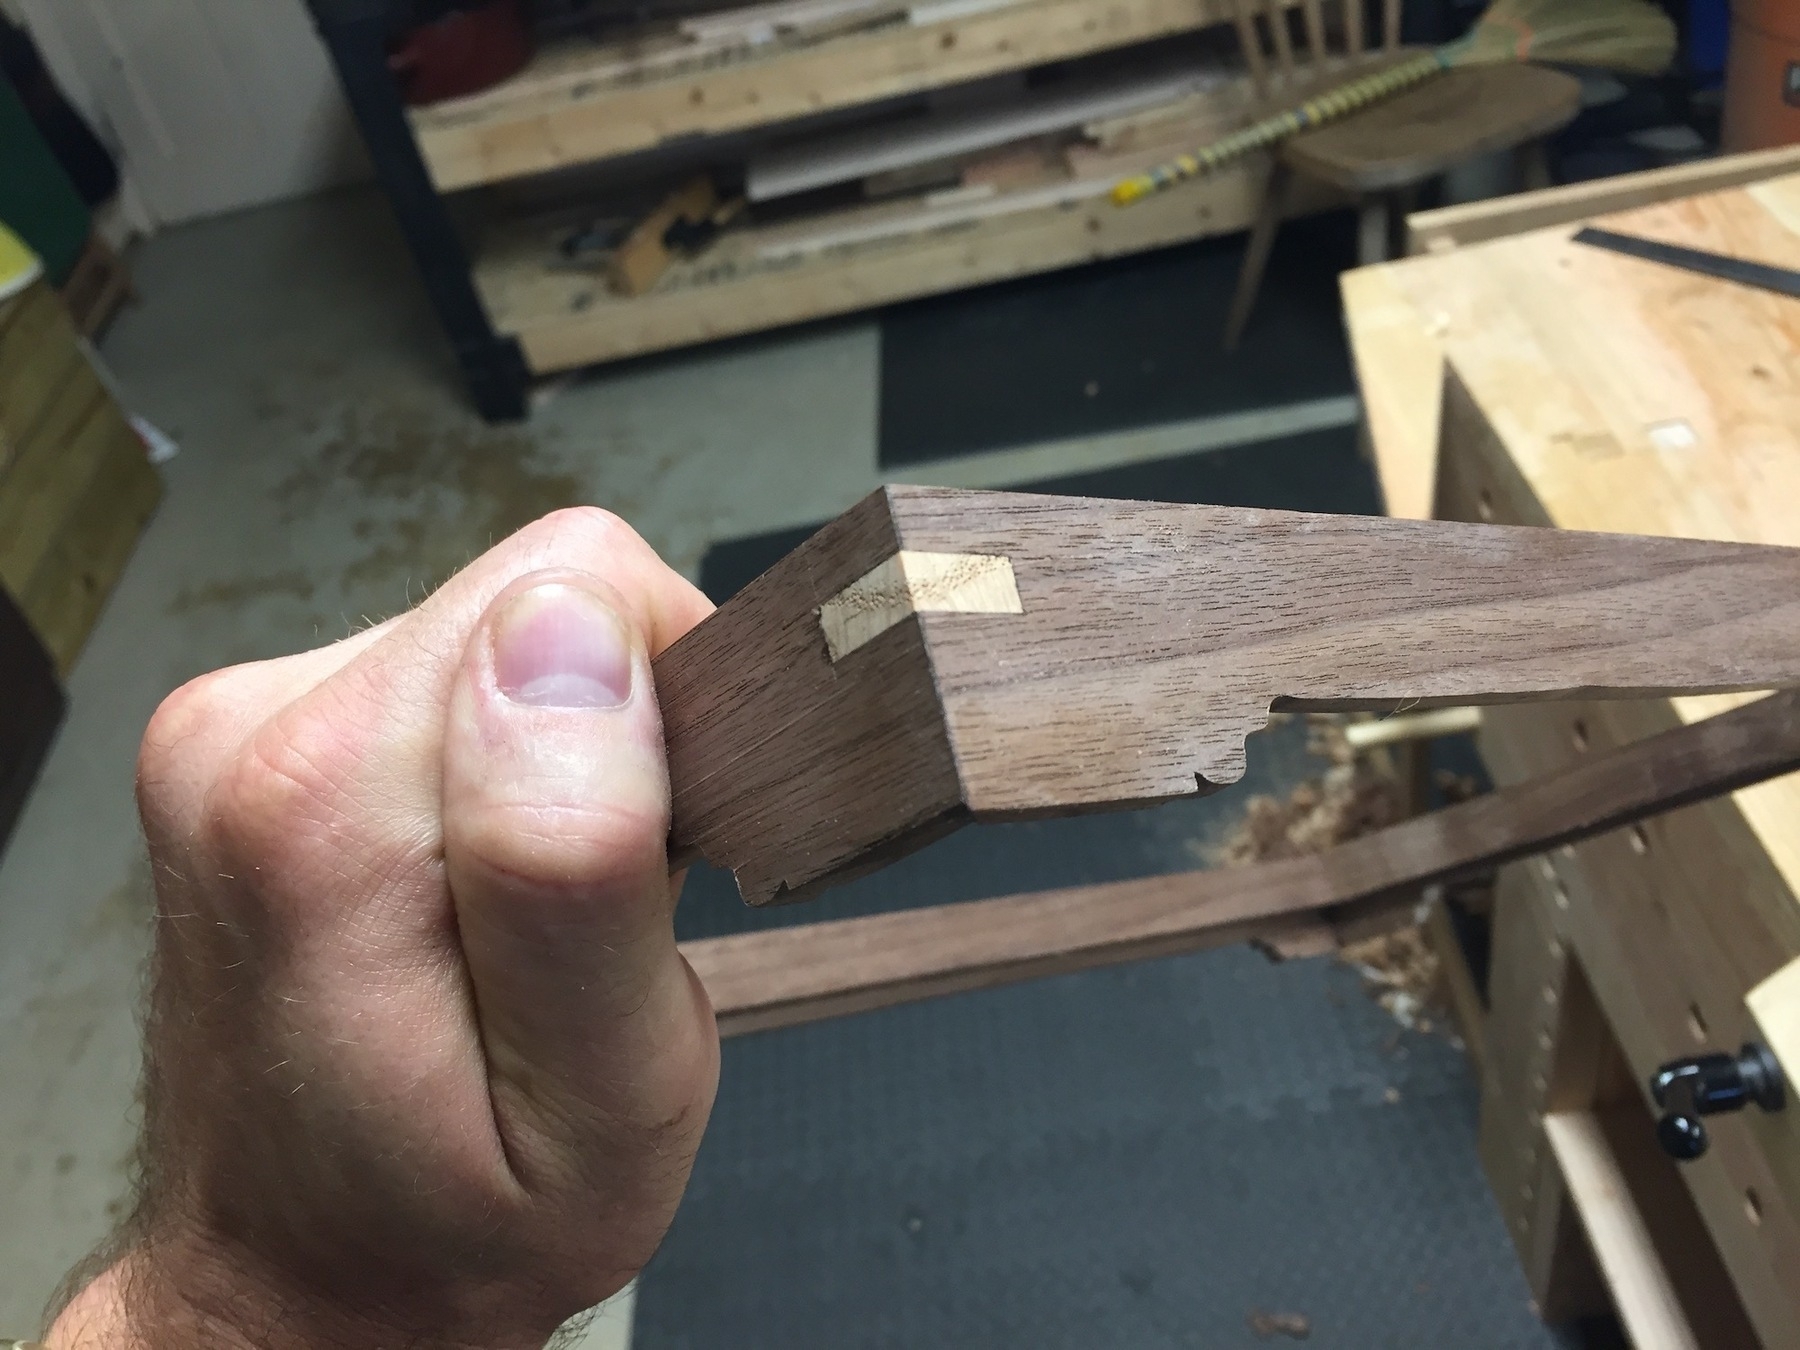
After glueing up the frame, I added the splines with a contrasting wood (scraps of oak). I cut out the corners, cut the splines, then planed them flush with a block plane.
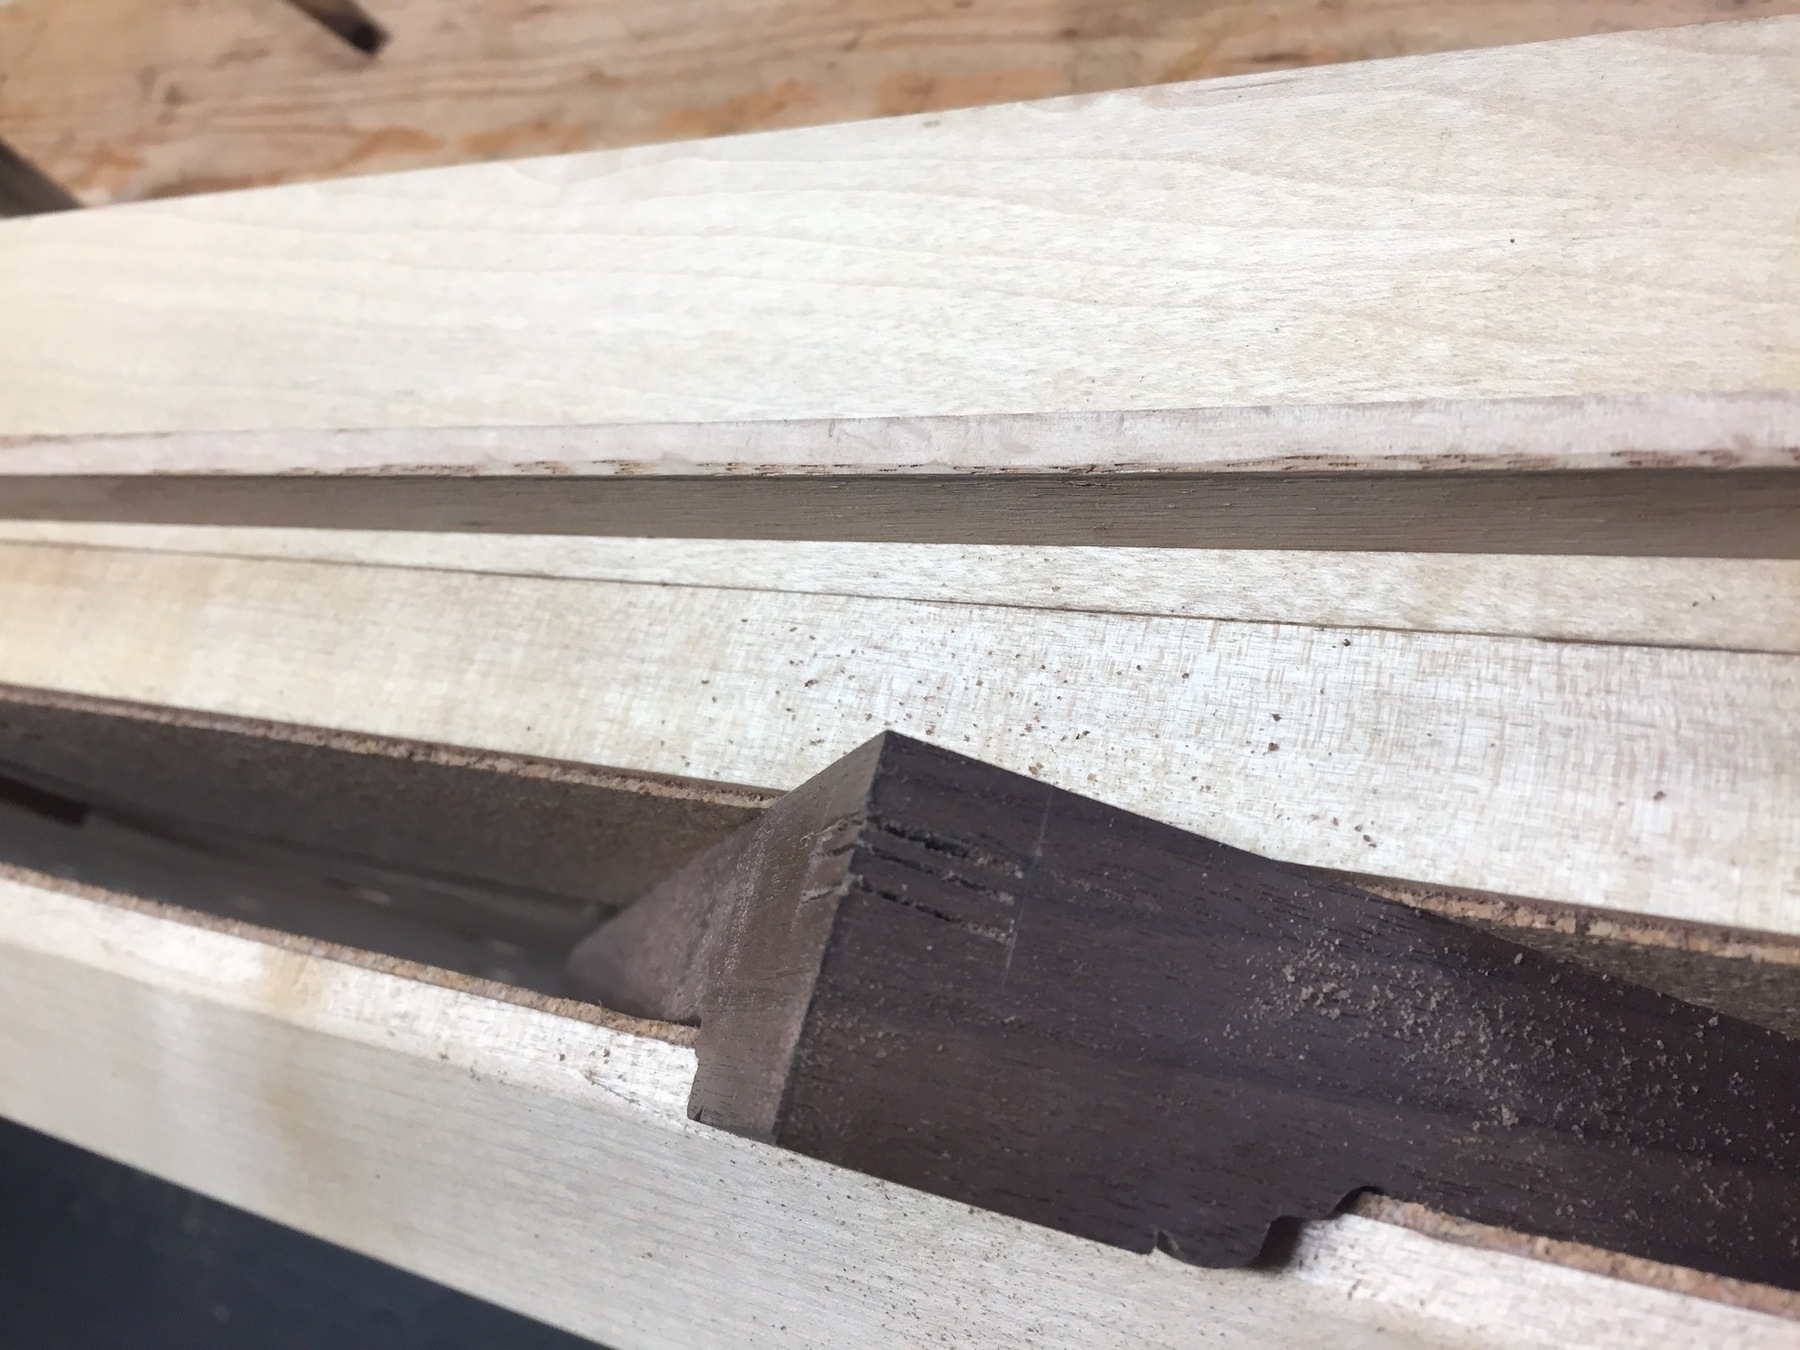
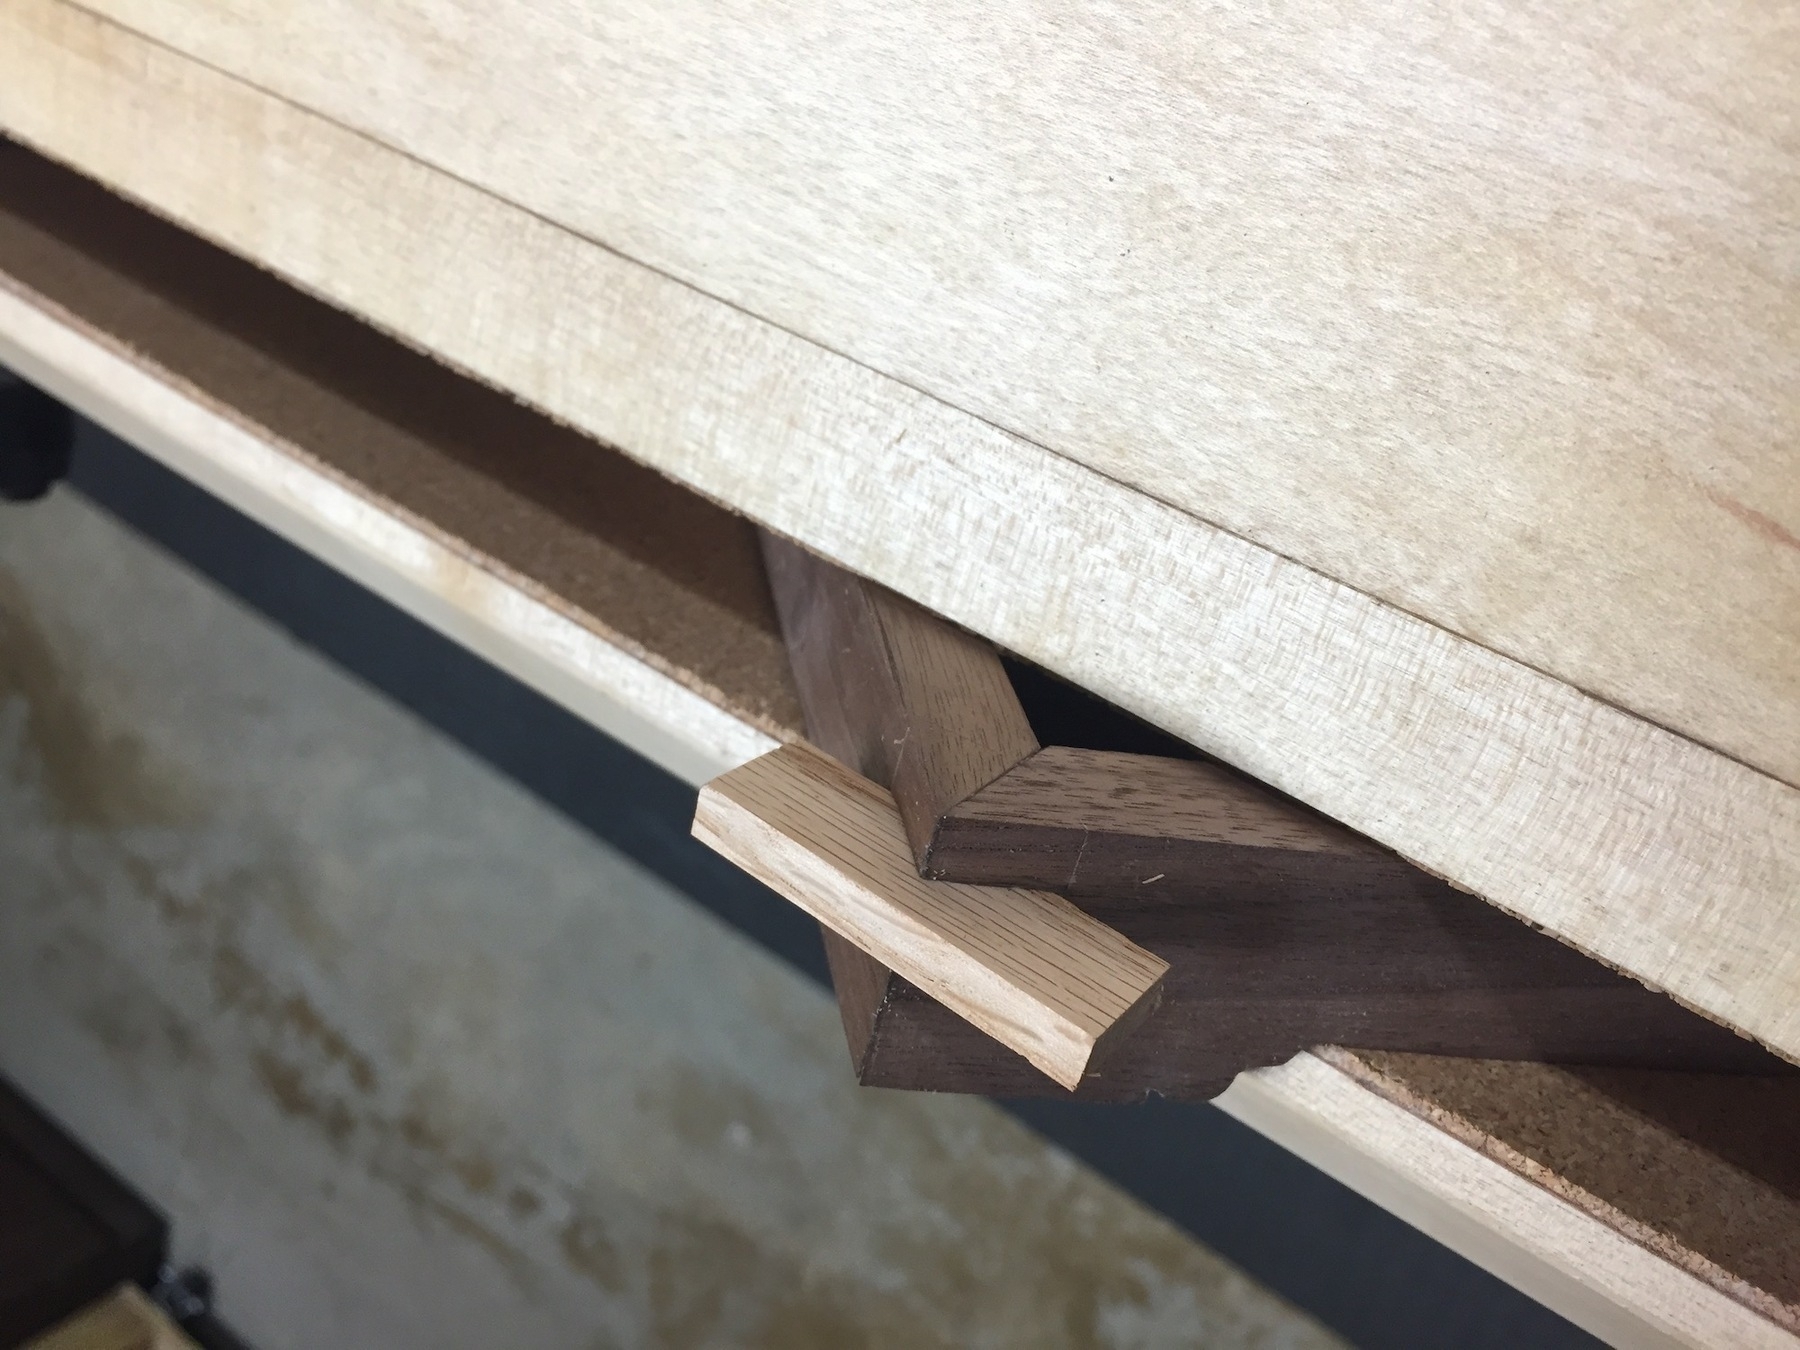
Then the final step was adding the chicken wire, for which I used some mesh from a big box store. The wire mesh is attached to the underside of the frame with wood strips half-lapped, glued and strengthened with small screws. That’s it.
