Western Maryland, last week. Been meaning to post this because it was an amazingly beautiful morning that this image barely captures. I took this on my way to do some fly fishing on Savage River.

Western Maryland, last week. Been meaning to post this because it was an amazingly beautiful morning that this image barely captures. I took this on my way to do some fly fishing on Savage River.
If you have an old iPad Smart Folio keyboard you no longer need or use, here’s a use for part of it: cut off the magnetic section in the back and use it on your workbench to hold some things. I use mine to hold a card scraper and block plane. It’s a nice holding surface because it’s magnetic and it has a plush top.

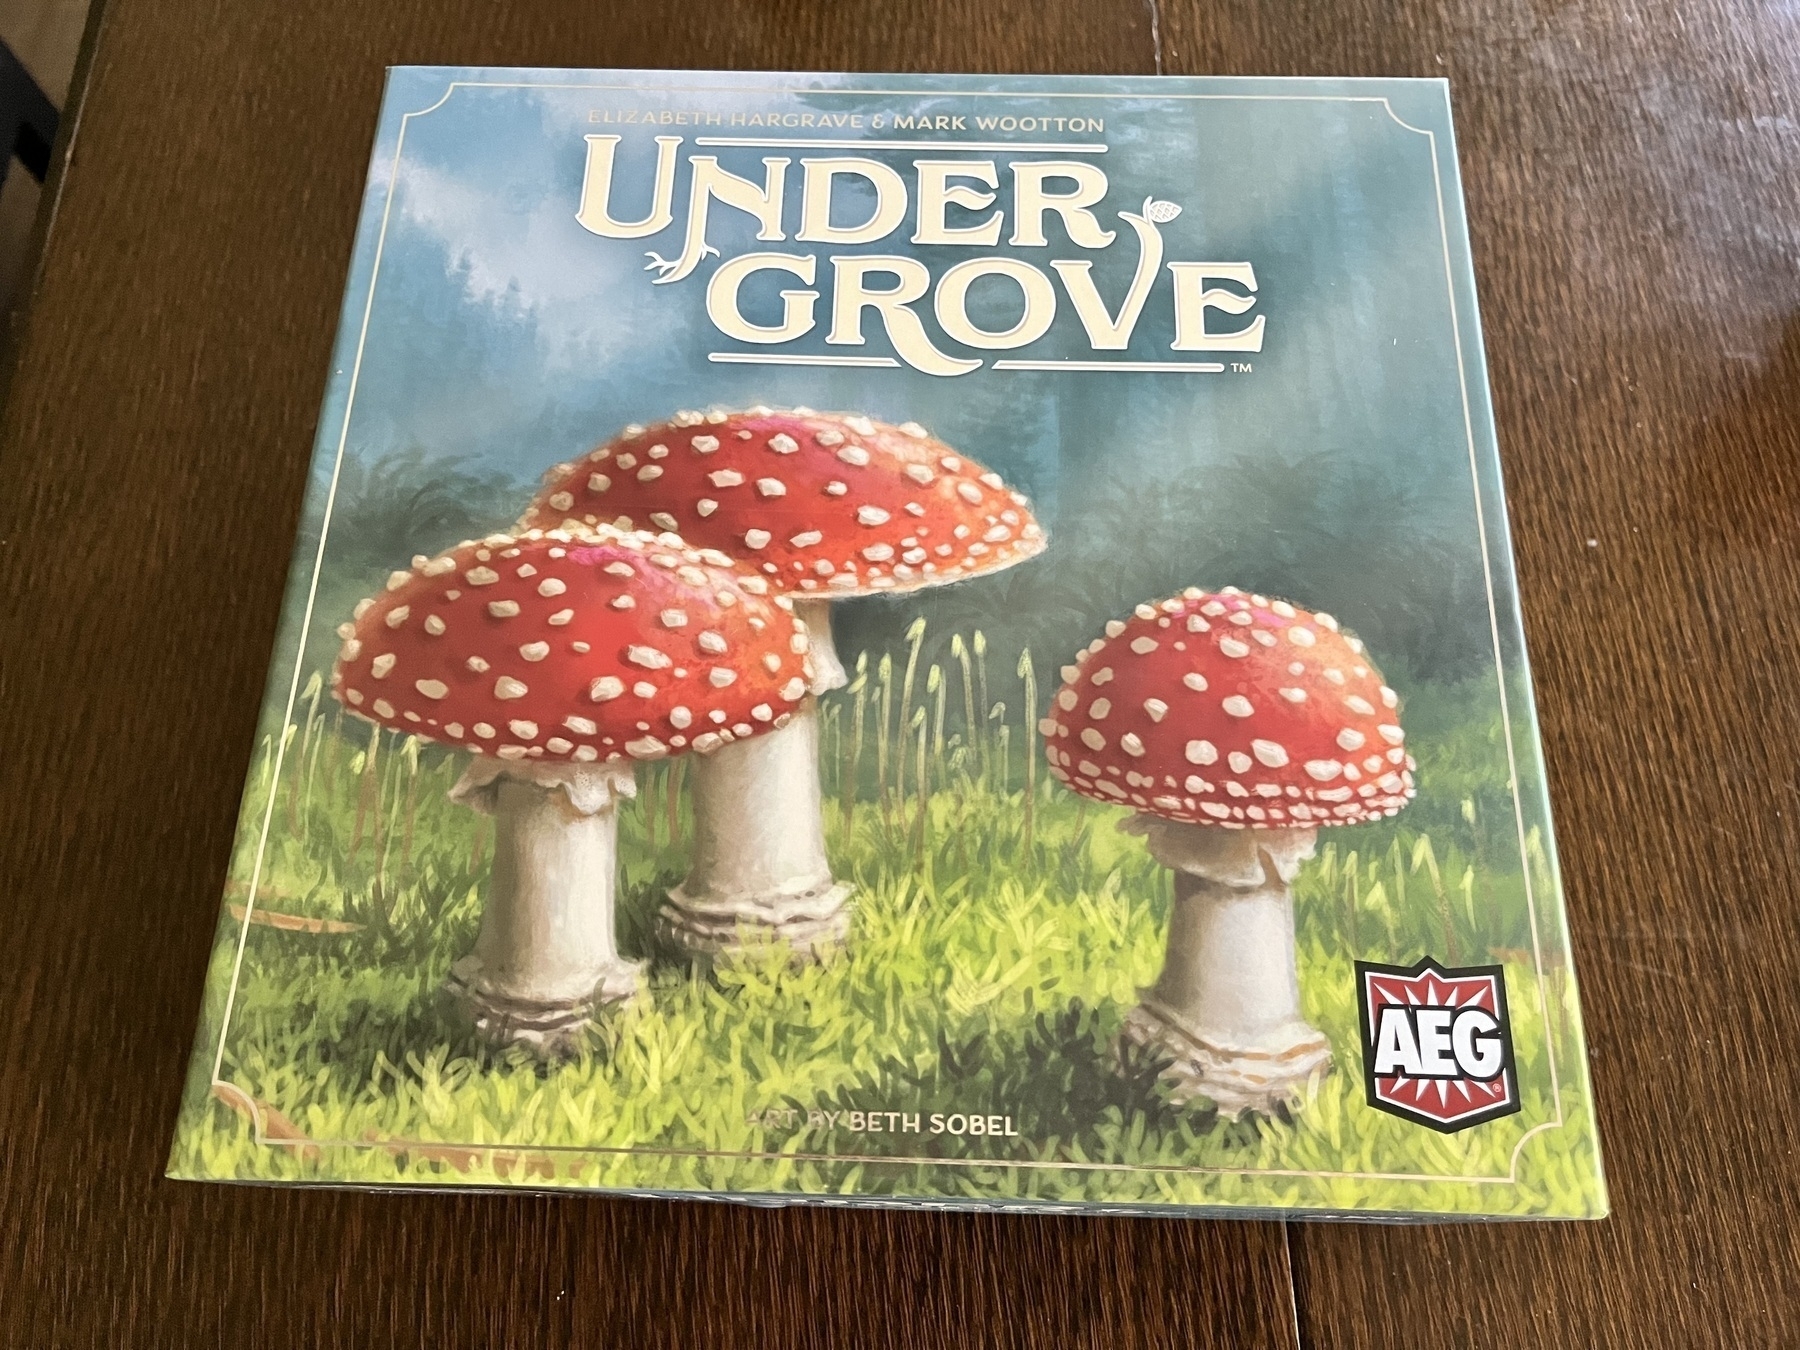
Looking forward to trying this out over the weekend.
Annual high wheel race in Frederick, Maryland, is underway.

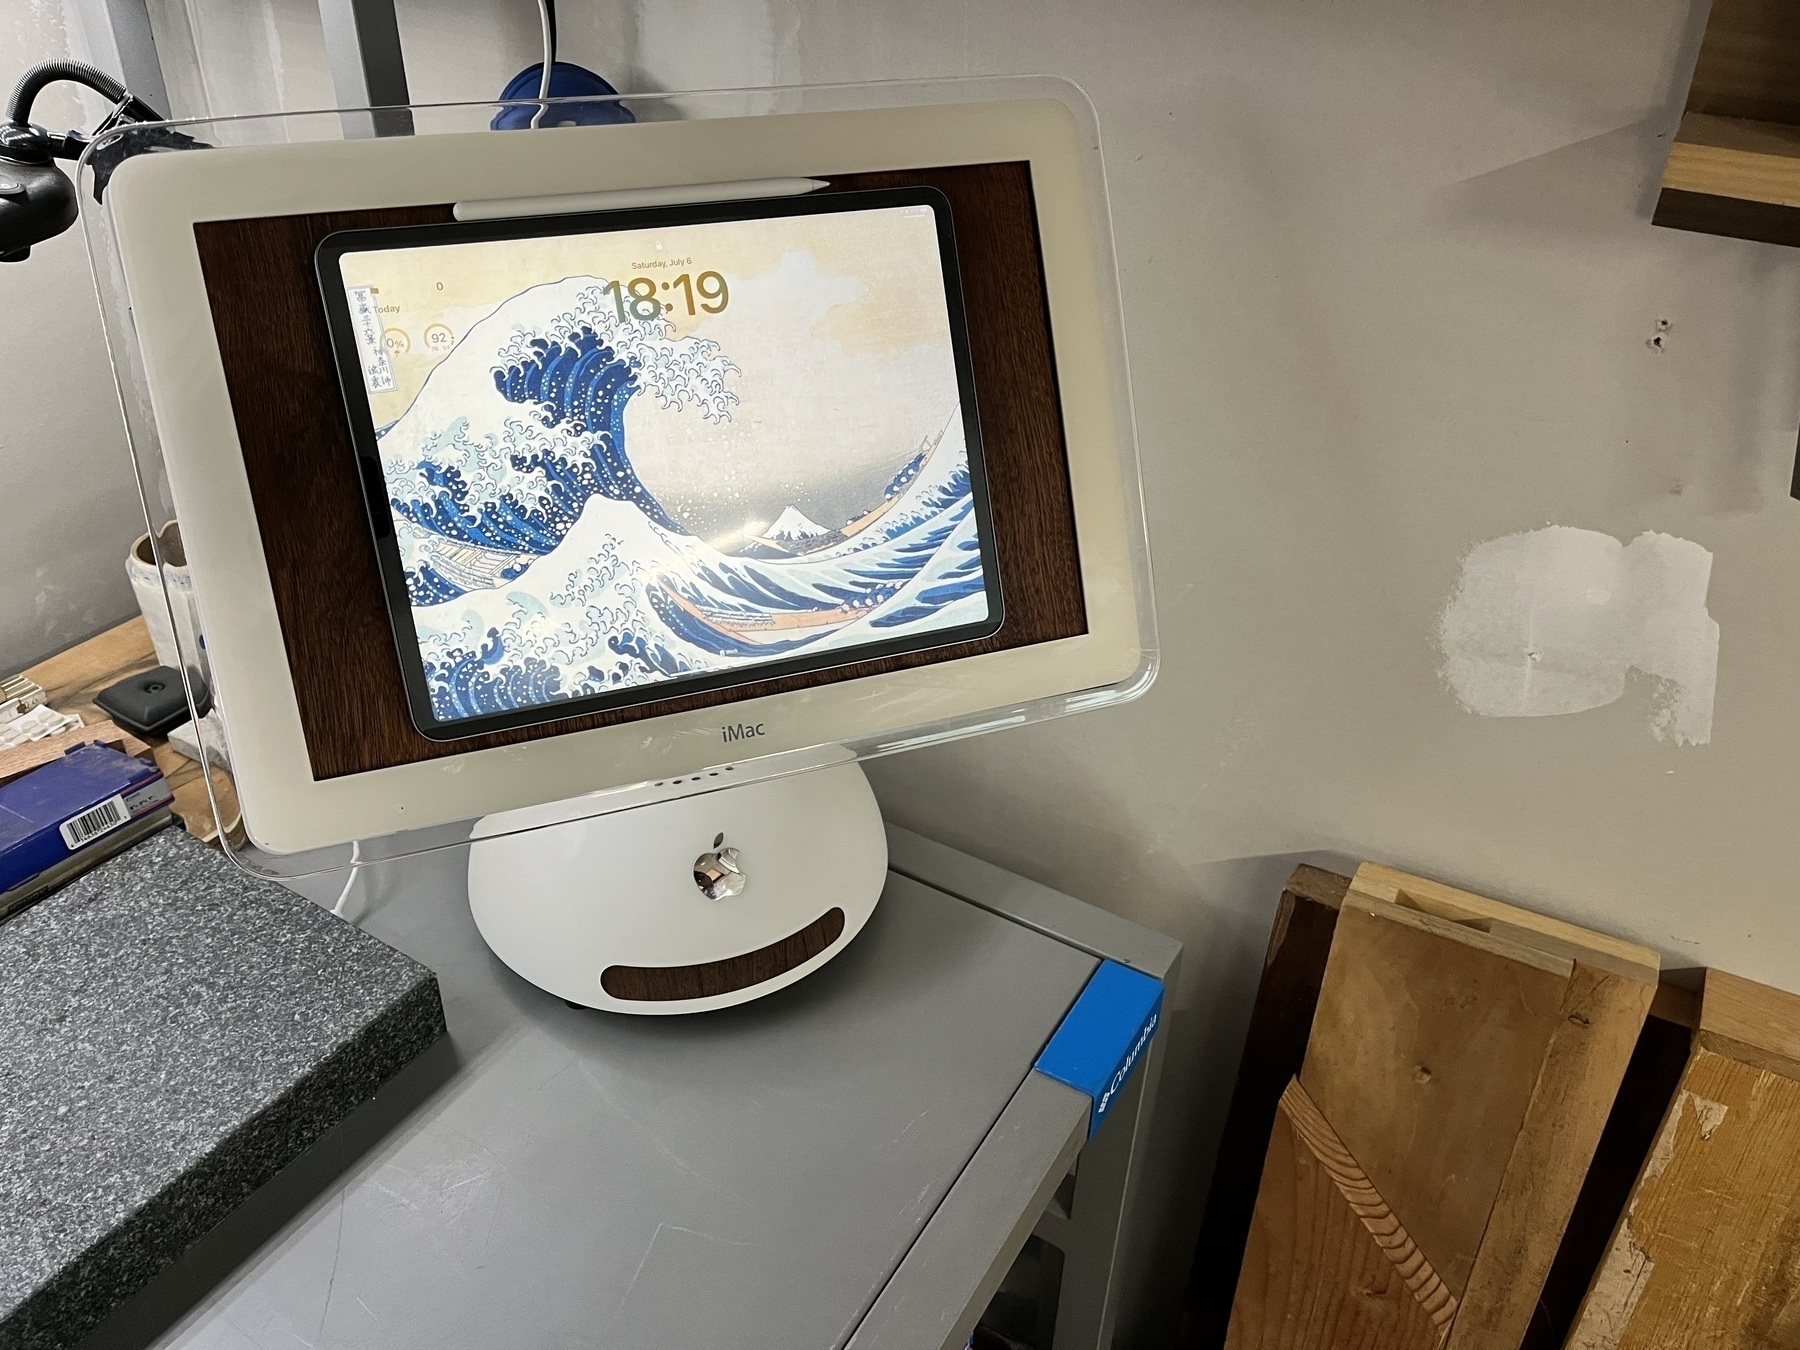
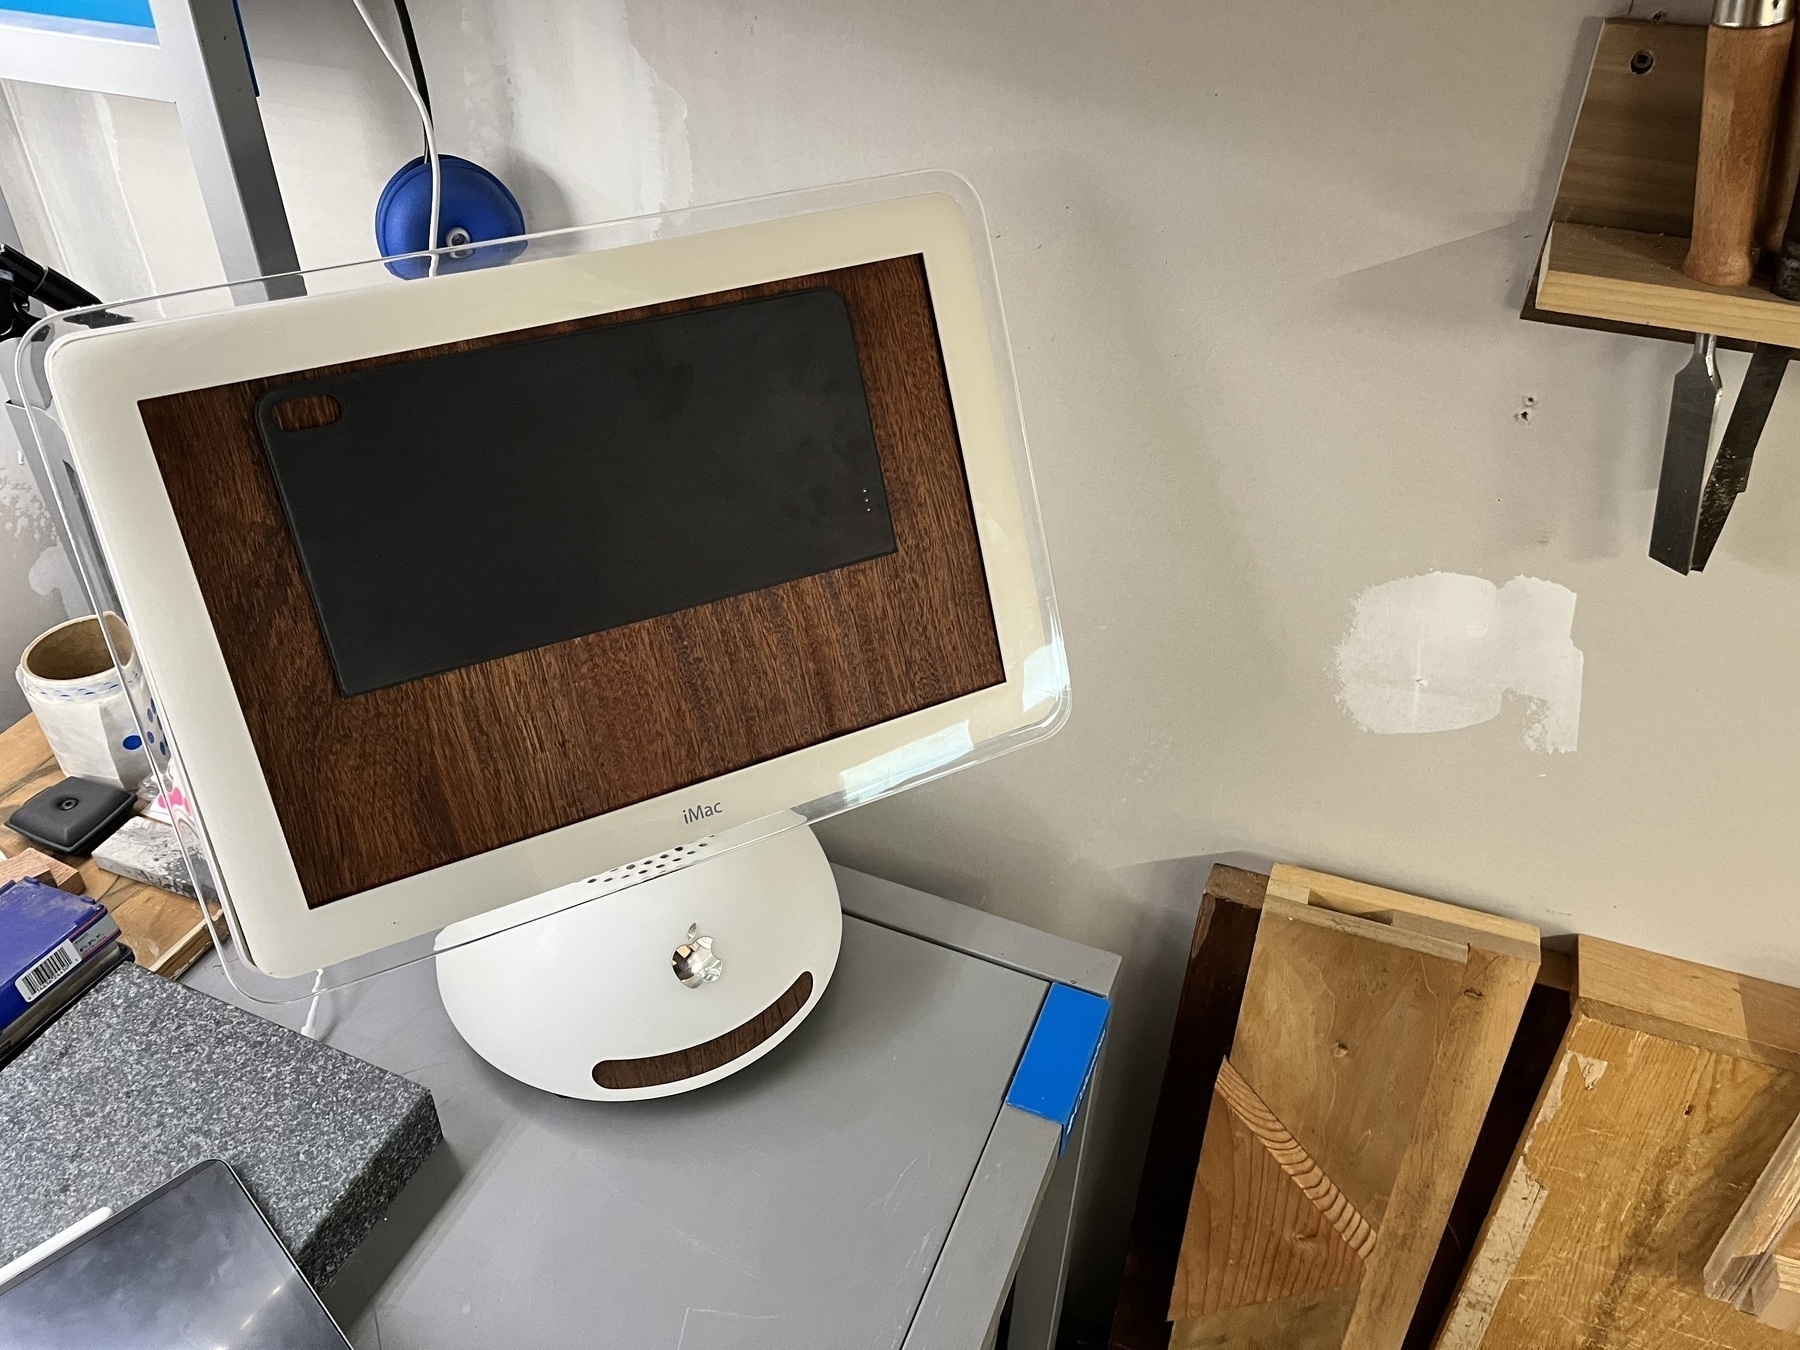
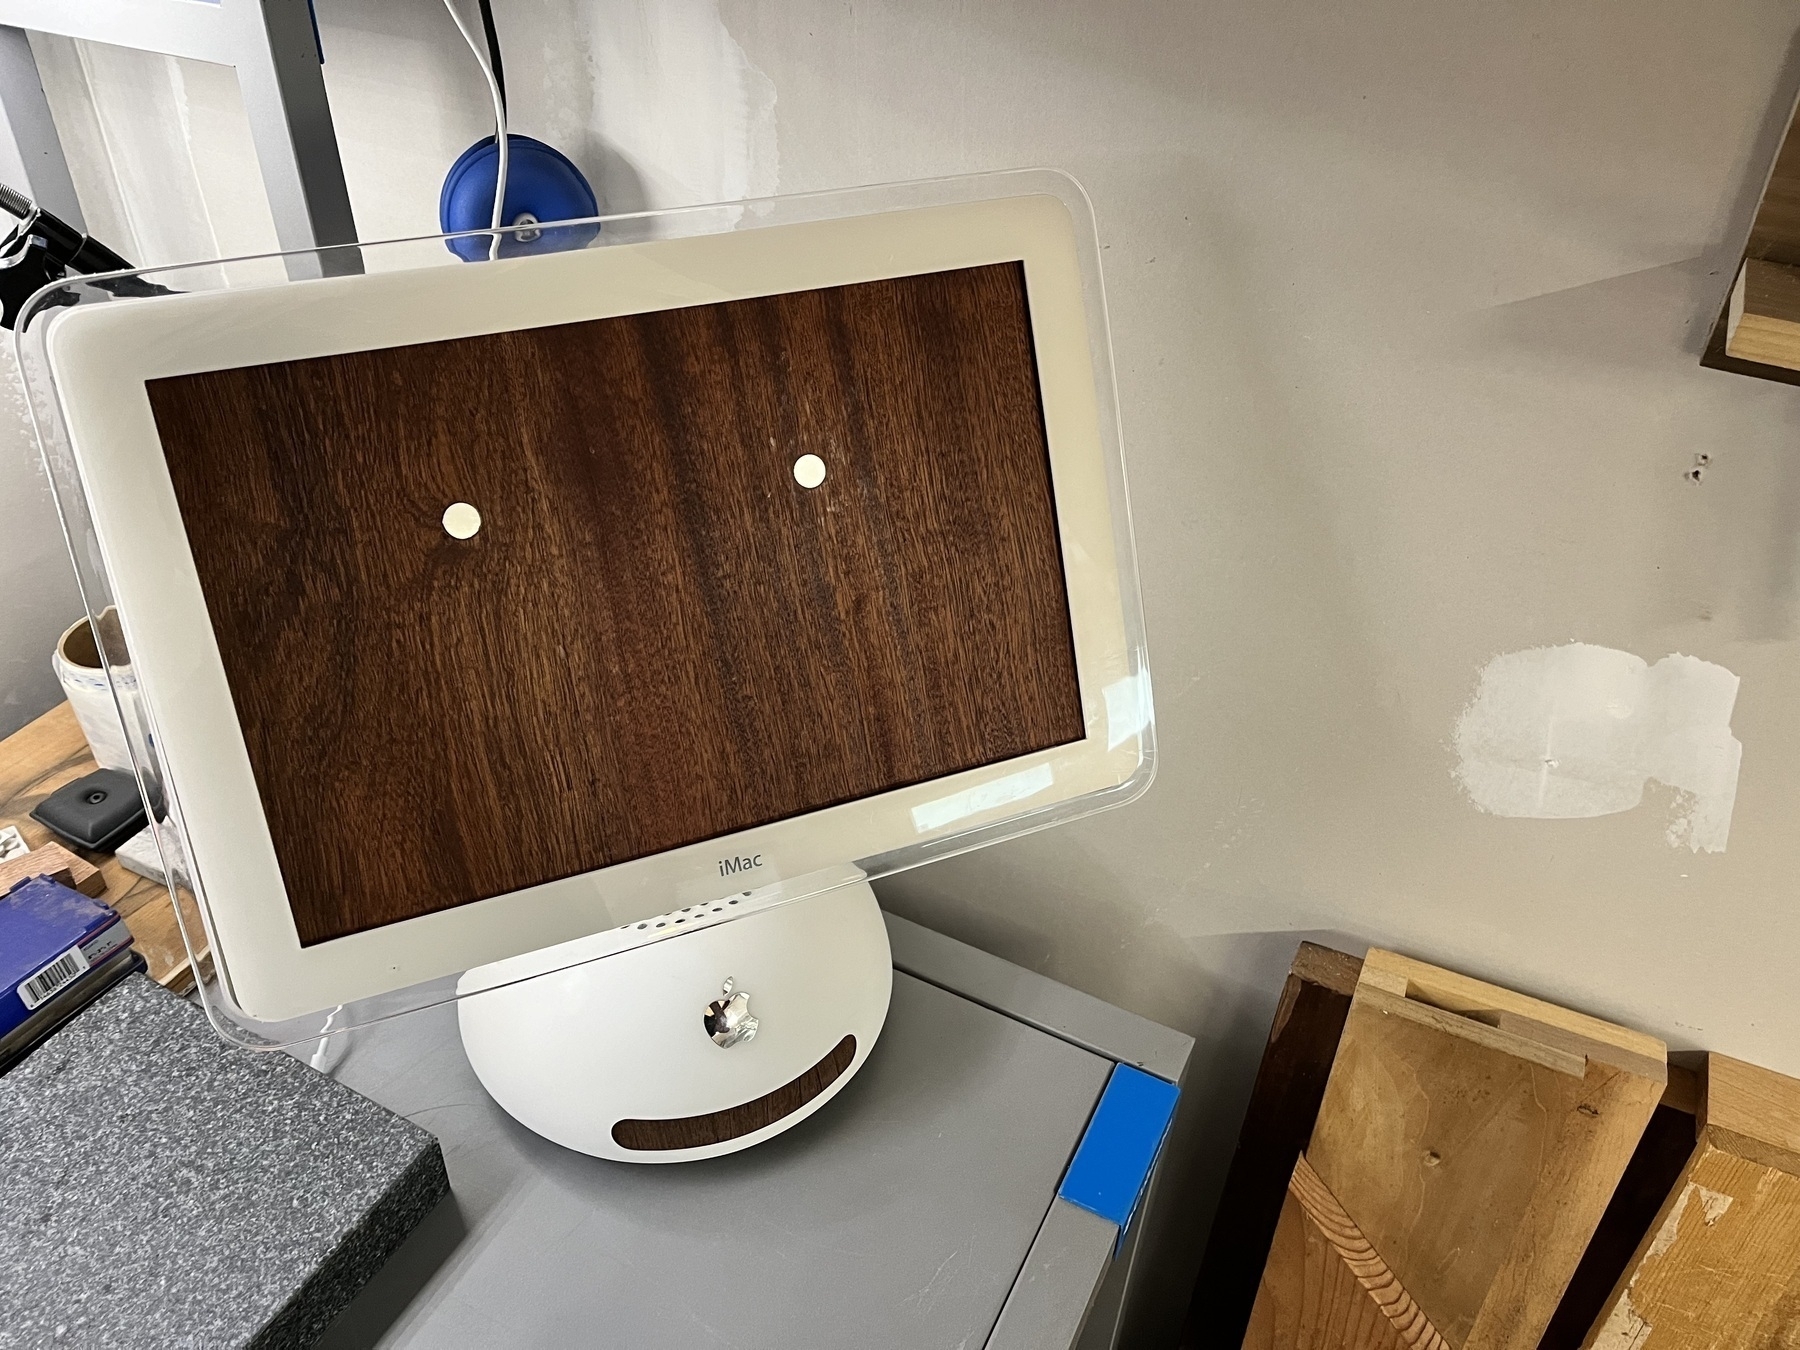
I completed a side project to repurpose my old 2002 iMac into a stand to hold my iPad Pro for when I’m in my workshop. The base is completely gutted so I had to weight it so it balanced correctly. The iPad is held in place by another repurposed thing: an old iPad Smart Keyboard case that I cut down to size so it is only the magnetized part. Strong, small magnets are attached on the back of this case that connect up to magnets embedded in the sapele wood where the monitor used to be. So I can remove the iPad and the case.
The drive slot is wood veneer — I discovered there is just enough of a gap between the plastic body and the underlying metal frame to slide the veneer strips in to make for a nice presentation. I use my iPad in the shop for entertainment and planning projects, so I can grab it when I’m designing then hang it up here out of the way when I just want music or to watch the occasional video.
I’ve been lugging this old iMac around for decades just to someday do something interesting with it, because I love this design. So this is that. On a side note, I think the design of the iMac arm, and this design generally, is genius. Hope to see a modern version of a tilt and swivel arm used in some Apple product in the future.