Over the past few months (July-September 2018), I created a display case to hold a fly rod and reel for the Potomac Valley Fly Fisher club, of which I'm a member. The fly rod/reel this case is designed to display is raffled off once a year. The person who wins the raffle gets to use it for one year. The prize comes with a small book to log fishing experiences. At the club's annual banquet, the person who used it for a year gives a short presentation of his or her experiences.
To get me started on this rod/reel case, I was provided with some photos of a similar box from a fly club in Pennsylvania. That rod case has been in circulation since 1963! I like to think that the display case I made will also be in circulation for many decades to come.
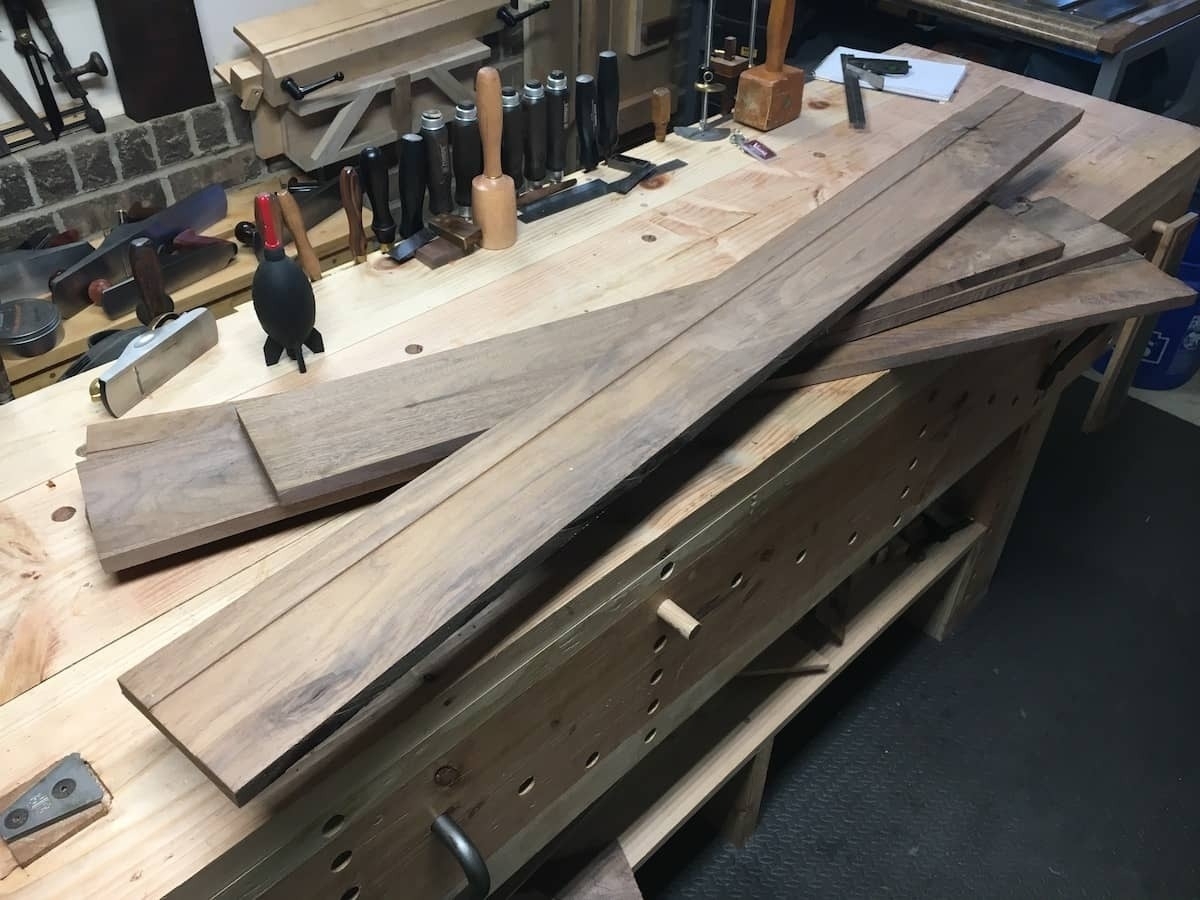
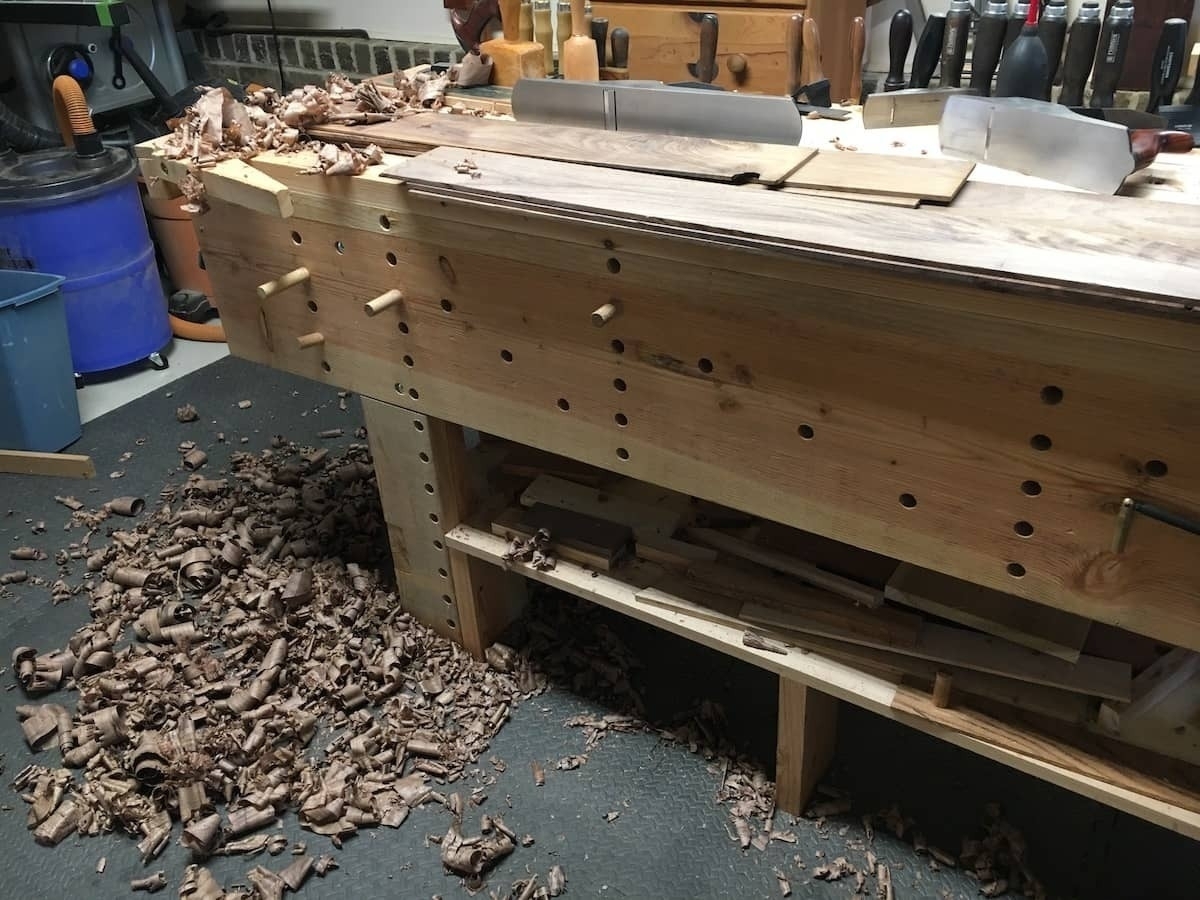
Before: I started out with a stack of tongue and groove walnut panels. These are offcuts and rejects donated by a neighbor used in an 80s project to panel a living room in walnut.
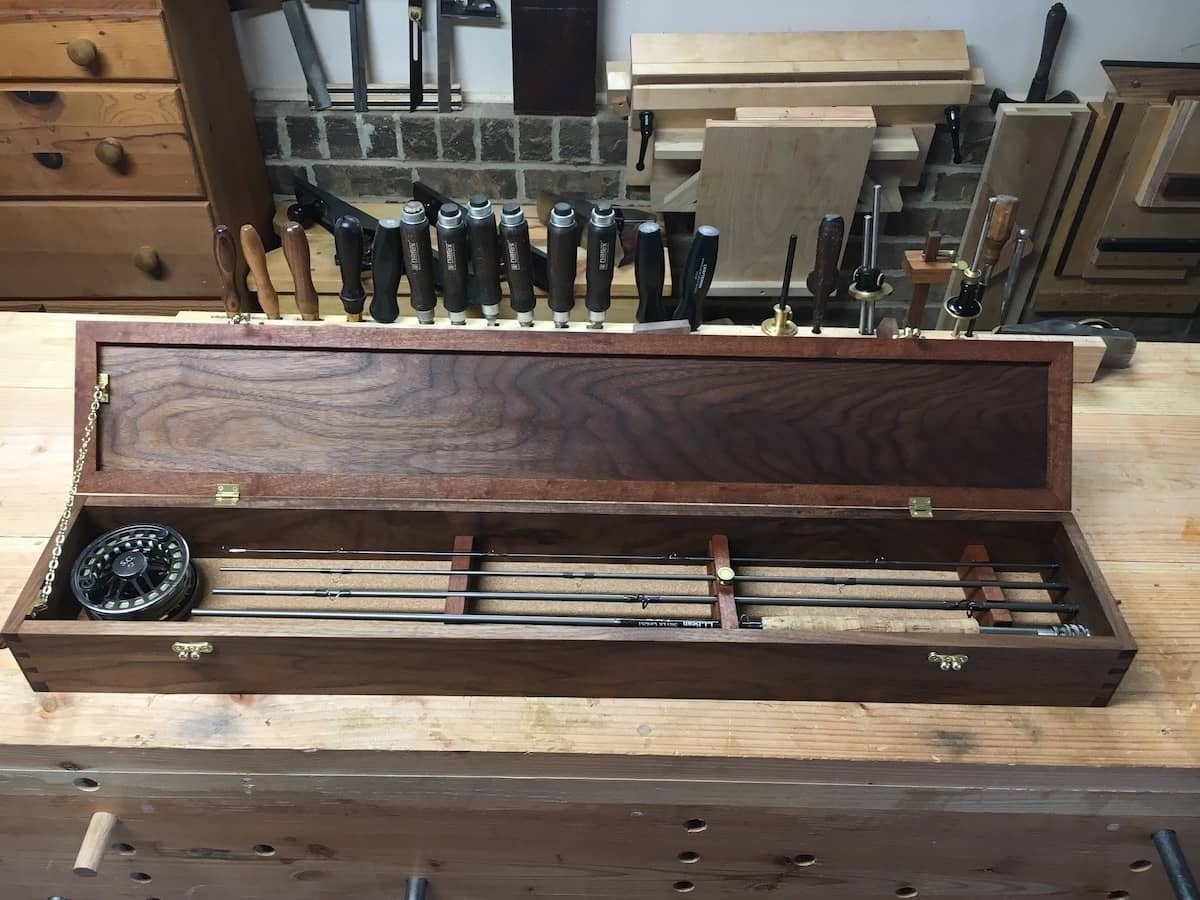
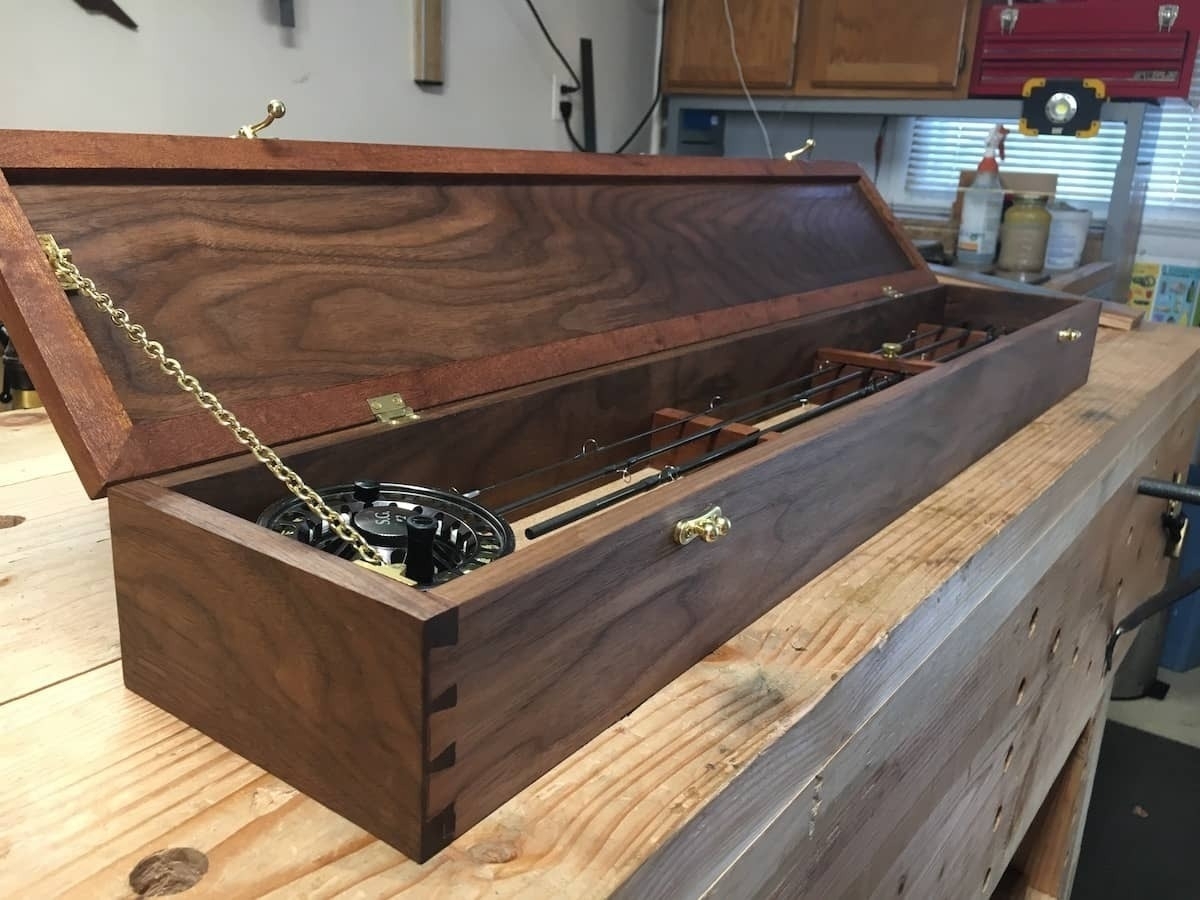
After: this is the completed case, showing the interior.
And here is the completed case, showing the interior.
The following is a log of how I made the case. What this doesn't show is how much trial-and-error was involved in the process. I spent a lot of time testing out different ways to hold the rod and reel in place, in particular. It also doesn't show how much help, guidance, and inspiration I received from fellow woodworking members from the Hand Tool School.
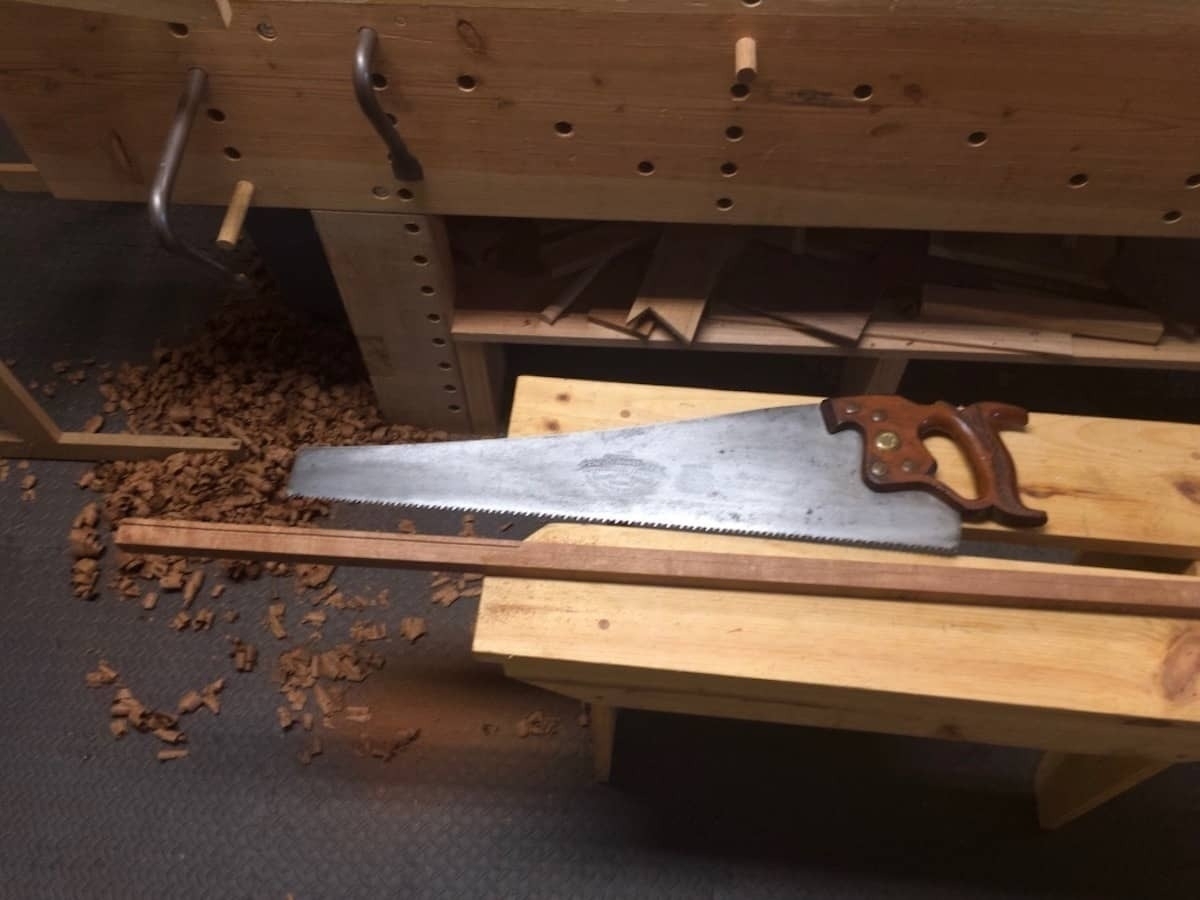
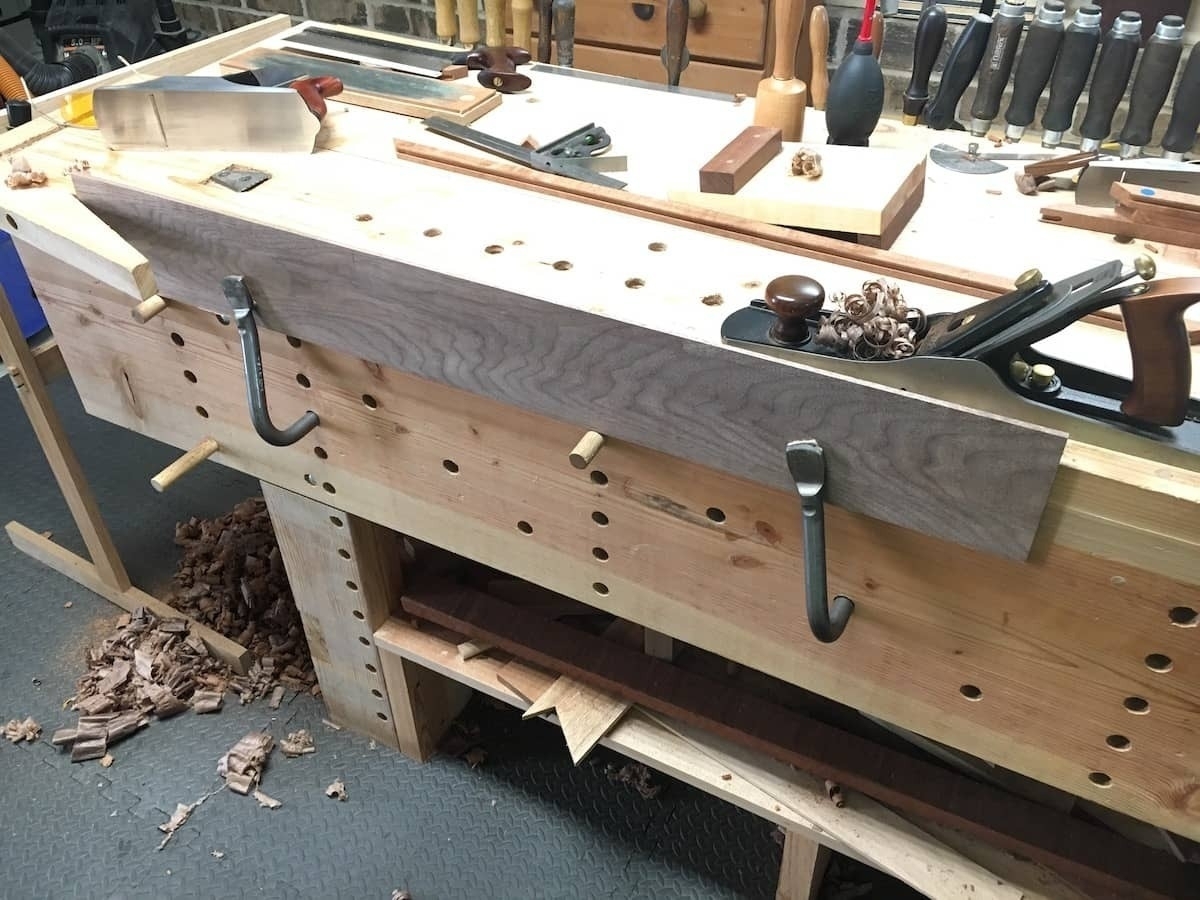
I used a 5tpi rip saw to cut the boards in half and to cut off the tongue and grooves. Then I used a #7 plane to get the panels to proper thickness.
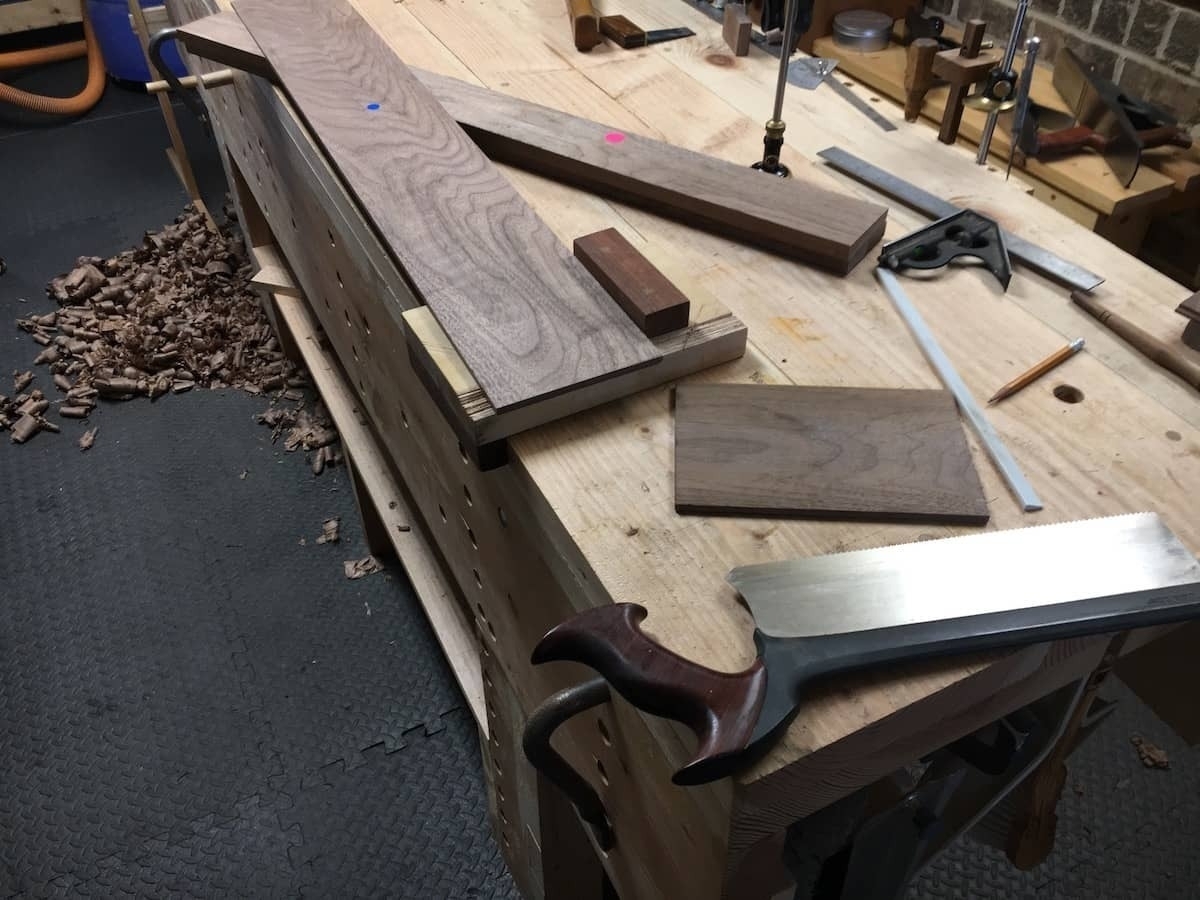
I used a crosscut carcass saw to cut the boards to length.
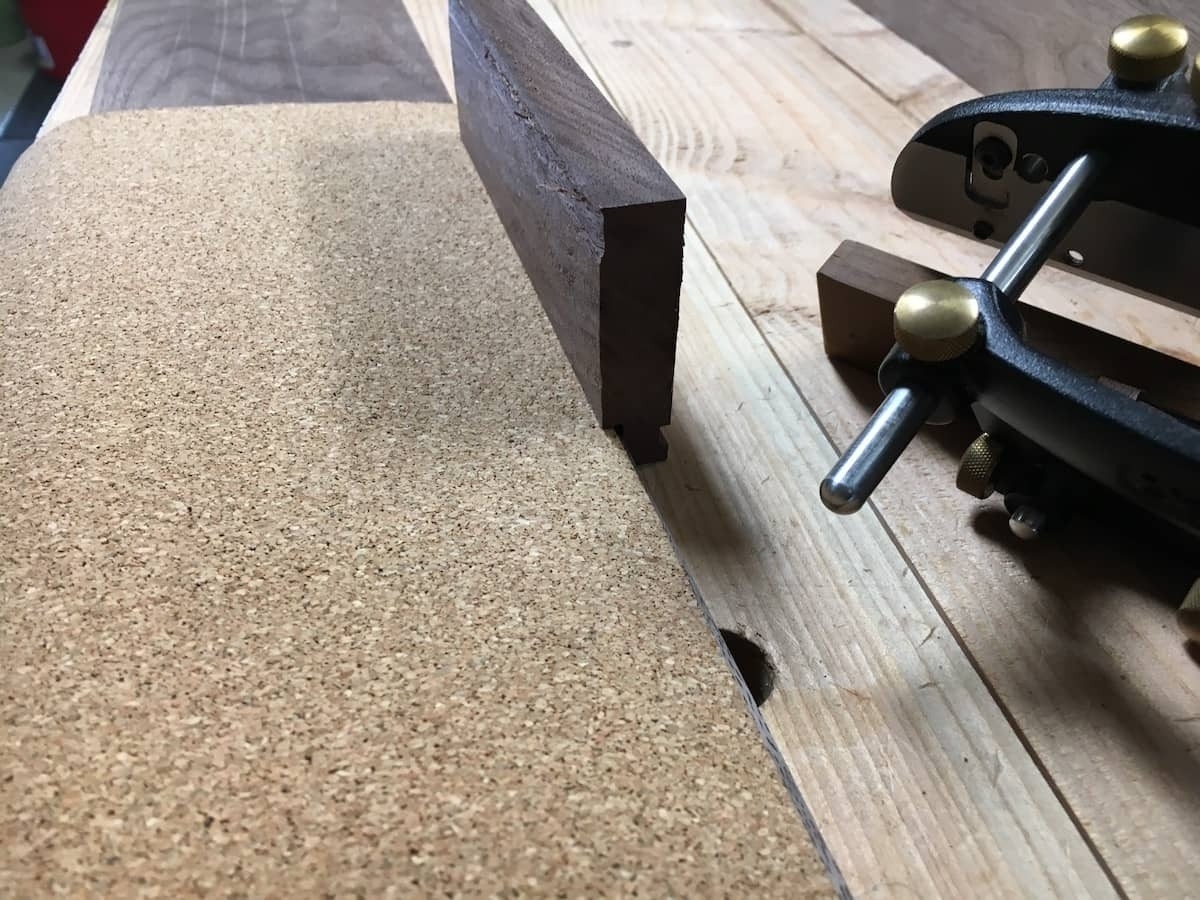
The bottom of the case was lined with cork, which I glued on.
Once the cork liner was in place, I measured the total thickness of the bottom panel. I then used a plane to get the total thickness to 5/16". This is the size of the blade I used to cut the grooves for the side panels. To cut the grooves, I used a Veritas combination plane.
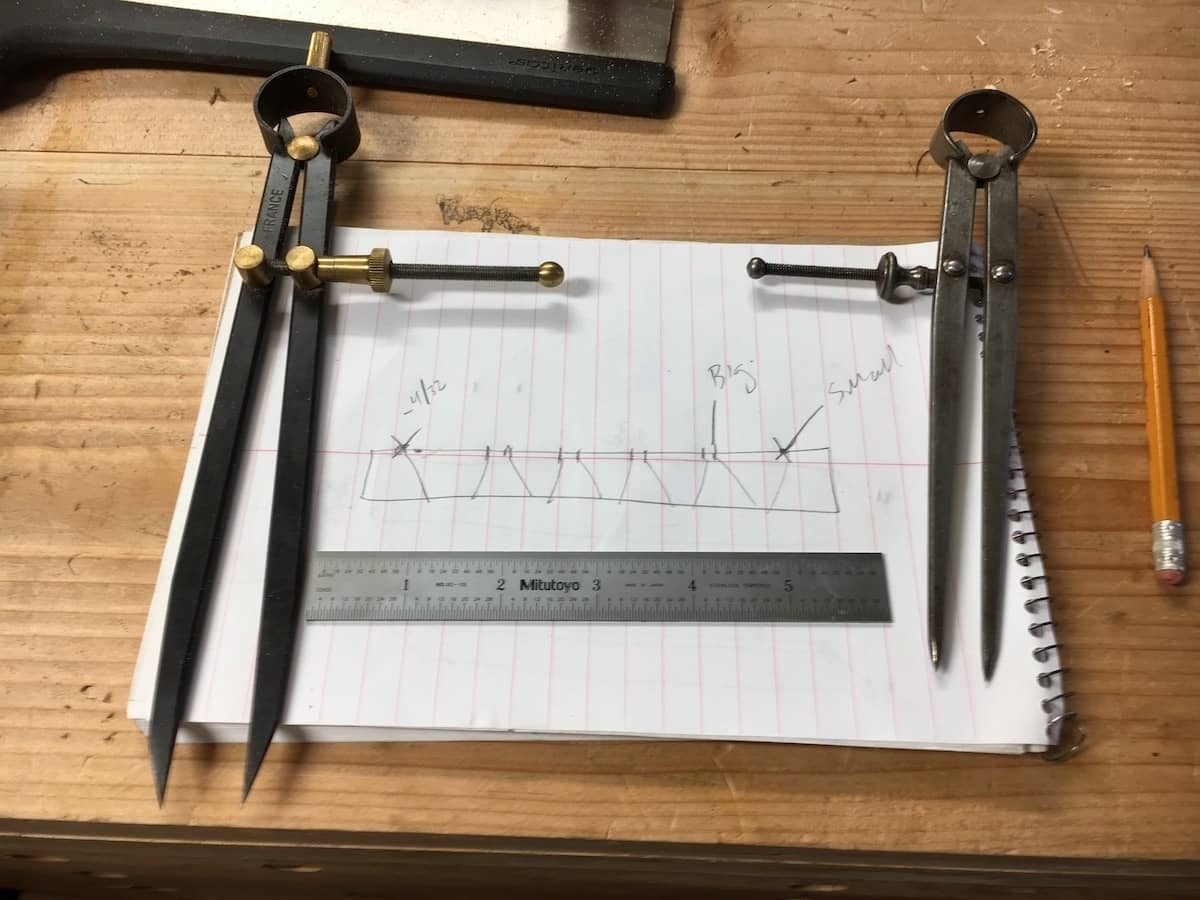
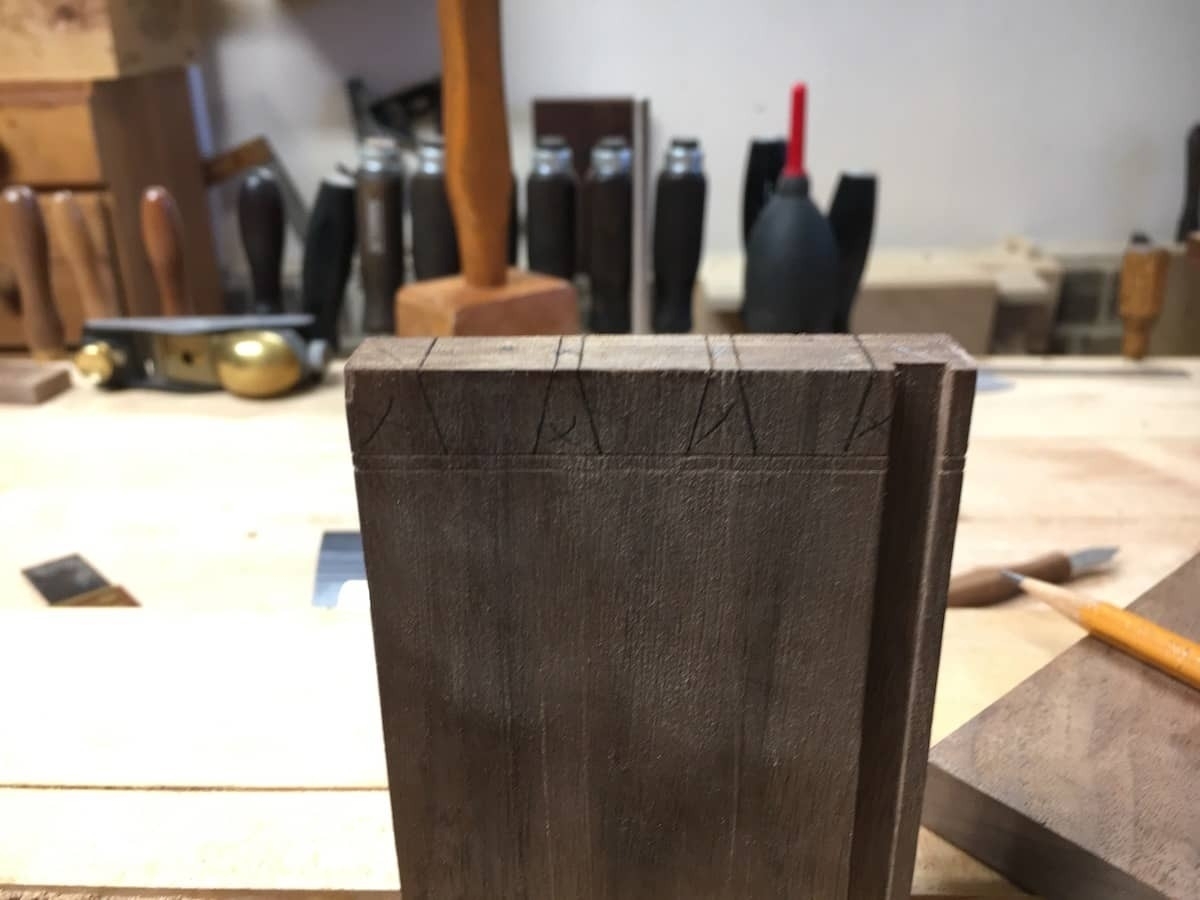
I sketched out the dovetails on paper before I started cutting. I decided to go with half-blind dovetails. I used two dividers because one is set to step across the end grain and the other was set to mark the distance from the edges.
I marked out the tails first, then cut them out with a dovetail saw and 1/4" chisel.
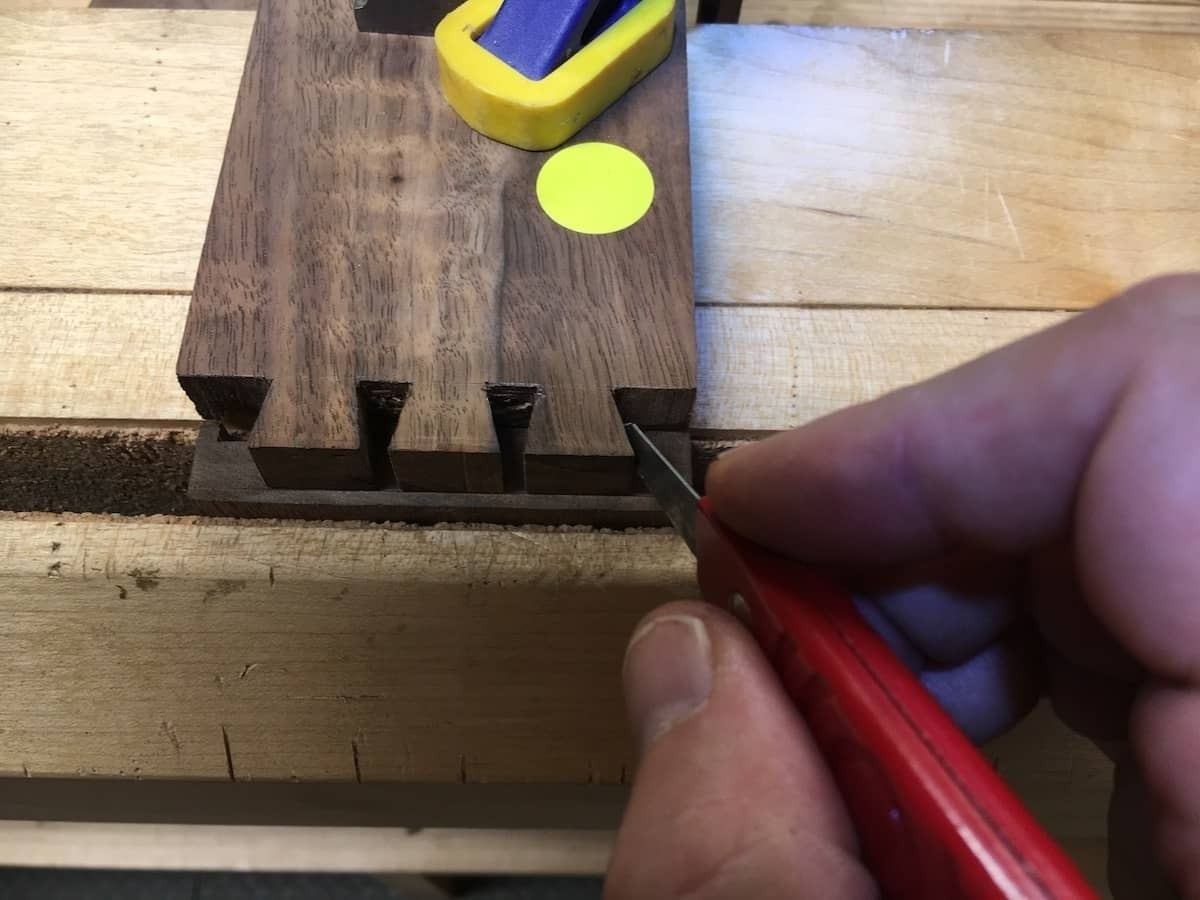
Once I had the tails cut, I marked out the pins using a dovetail knife. I secured the bottom panel here in a Moxon vise.
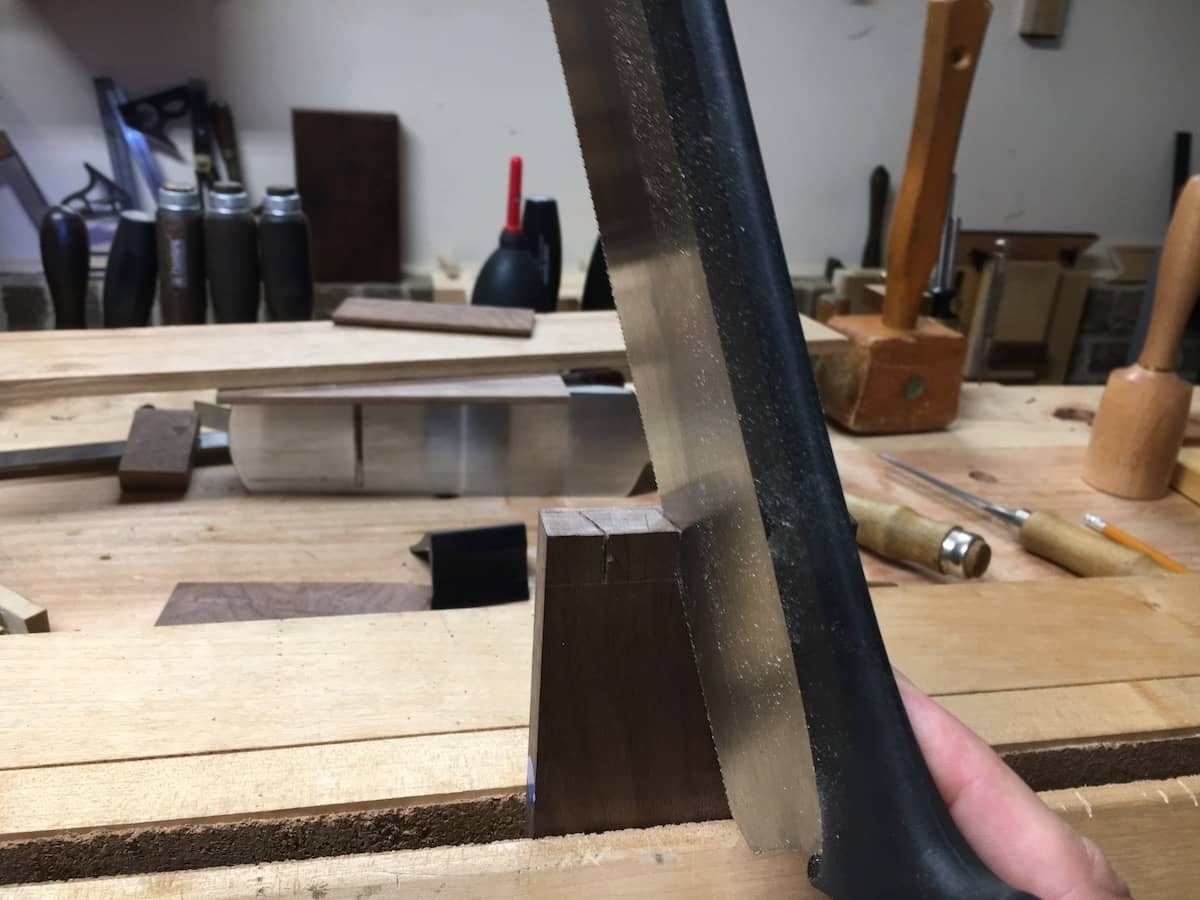
This is a shot of cutting out the pins. For half-blind, I cut at a steep angle down to my lines.
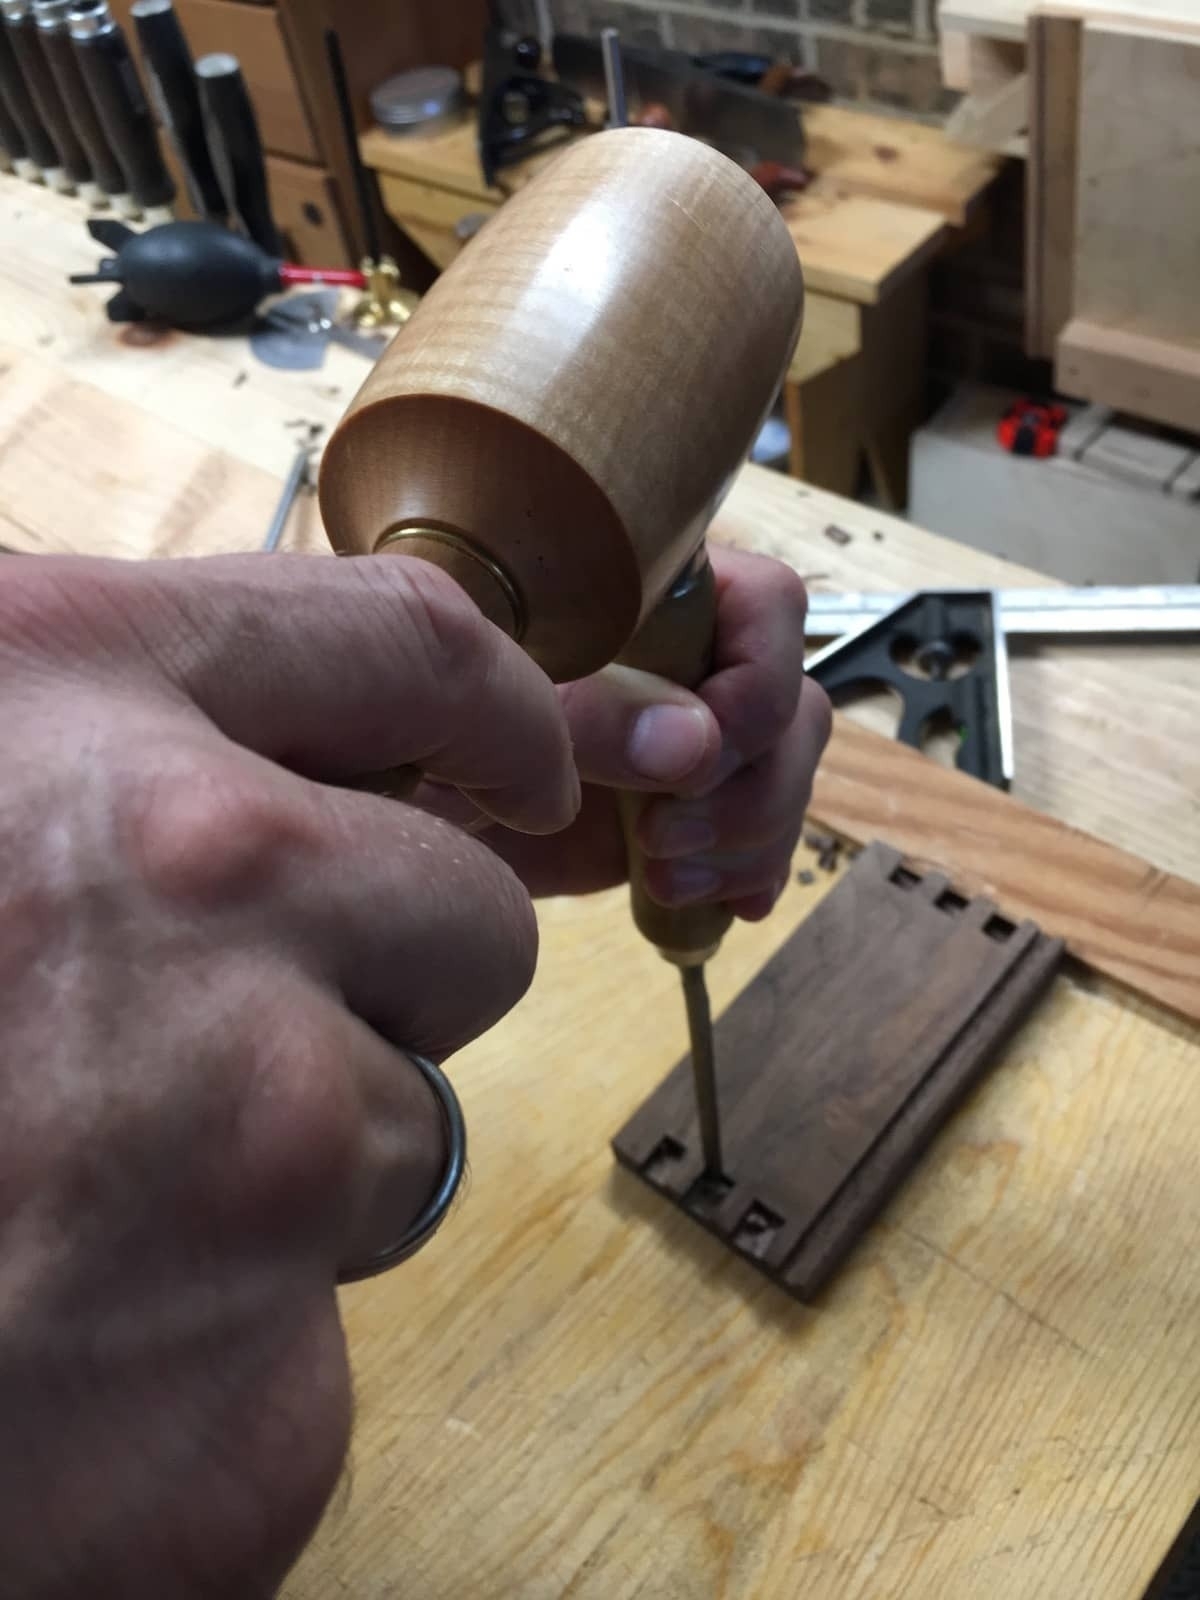
Then I chopped out the pins with a 1/4" chisel. It was a delicate, time-consuming affair.
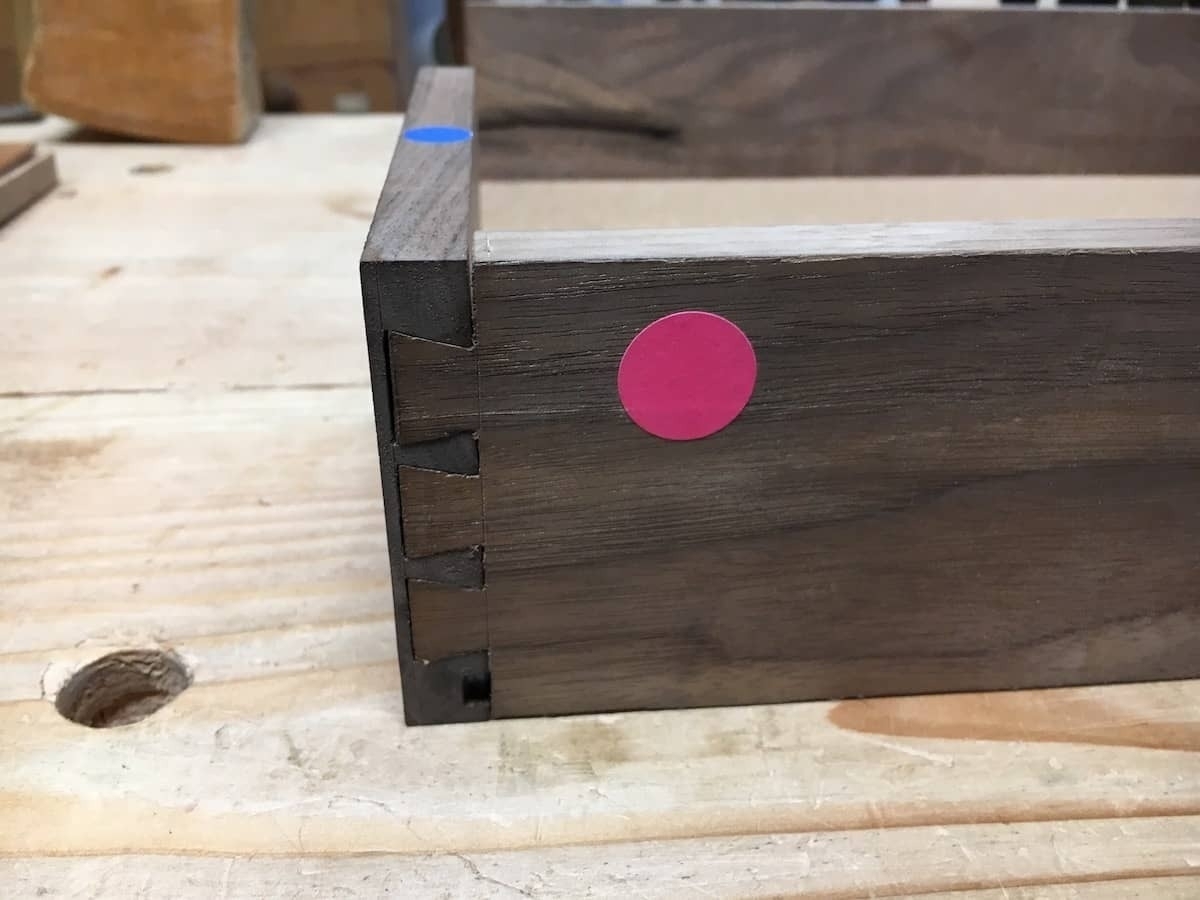
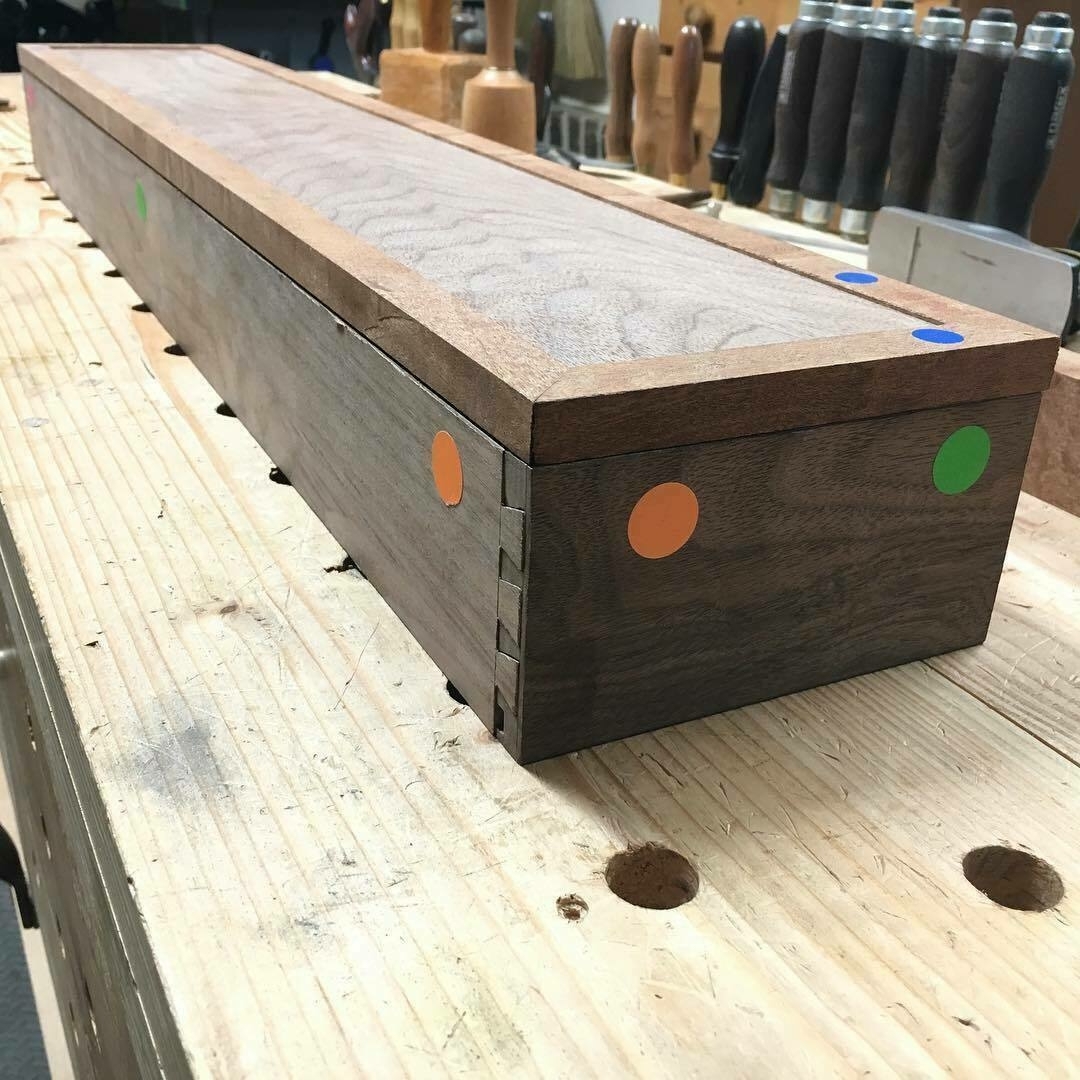
Here's one corner completed, showing the half-blind dovetail up close. I color code each part of the project so I can keep track of how the different pieces fit together. Note that I also cut my grooves through because it's just so much easier. I plug the groove holes at the end of the project and they are barely visible.
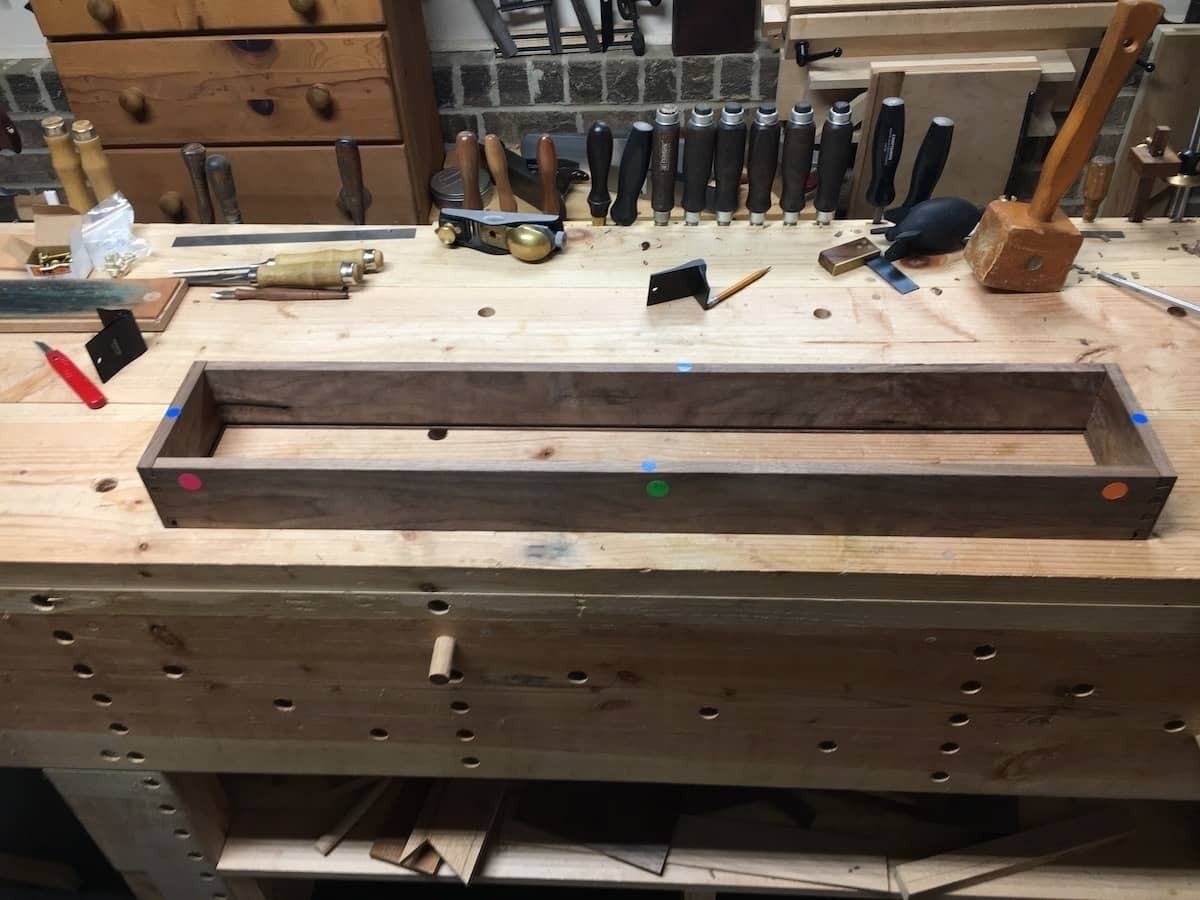
This shot shows all the dovetailed corners connected up, without the bottom panel inserted so the bottom grooves are visible. Next, I started working on the lid for the box. I used sapele for the mitered frame of the box lid, mainly because I ran out of strips of walnut! I cut the strips of sapele to size with a rip saw.
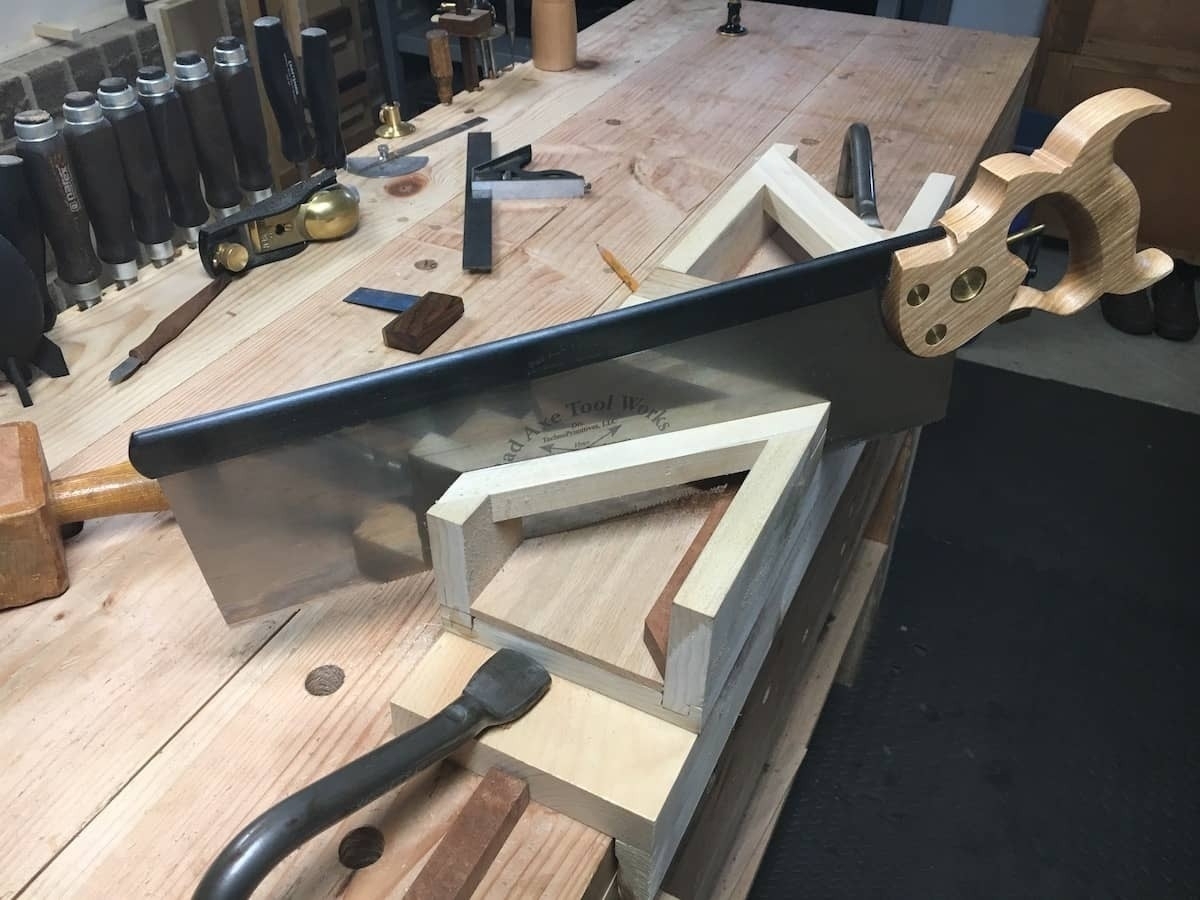
I used a miter box I made in 2017 to cut the mitered corners for the box lid frame. Here, I'm using a Bad Axe tenon saw.
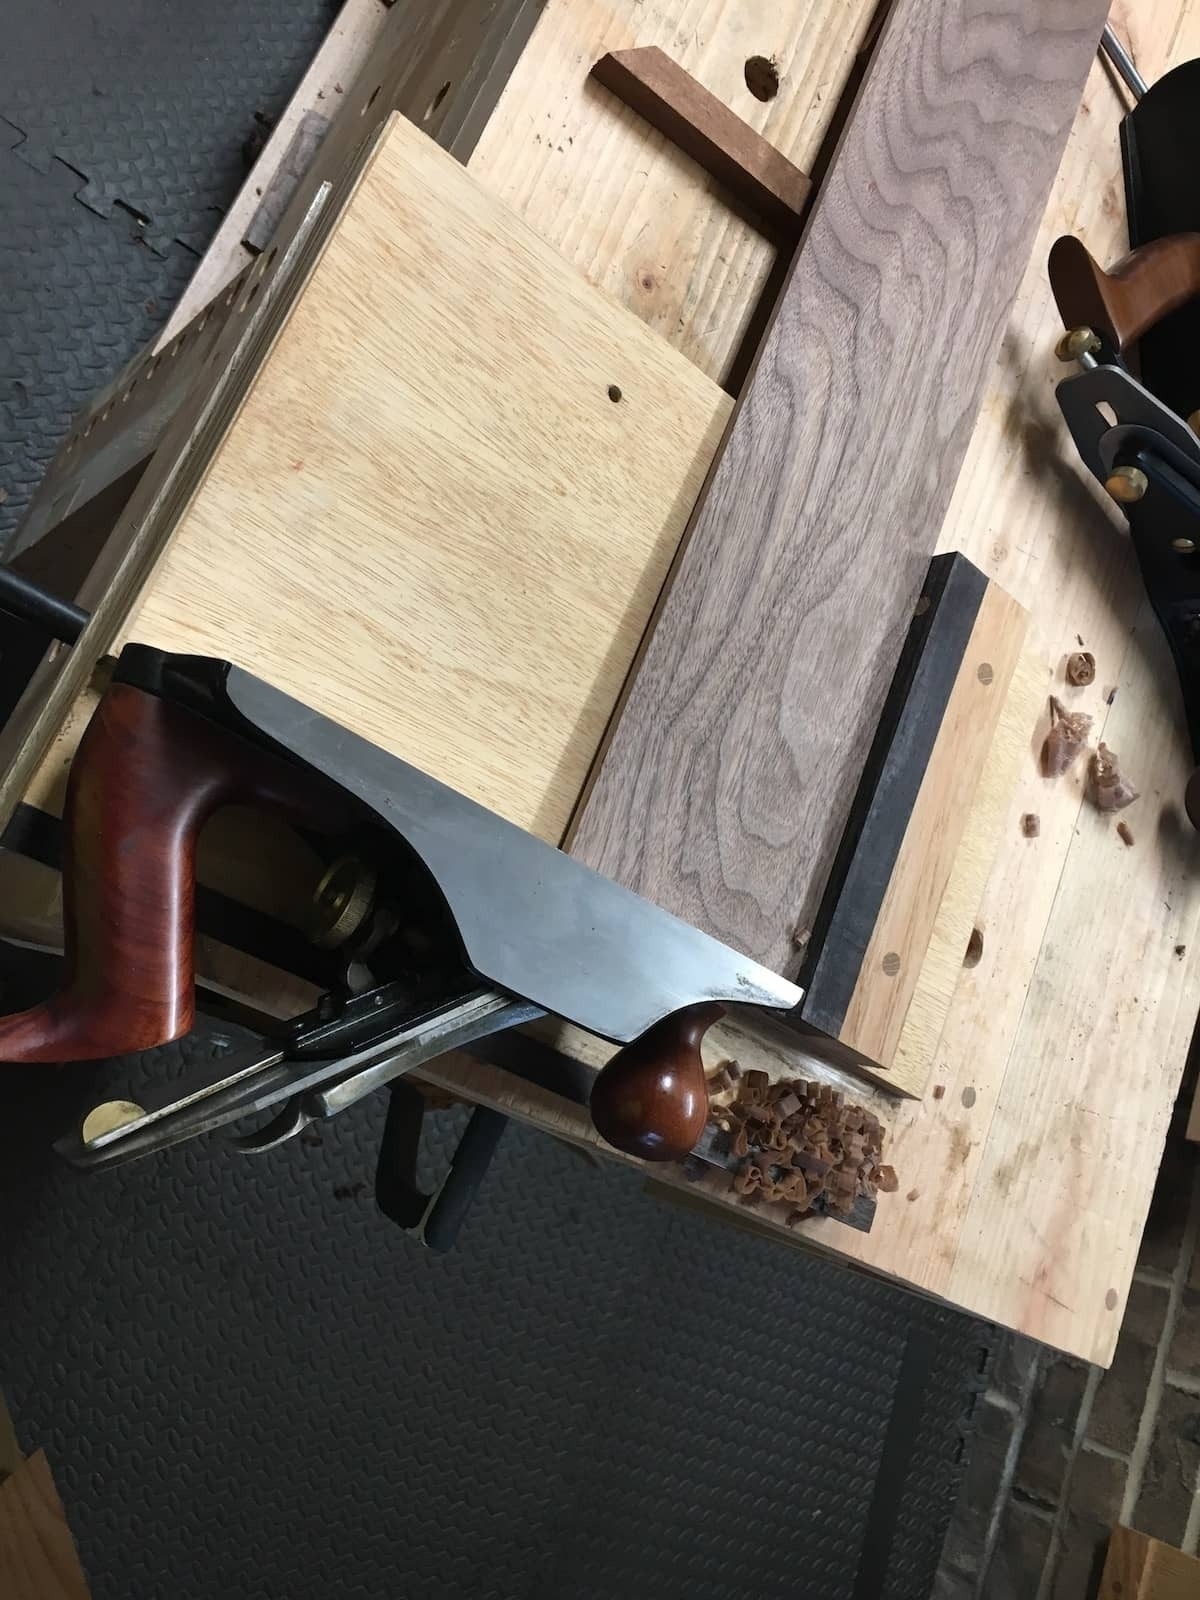
This is the inside panel of the box lid, which will be framed with sapele using mitered corners. Here, I'm using my #7 to finish up the long edges.
Squaring up the edges of my panel using a shooting board.
And here is the box with everything dry fit, showing the completed box lid with the miter frame in sapele and the panel in walnut.
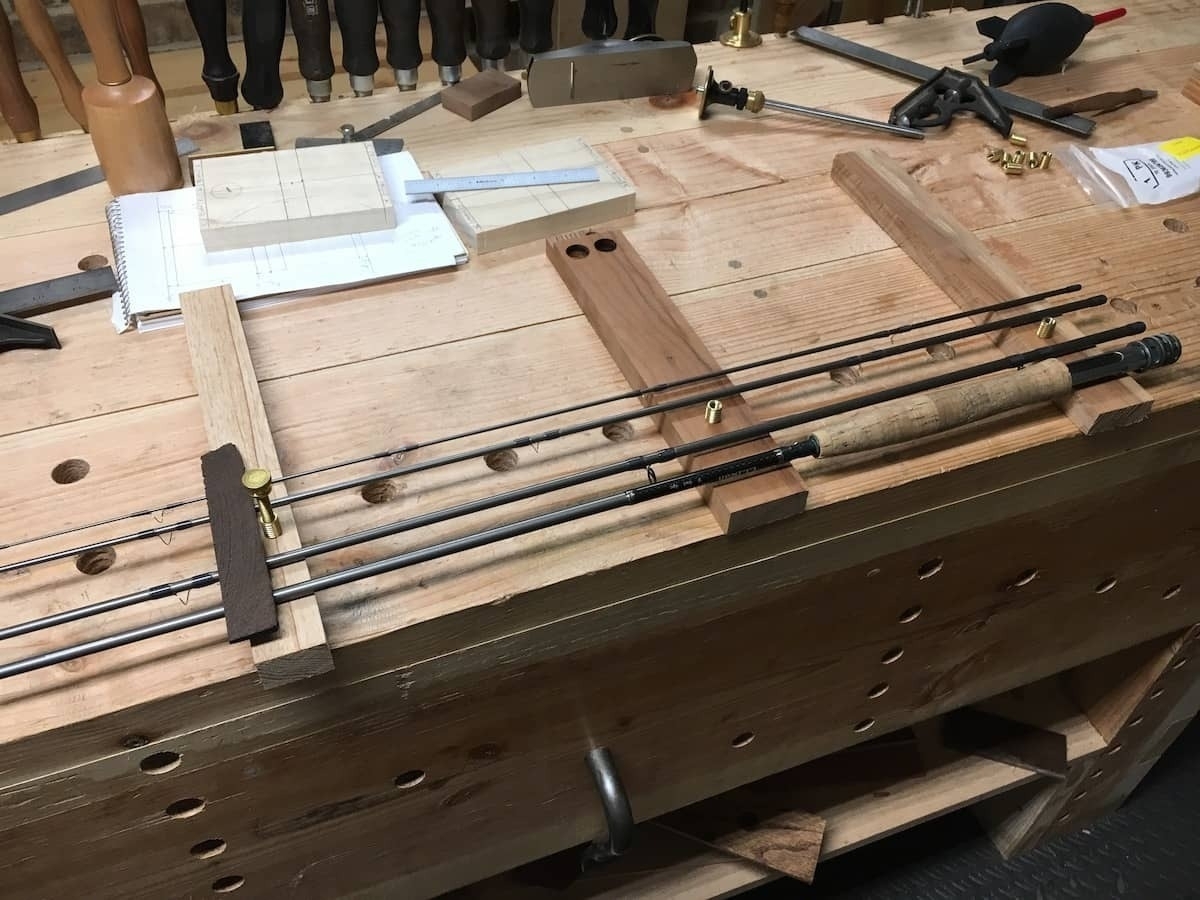
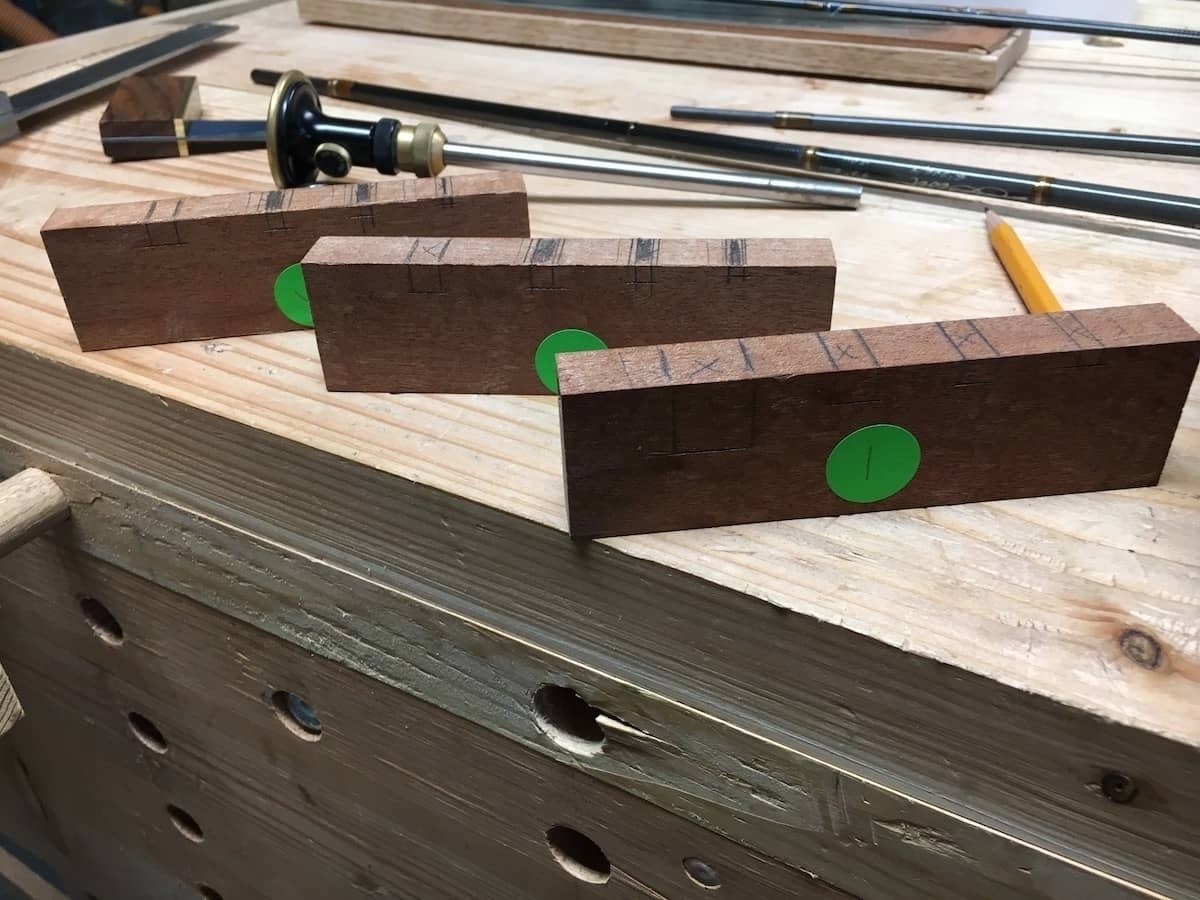
Next up, I had to figure out how to secure the rod in the box. Here, I'm laying out the rod sections on scrap wood to see where to place the inserts in the box that will hold it in place. I used sapele for the inserts (to match the mitered frame of the box lid) because I thought it balanced it out nicely with the contrasting walnut.
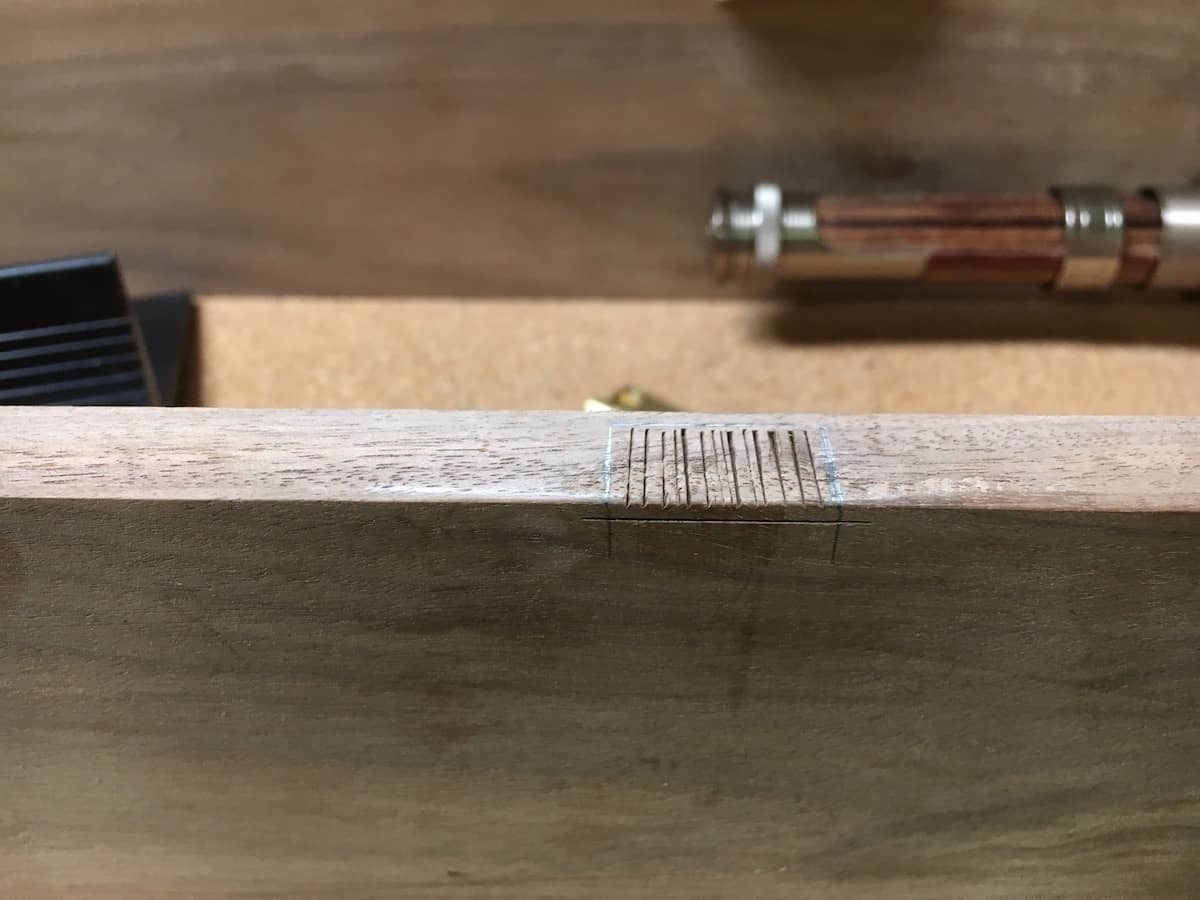
And here are the inserts that will hold the rod. I used double-sided tape to hold the rod pieces in place on these blanks, then used a pencil to mark out the lines. I used a marking gauge to figure out how deep to make each groove.
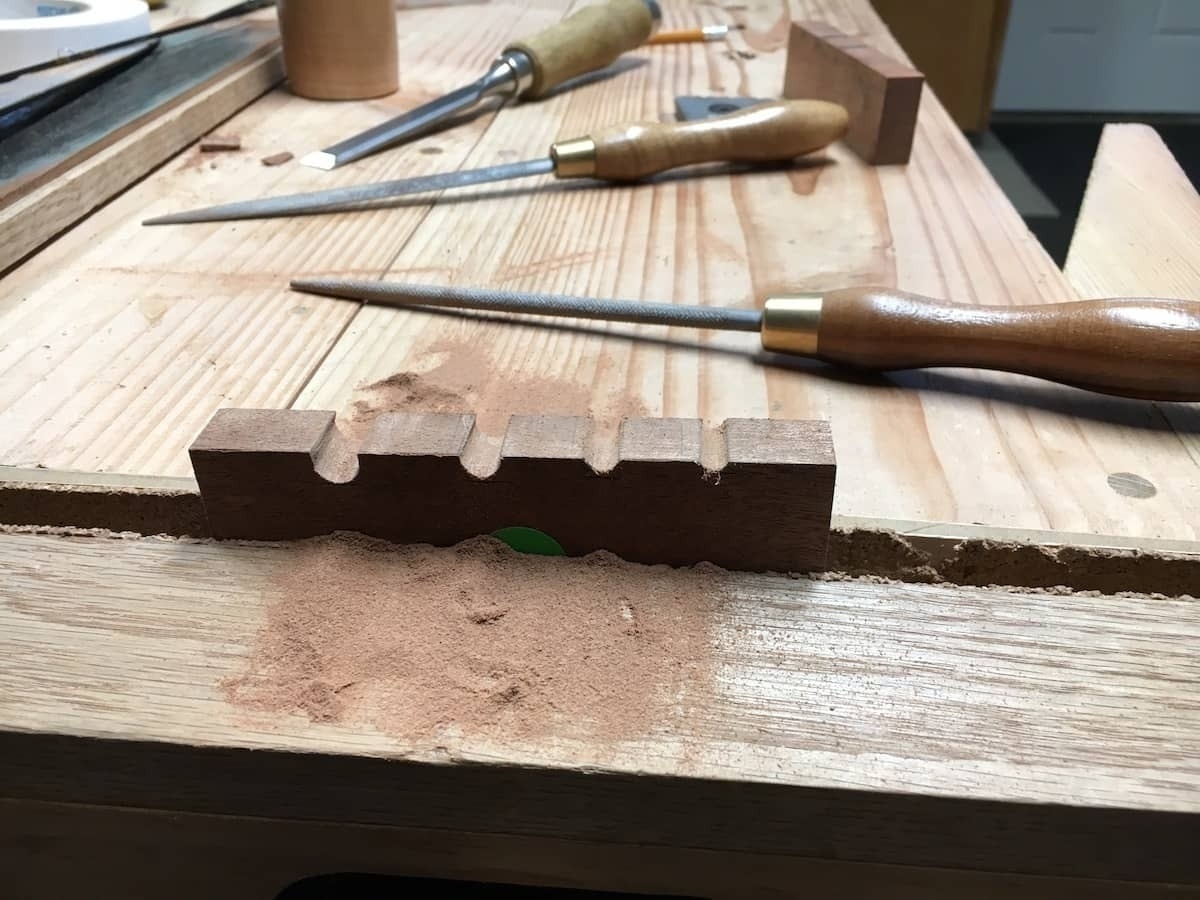
I used Auriou rasps to file out the grooves to hold the rod in place. These rasps are expensive, but they are so worth it.
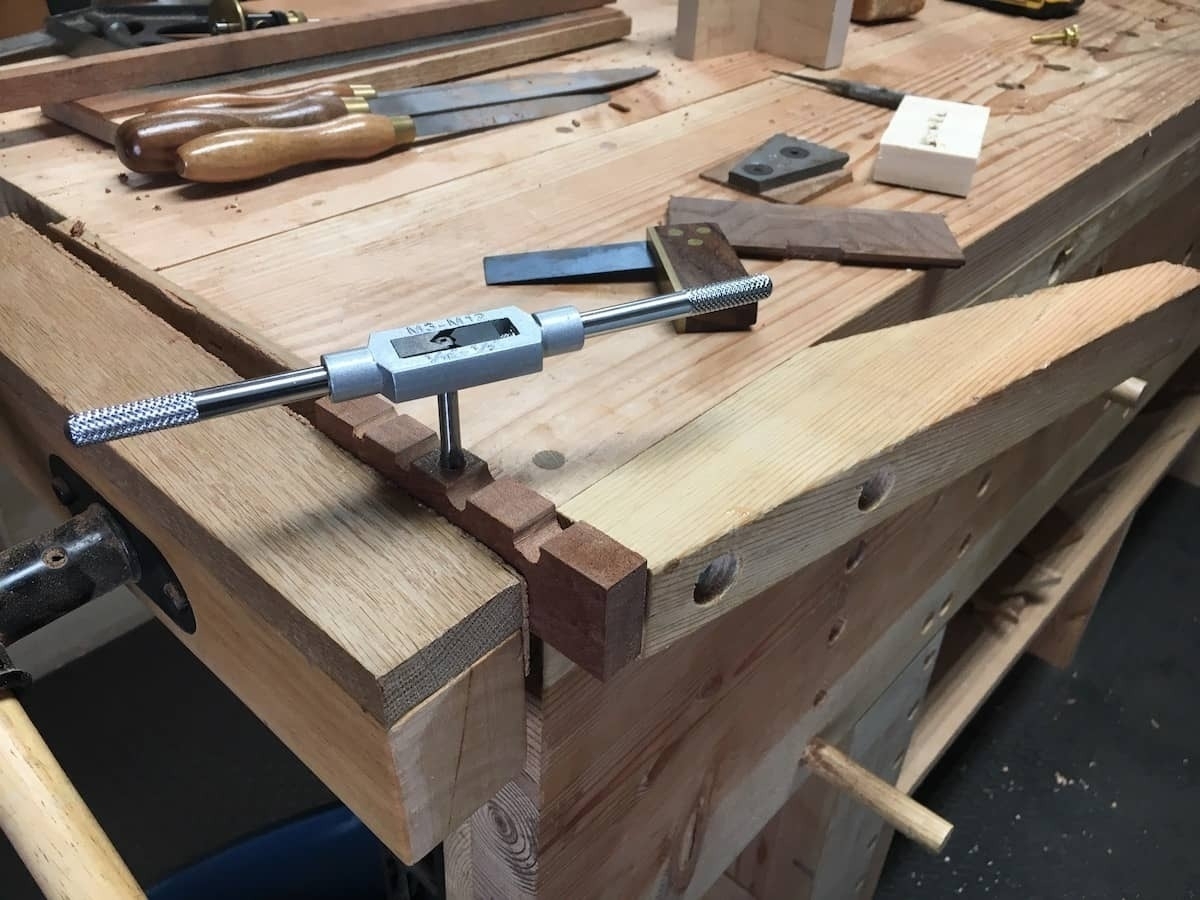
For the center insert that goes in the box, I threaded the wood. Why I did this will be apparent in the next photo.
This is the center insert with the threaded hole. I used a brass thumb screw here from McMaster-Carr to attach a small swinging arm. This arm keeps the four rod sections held firm when locked down.
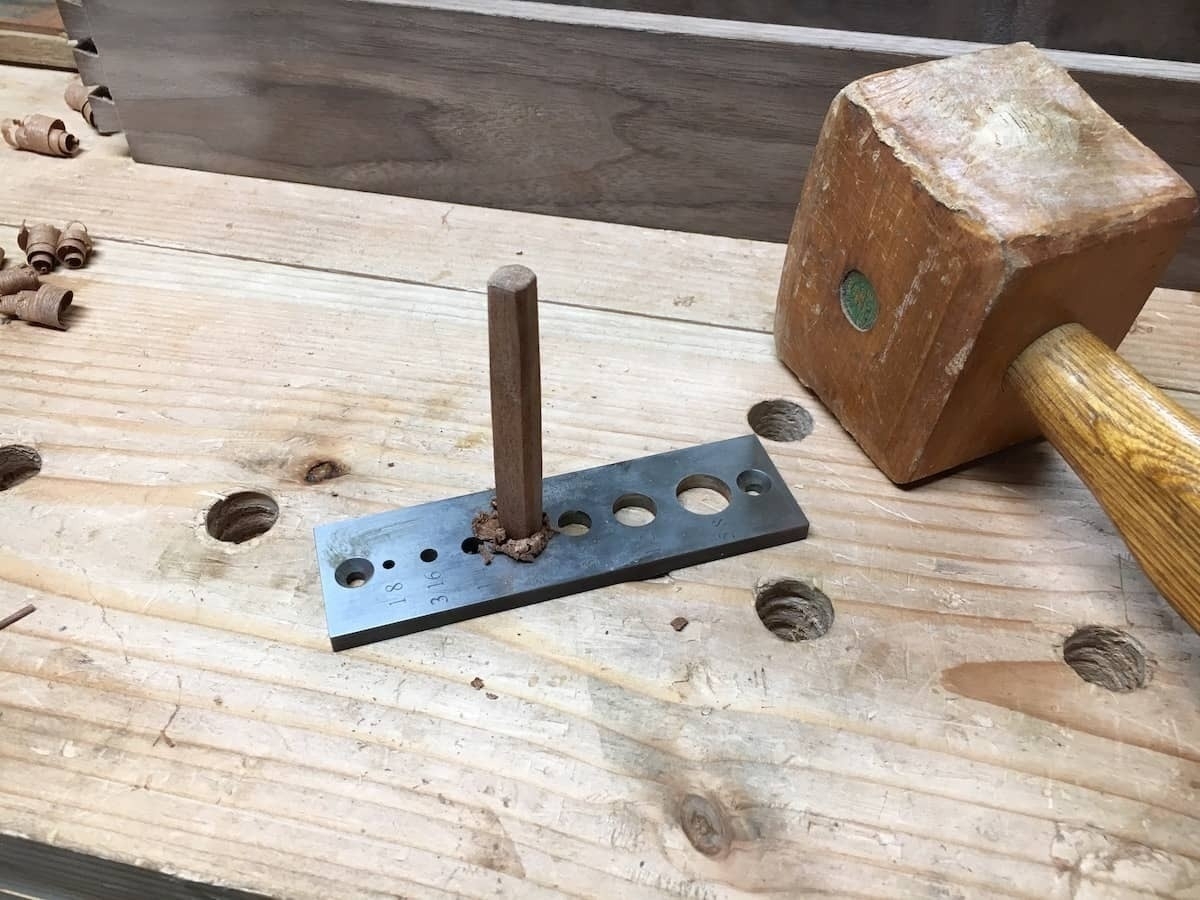
Next, I made a 1/4" dowel, which is used to hold the reel in place in the box.
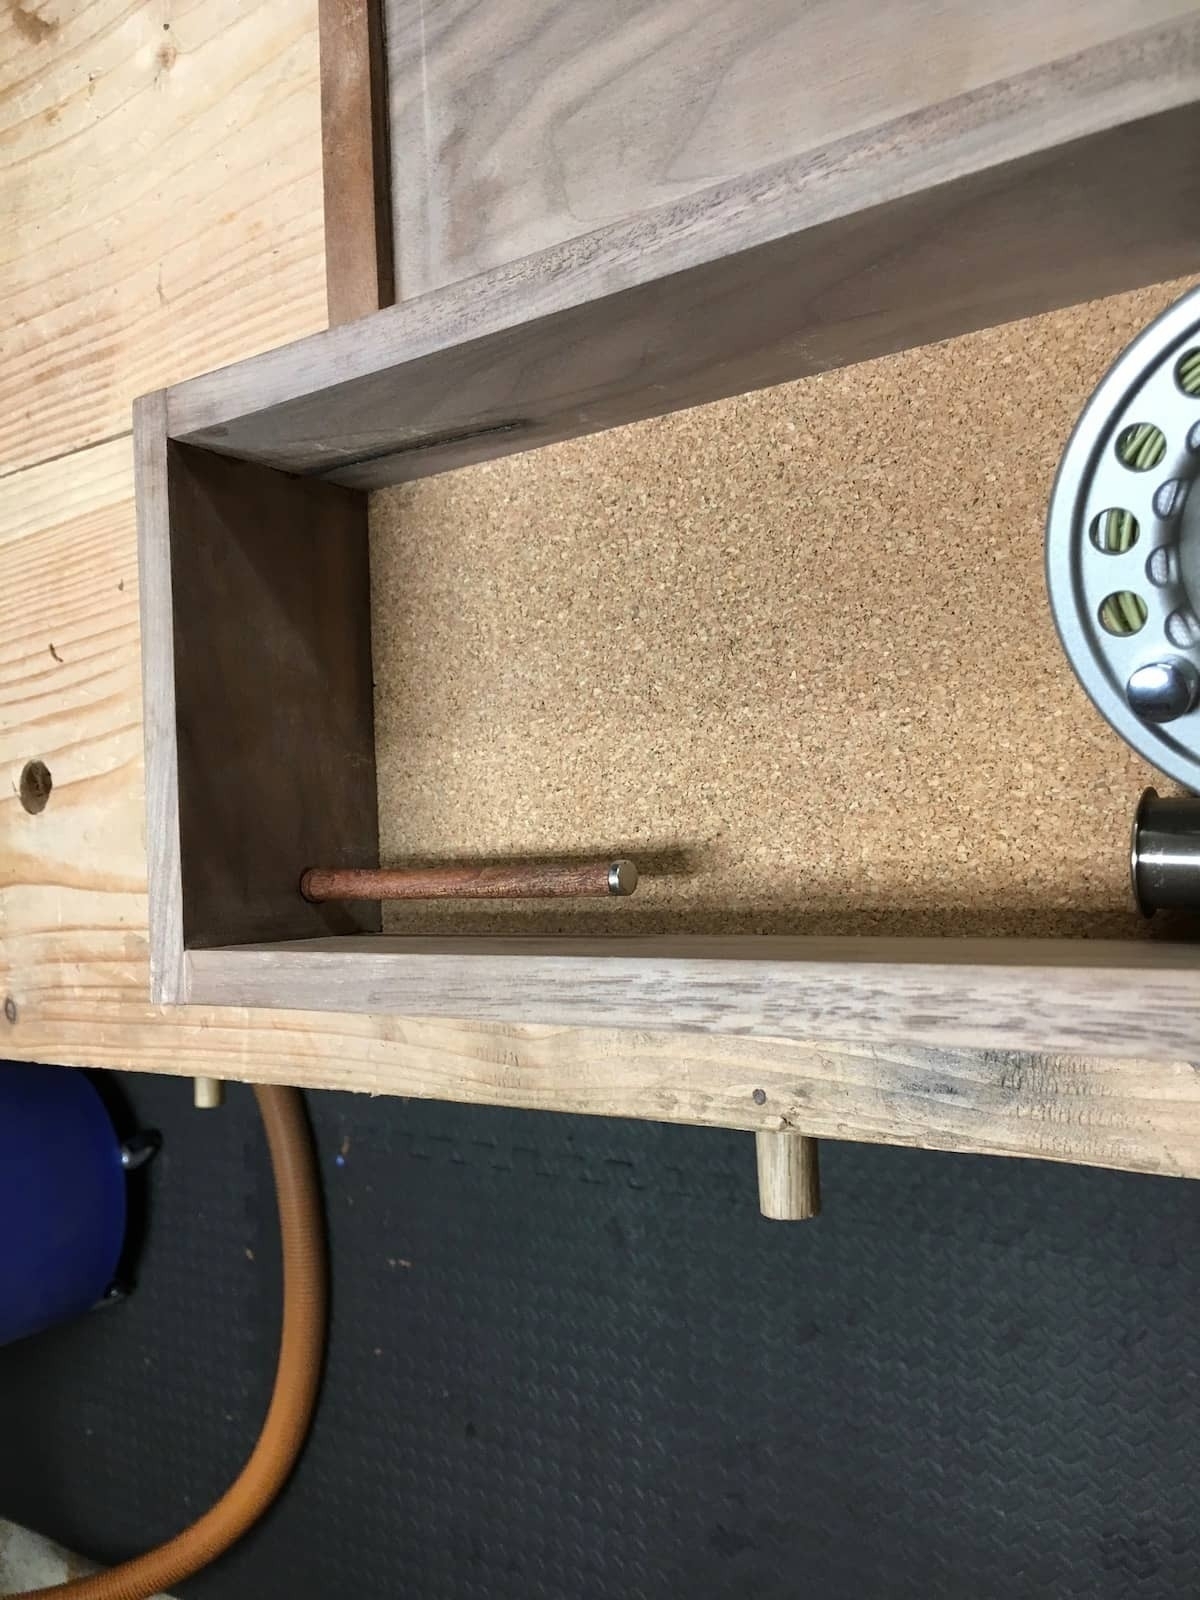
Here is the dowel attached to the inside panel of the box. I glued a small rare earth magnet to the end of the dowel. For the reel, I'm holding it with a reel seat blank, in which I also glued a magnet. When the reel seat is slid down onto the dowel, it locks in place with the magnets so to hold it securely in place.
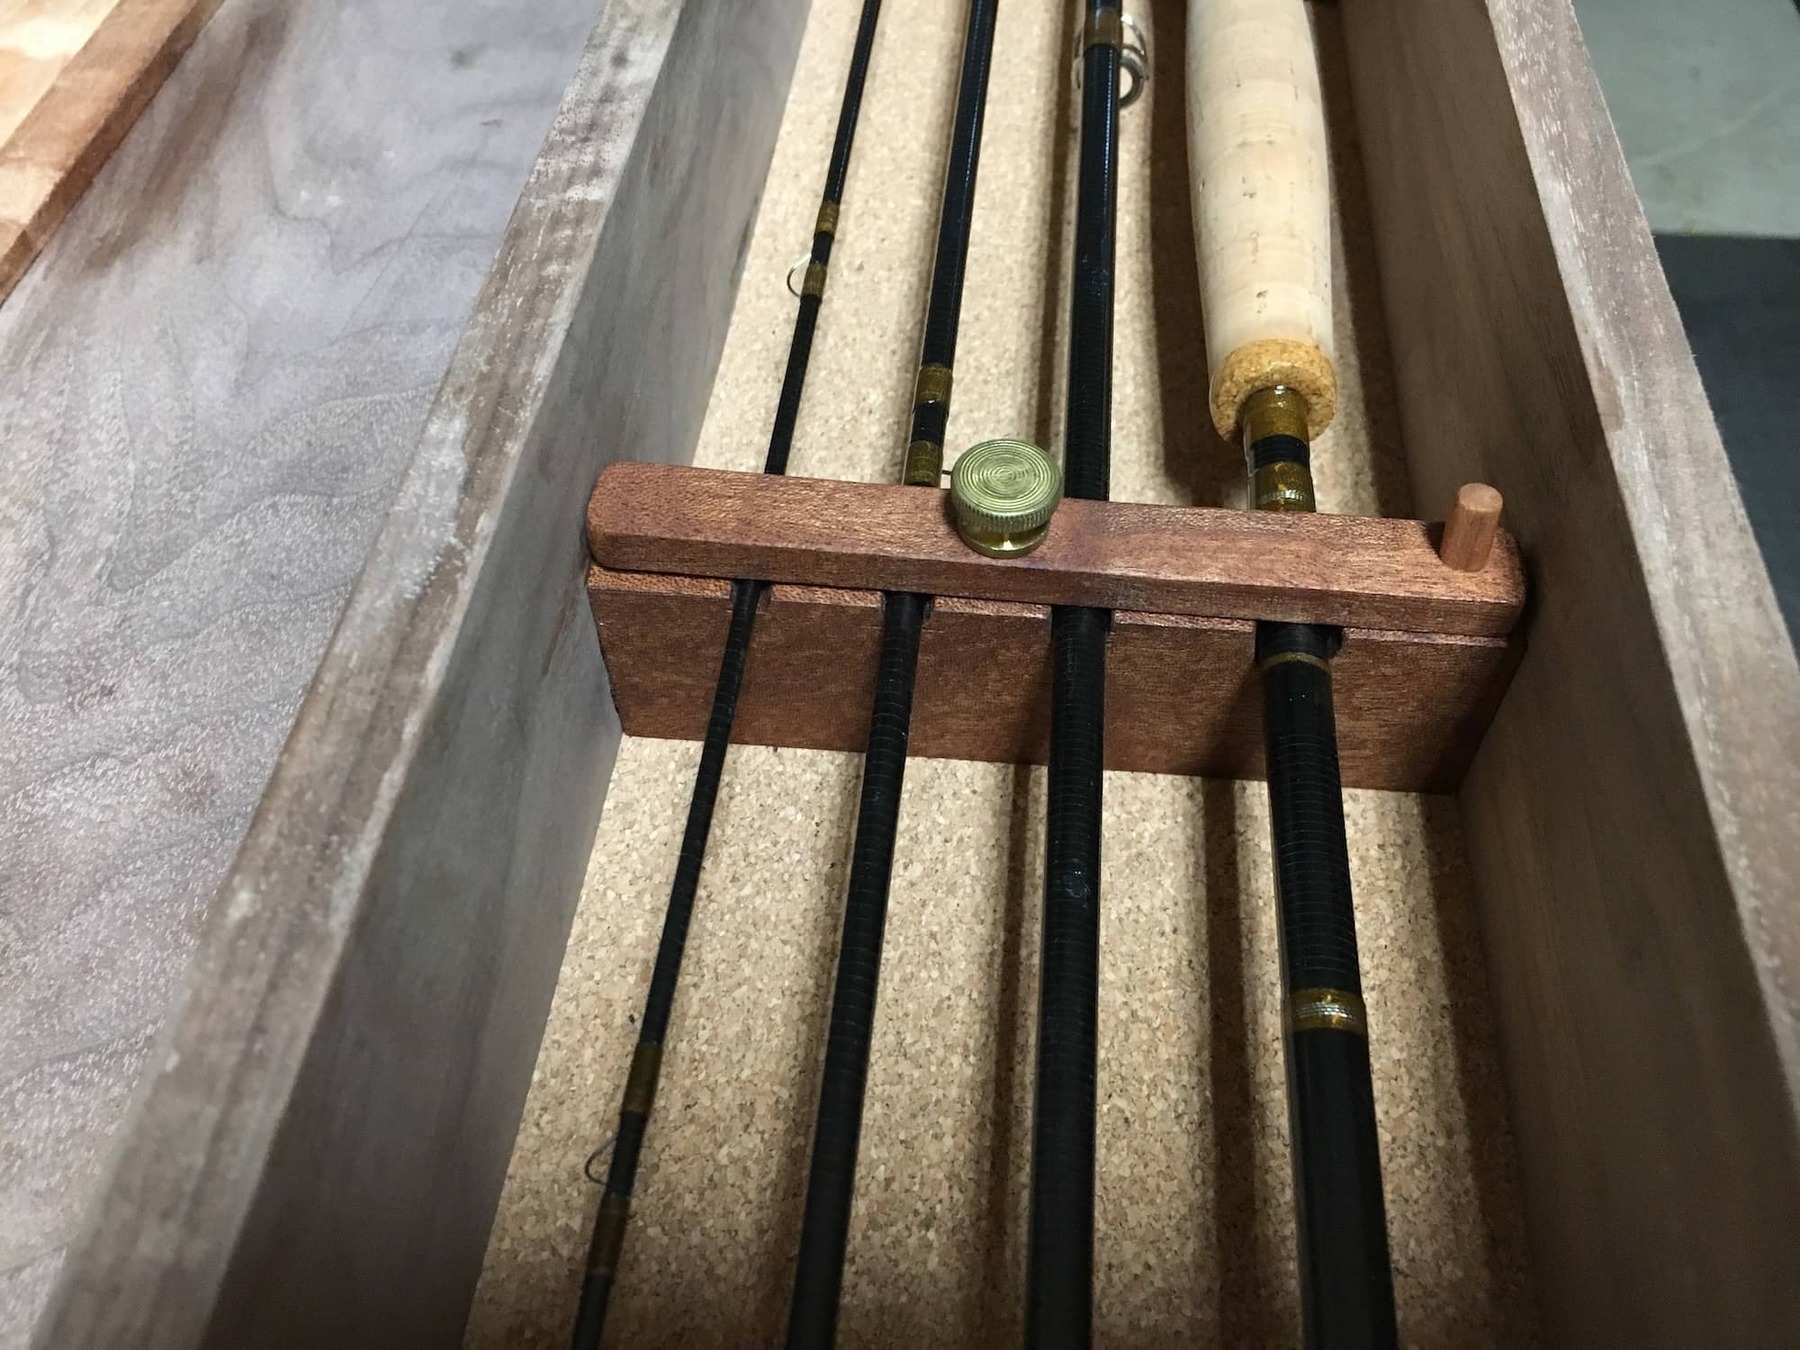
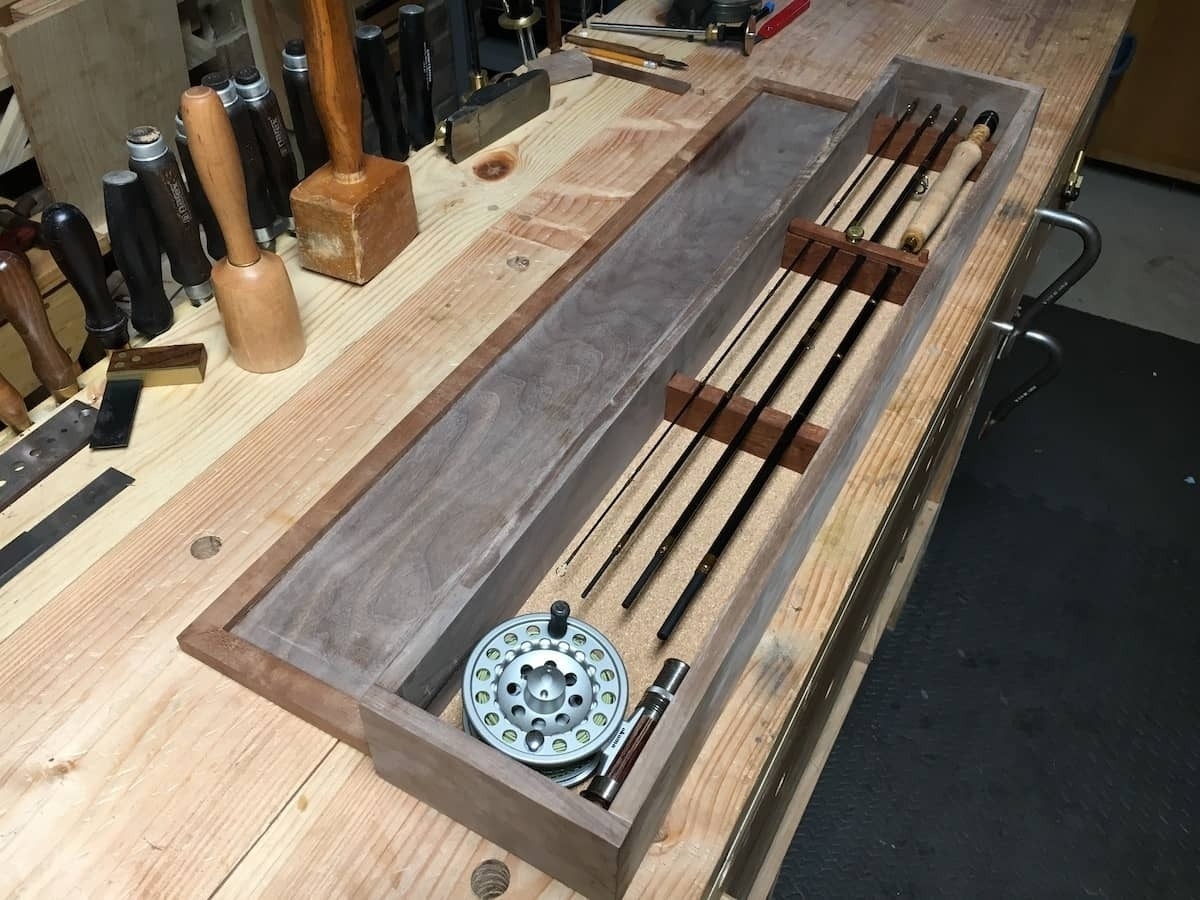
Here's what it looks like when it's all put together, with the rod and reel locked in place.
Now all that's left i installing the hardware. Here, I'm cutting a mortise for a butt hinge. I used Brusso hinges for this project and they are worth the money. I started out with some gentle chisel cuts. The depth of the hinge mortise is set with a marking gauge.
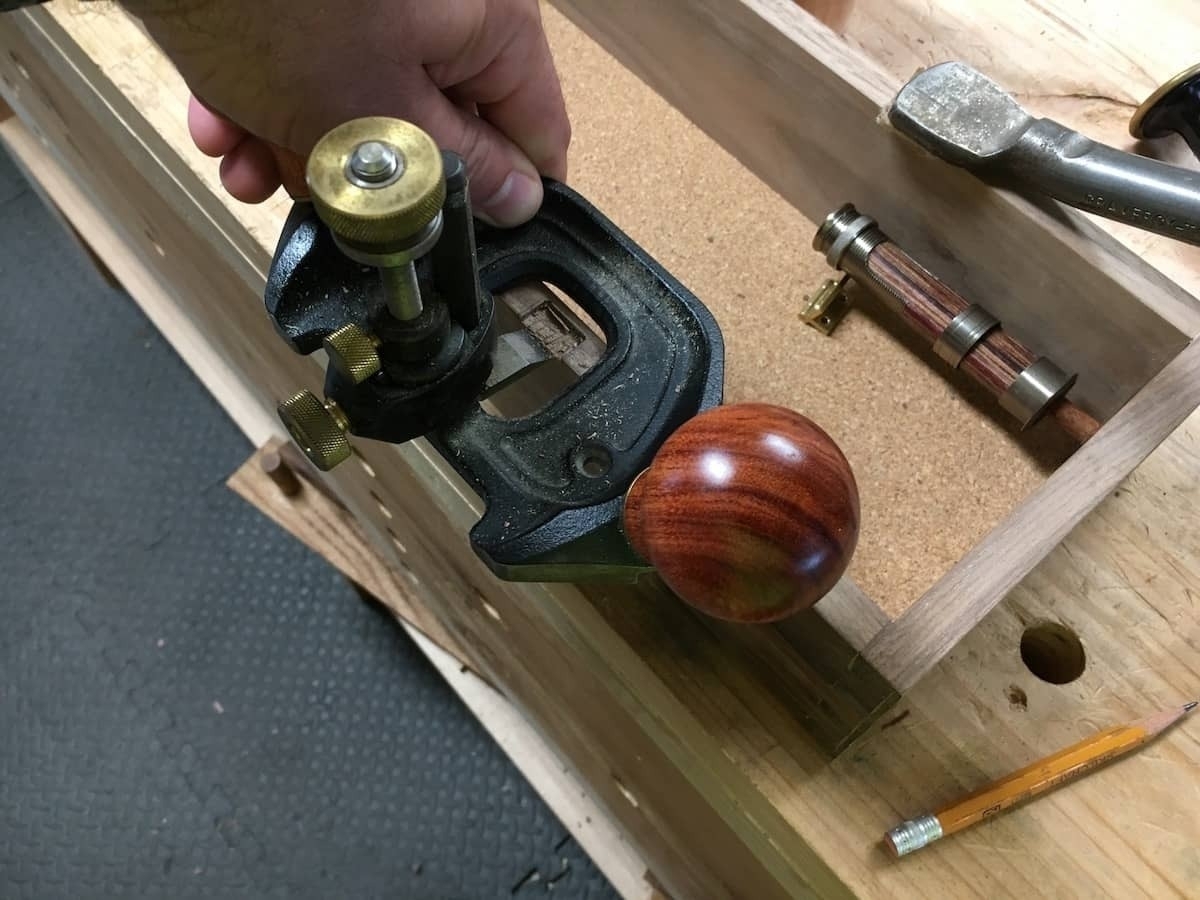
Then I used my router plane to smooth the bottom of the hinge mortise after I chiseled out most of the waste. I slowly crept up on my lines and dry fit the hinges many times to ensure a tight fit.
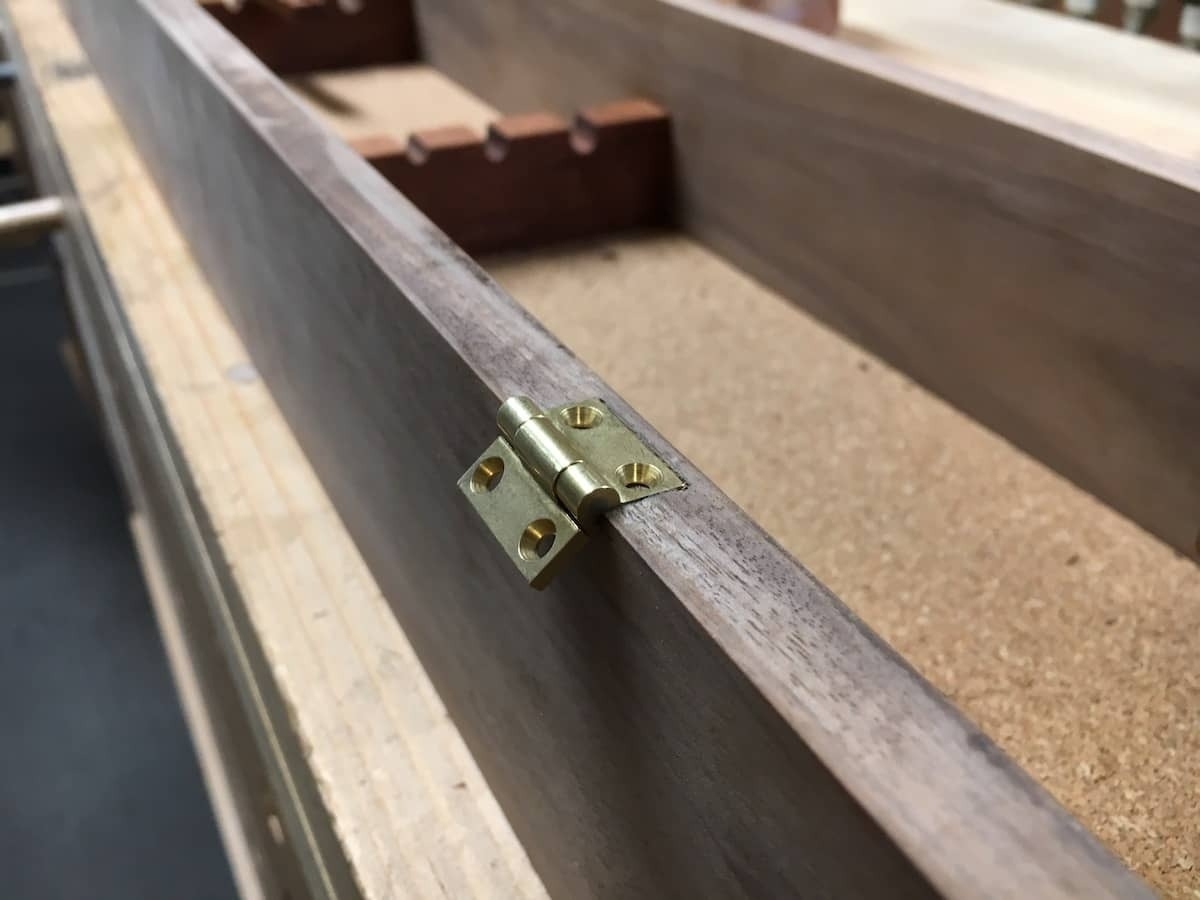
This is one of the butt hinges in place after the mortise was completed.
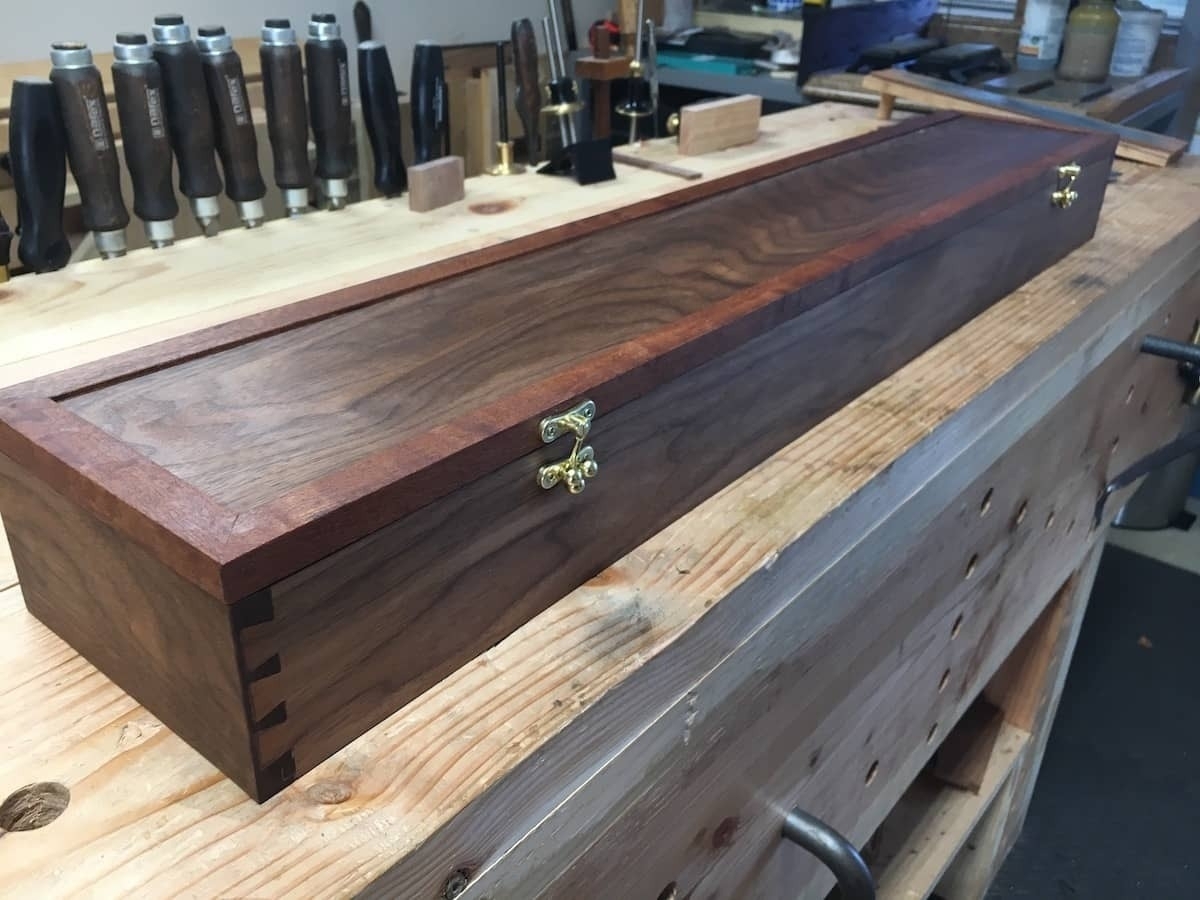
And here is the box with all the hardware attached. In addition to the butt hinges, I installed small box ball clasps from Woodcraft to hold the box closed. The chain support is from Rockler.
I finished the box with two coats of Osmo wood wax.