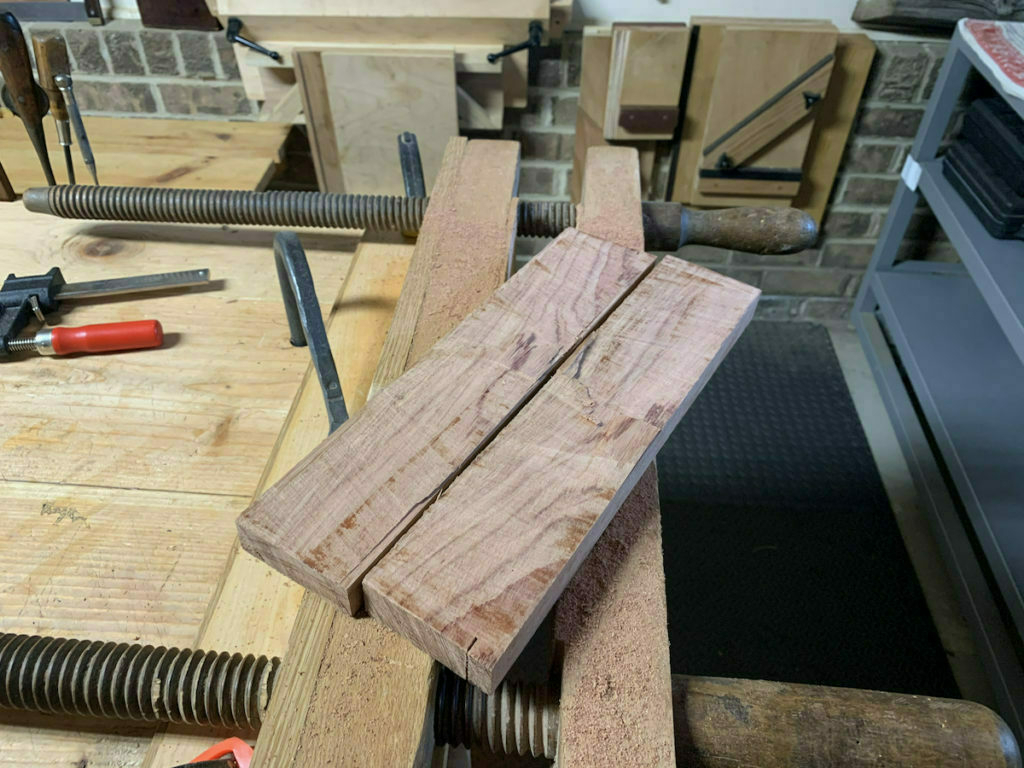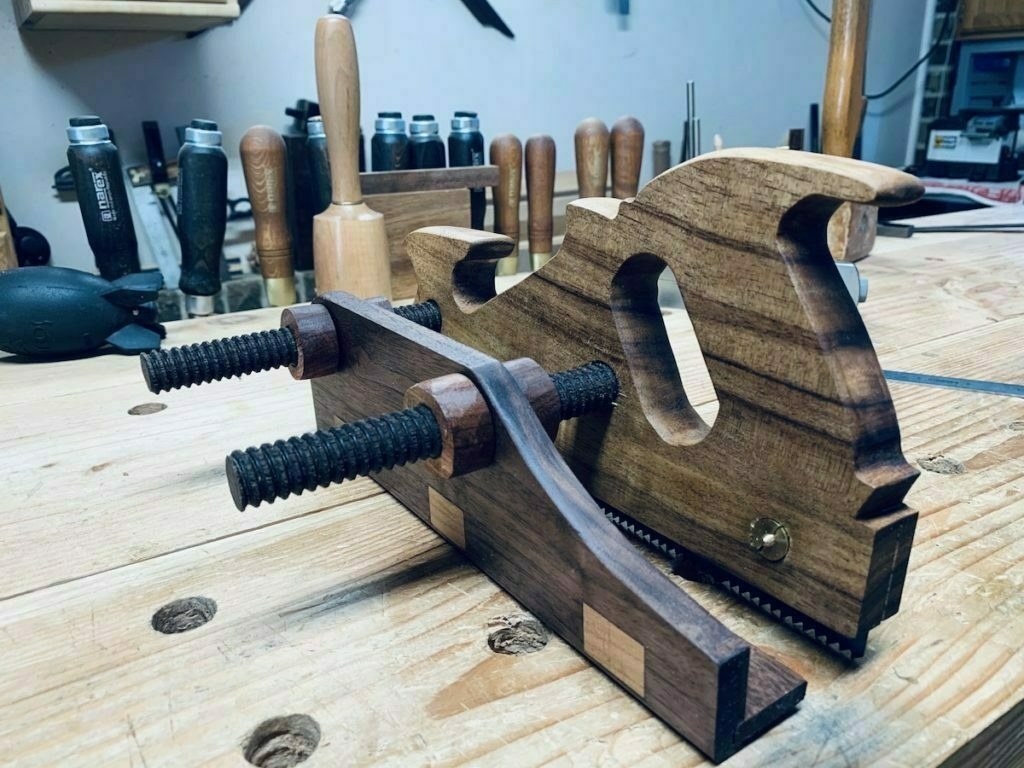
So I purchased the metal hardware to build a frame saw and kerfing plane from Bad Axe Tool Works. This was, for me, an intimidating project to build these tools using only hand tools. The plans I used are from Tom Fidgen's The Unplugged Workshop. The plane, in particular. Here's how that went.
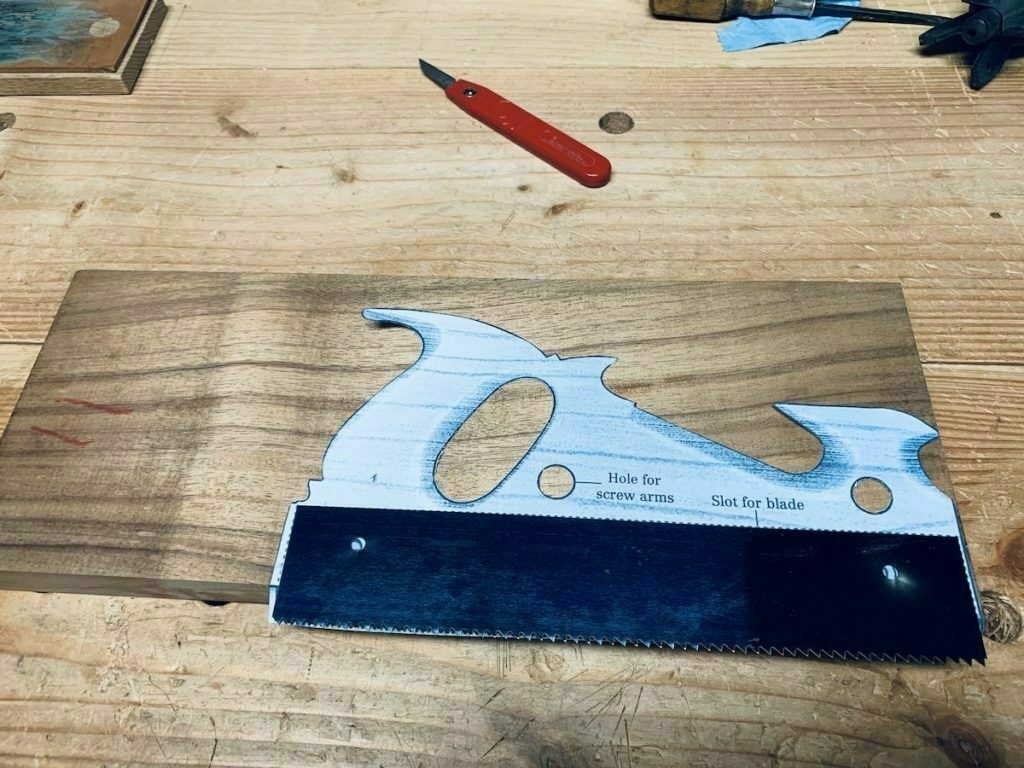
I started with a small slab of Koa. It’s a special plane, so I decided to use some of the special wood I had bought when I had lived in Hawaii. I printed out the plan for the plane body at actual size and traced it out. I placed the plane blade here so I could better visualize what I was doing.
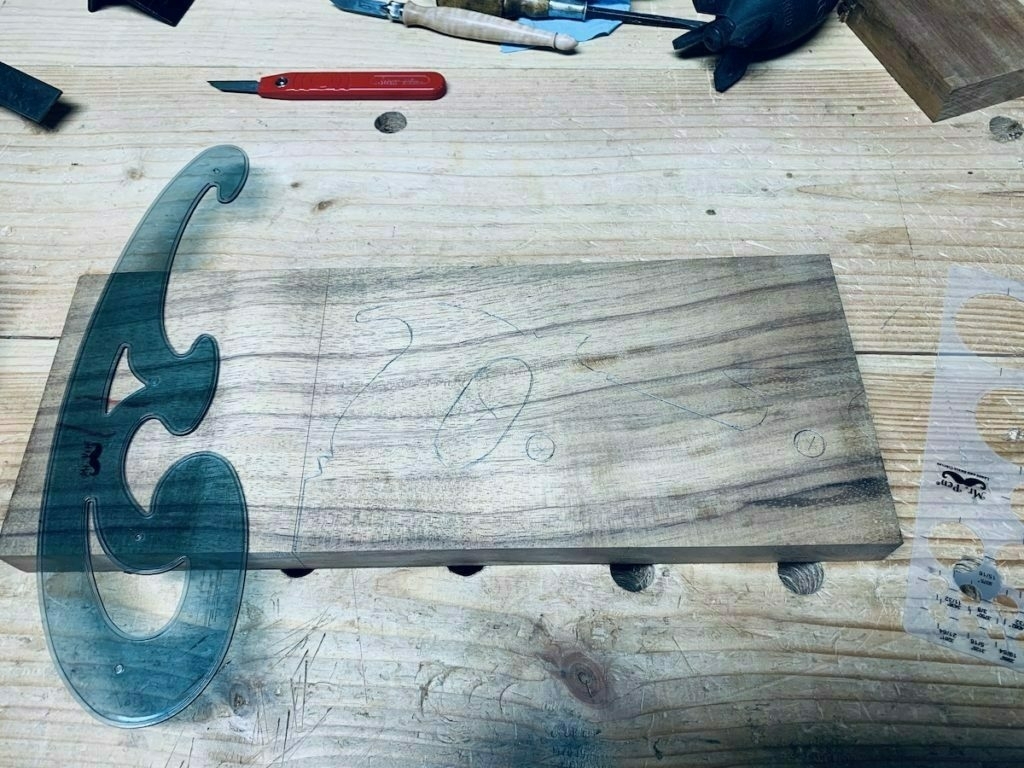
Here’s what it looks like all penciled out.
I cut out part of the body with a Carcase saw and my bow saw. Then came the scary part: carefully drilling out the holes for the special screws (forget the name of these) that would hold the blade in place.
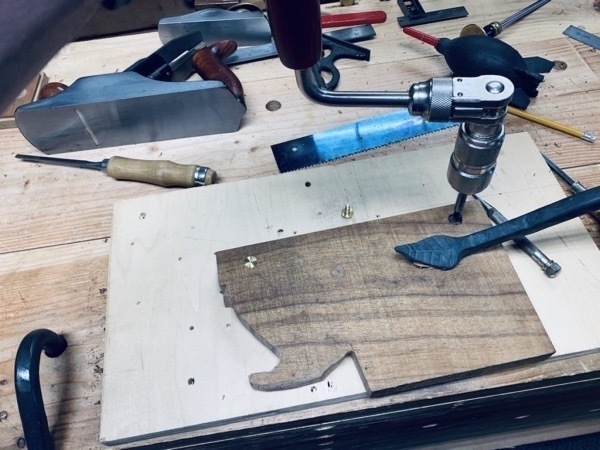
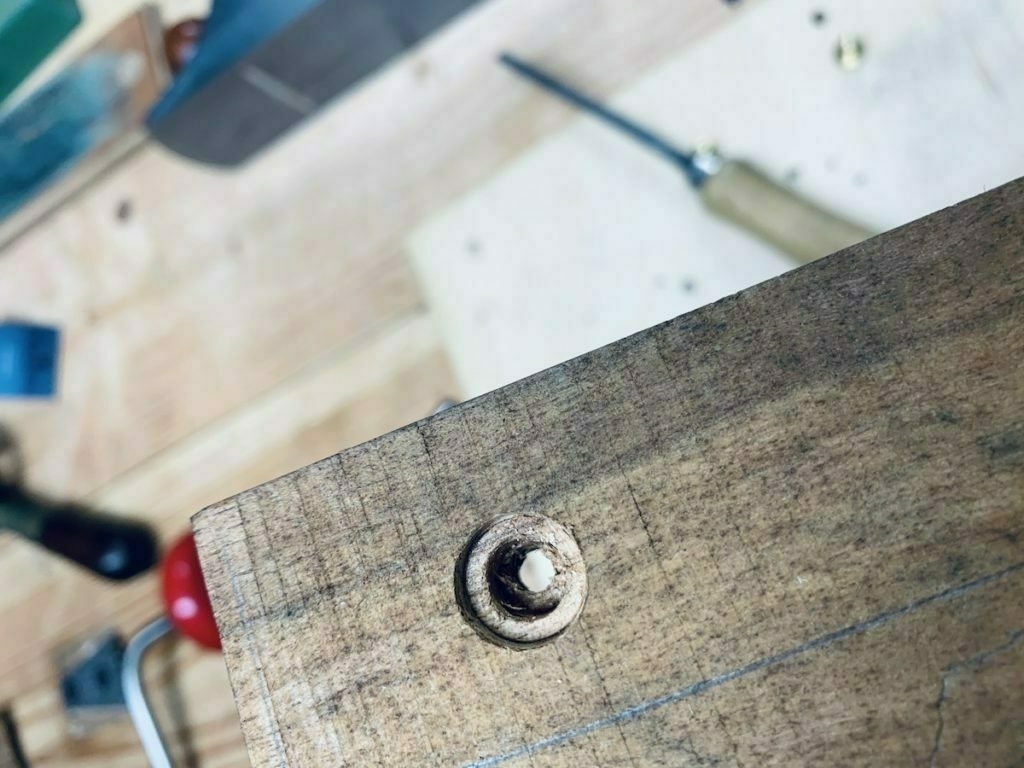
You have to drill two holes on each side so that these screws sit flush. Not easy to do with with a hand drill, I discovered.
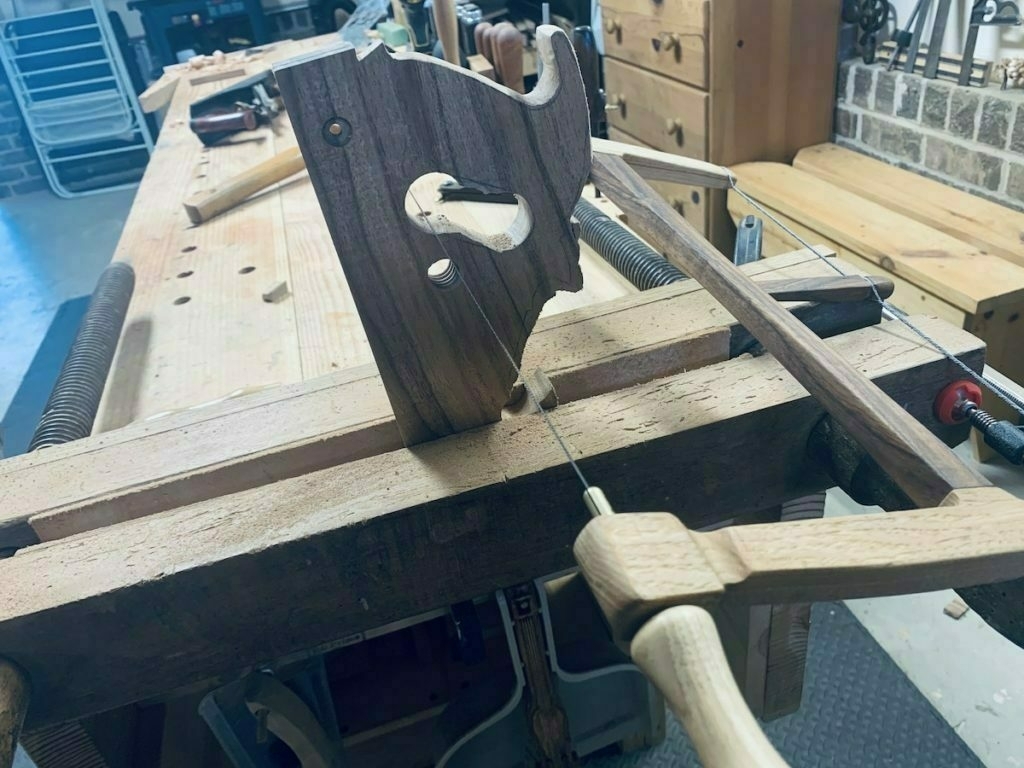
Here’s a View of cutting the inside handle hold with my bow saw.
And then some heavy and tedious filing to get everything down to the lines and smoothed out.
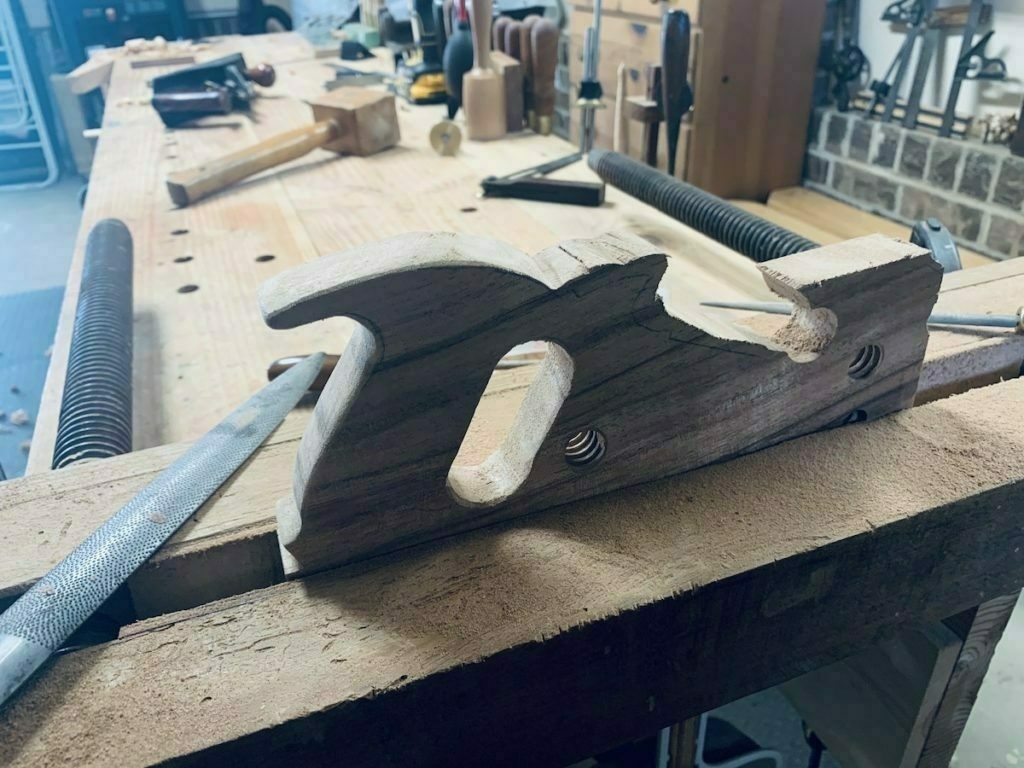
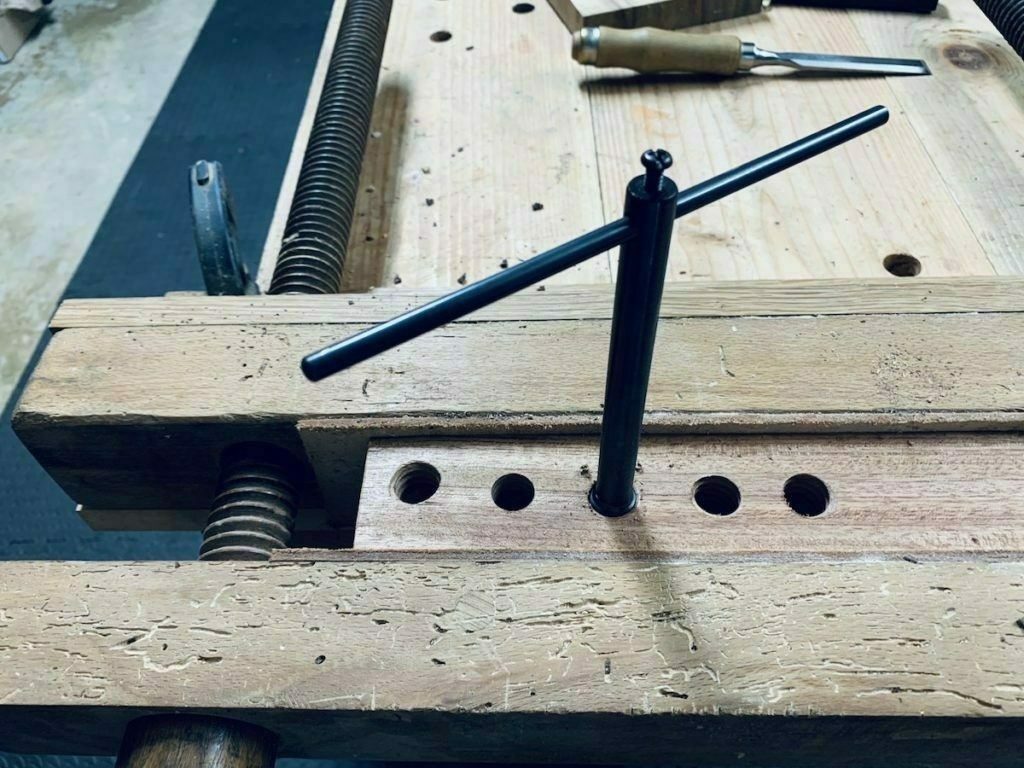
The threads in the plane body and the threads for the bolts are created with a thread cutter.
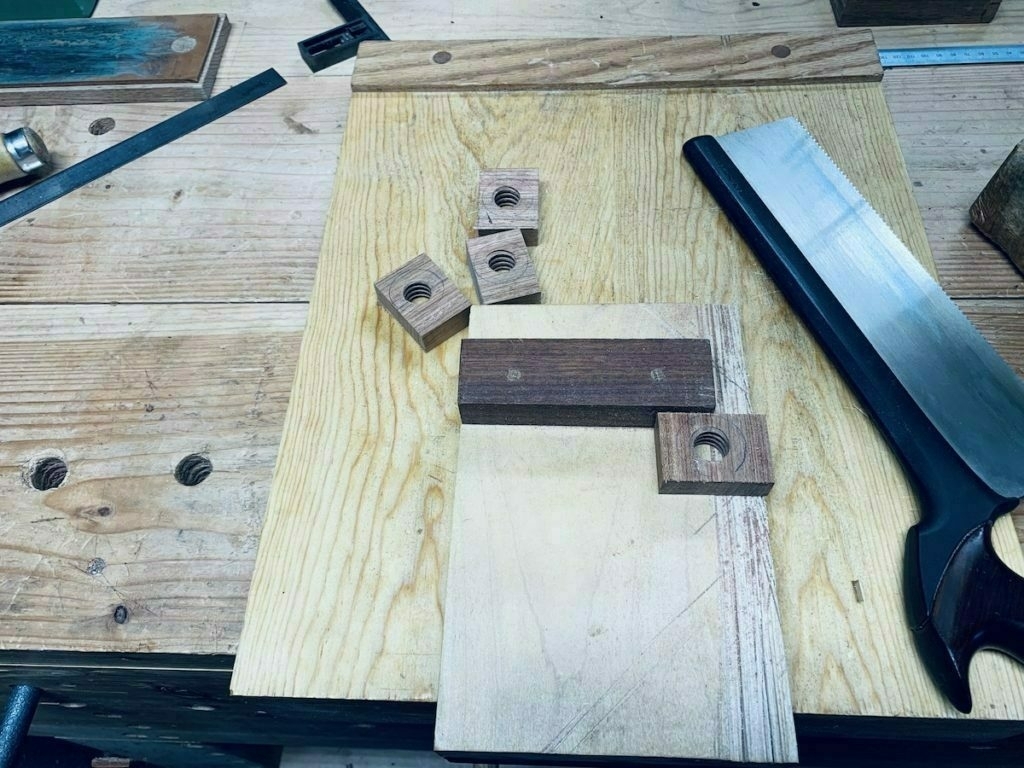
And here is how the screws are made for the arms. I used walnut because it’s pretty easy to work with, relatively speaking.
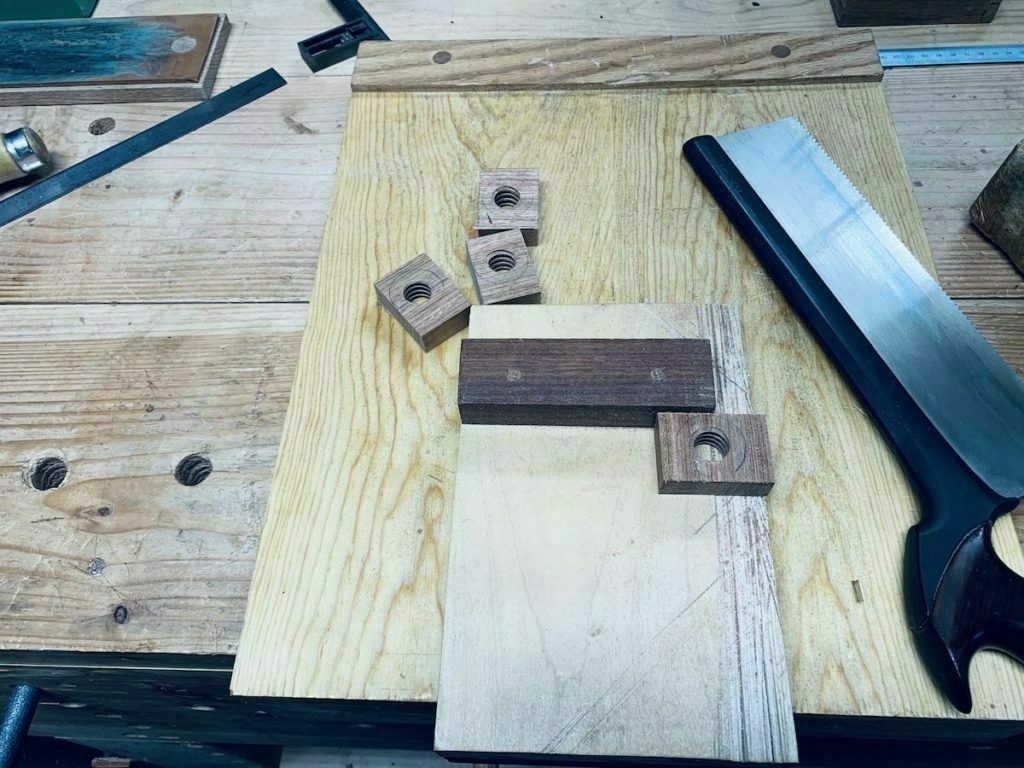
Rough cut for each wooden bolt. Then file them out to round them.
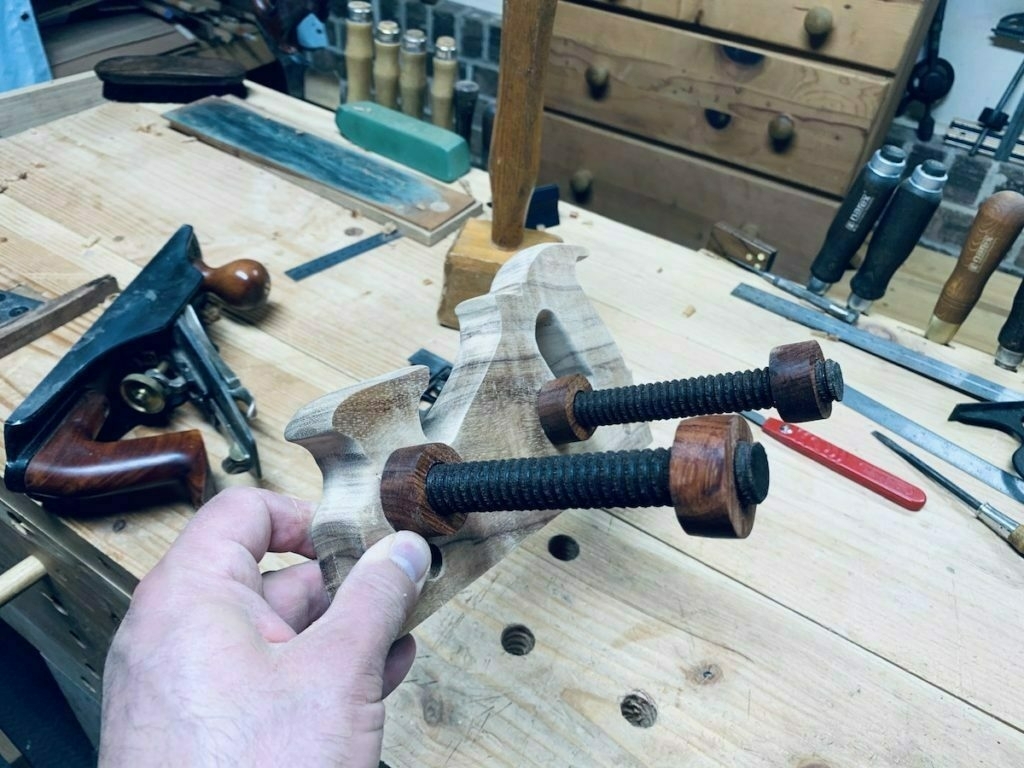
The completed arms with the bolts. These fit into the plane body like so, using the threads I created.
The most terrifying part of the plane build was cutting the kerf to fit the blade. It had to be perfect, so I created a jig to guide my saw and went really, really slow.
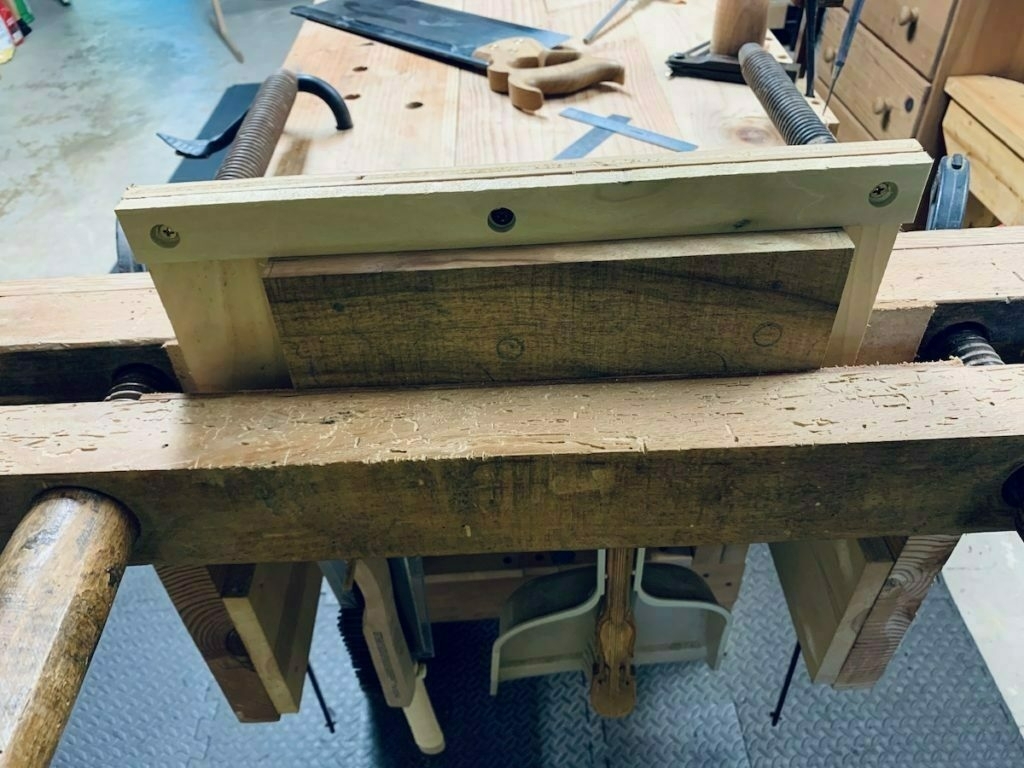
So I created this fence for the plane and glued it up, then realized I had made a terrible mistake. It’s way too thick. It needs to rest against the blade, but this fence hits the plane body and was a total fail. Not sure how I got to this point, but there it is. So what to do?
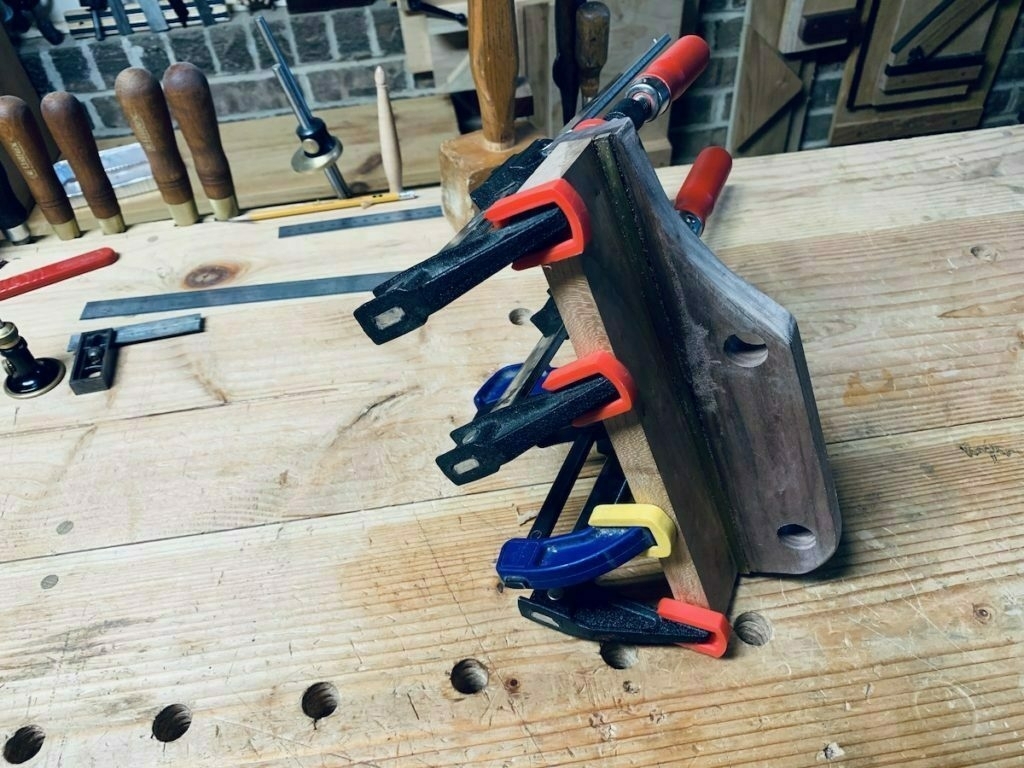
I could have started all over with the plane fence, but I decided to salvage it. So that’s why you see these interesting light colored things that look like joints that don’t joint anything. I installed a proper smaller fence arm. I tried to make the mistake look like a feature and not a bug. Here, you can see the blade is installed.

A view of the final plane from the another angle.
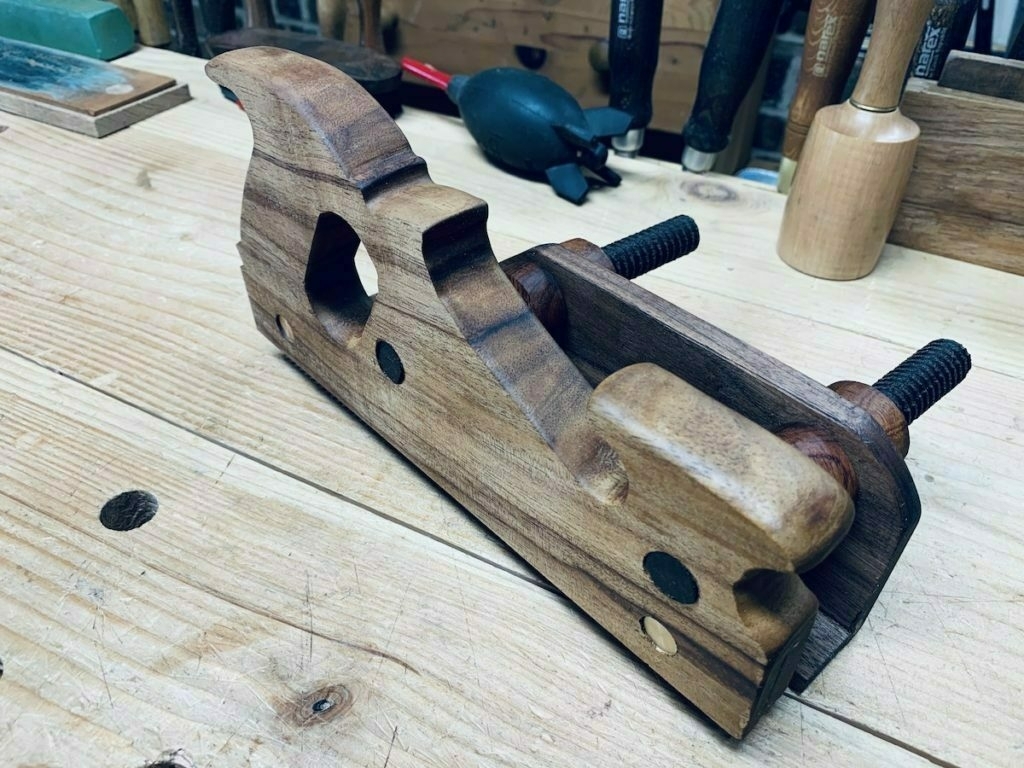
Here it is in action, cutting the kerf on a board that I’m going to resew with the frame saw. The wooden bolts lock the fence in place to get the desired line.
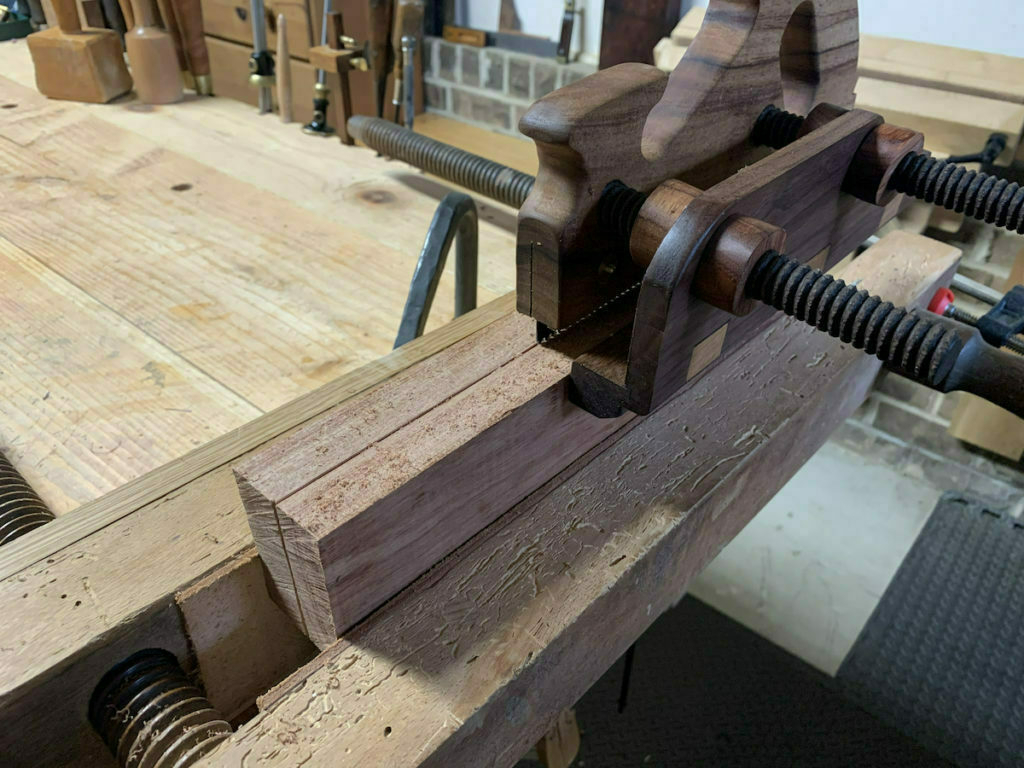
And that kerf gives you a good line all around the board to help keep the frame saw cutting true.
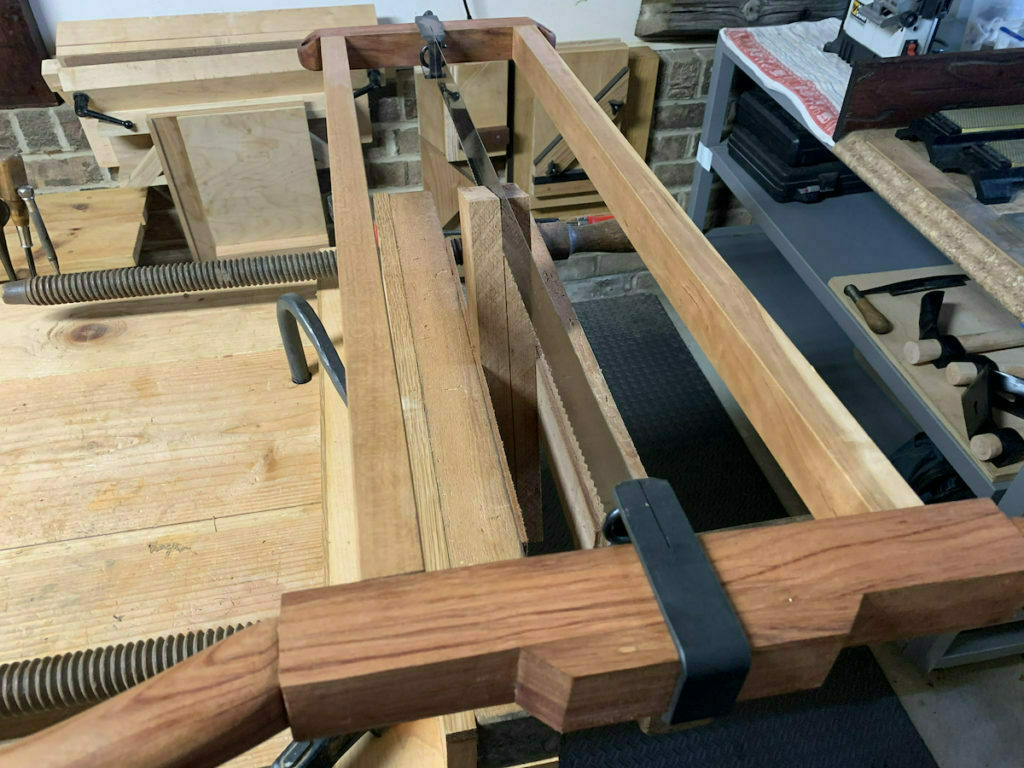
The result is resawed boards that are far better than I’d get than without using the Kerfing Plane.
