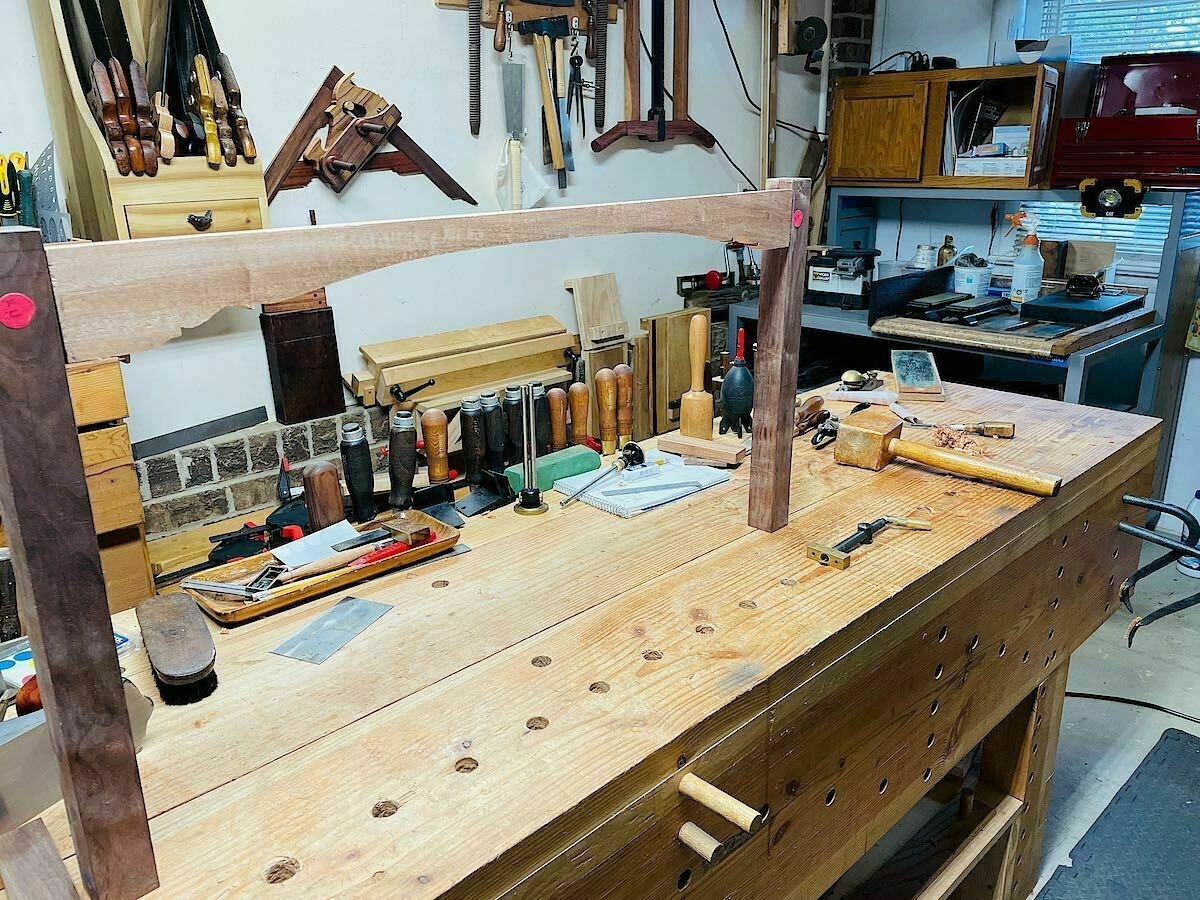
Making progress on the walnut bench. I’ve cut most of the mortise and tenons to connect up the legs. I’m using sapele for the aprons. This is the rough cut of the aprons using my rip and crosscut handsaws.
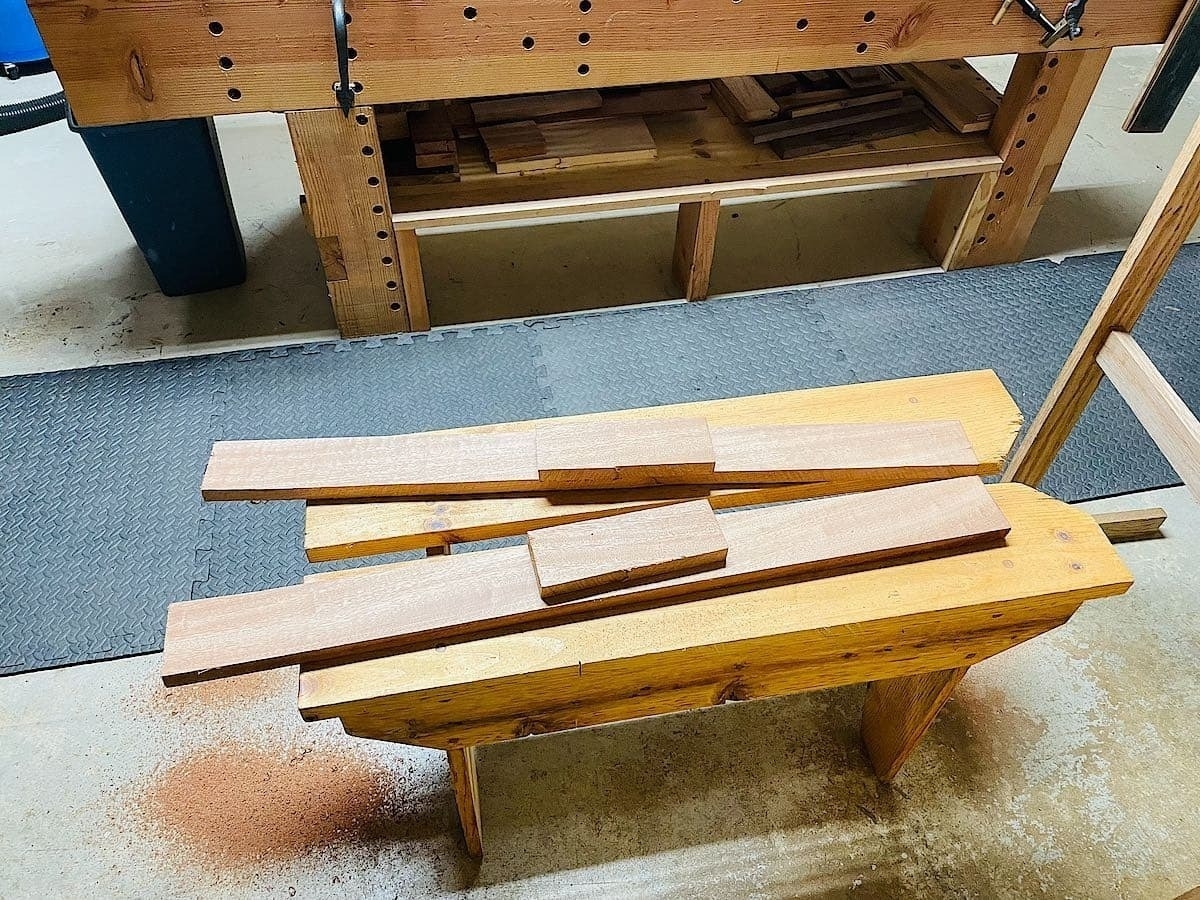
This image shows all of the markup for the tenons. I mark the lines deeply with a wheel marking gauge and then trace the lines with a pencil so they are easy to see.
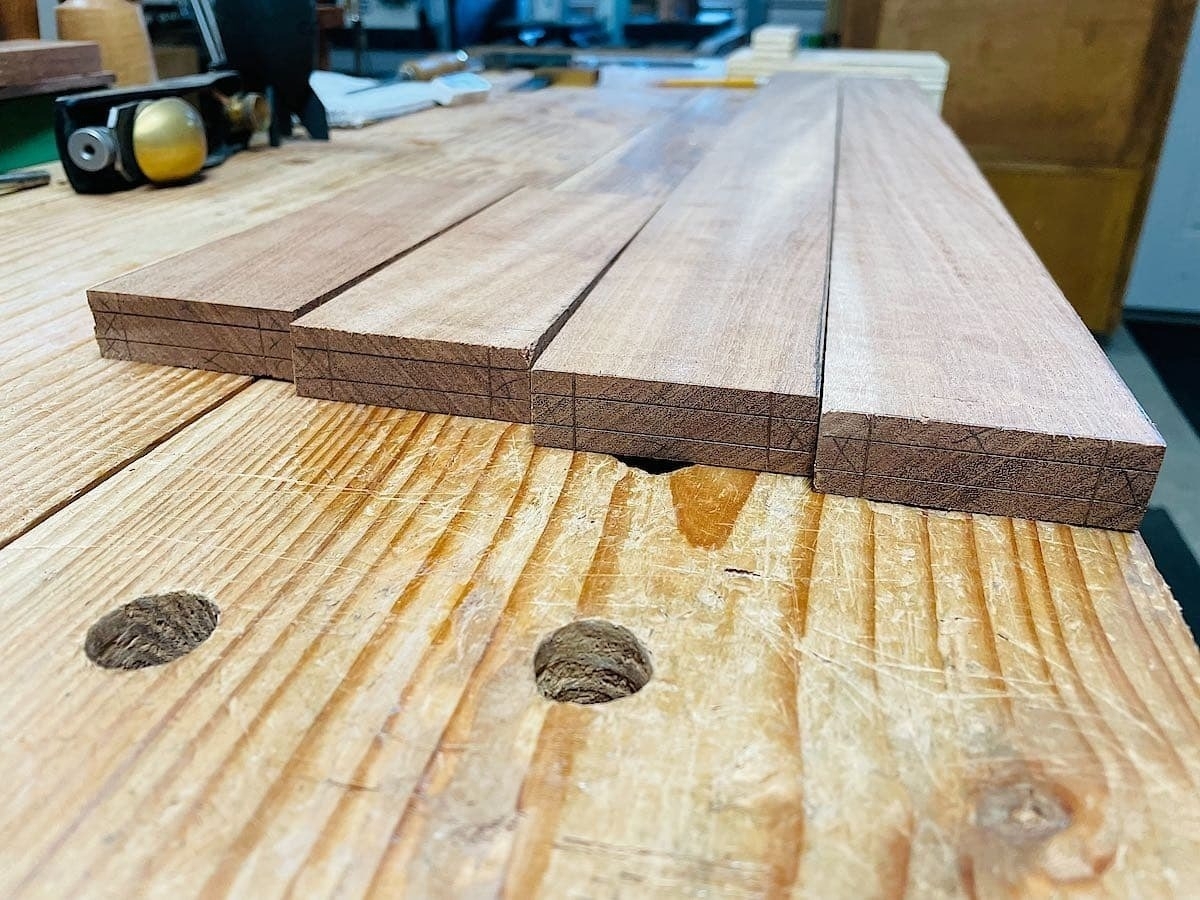
And here are the cut tenons … couple of hours later. I used a carcase saw to first cut the cheeks, then cut the tenons out. Afterwards, cleaned up with chisels to ensure the lines were straight.
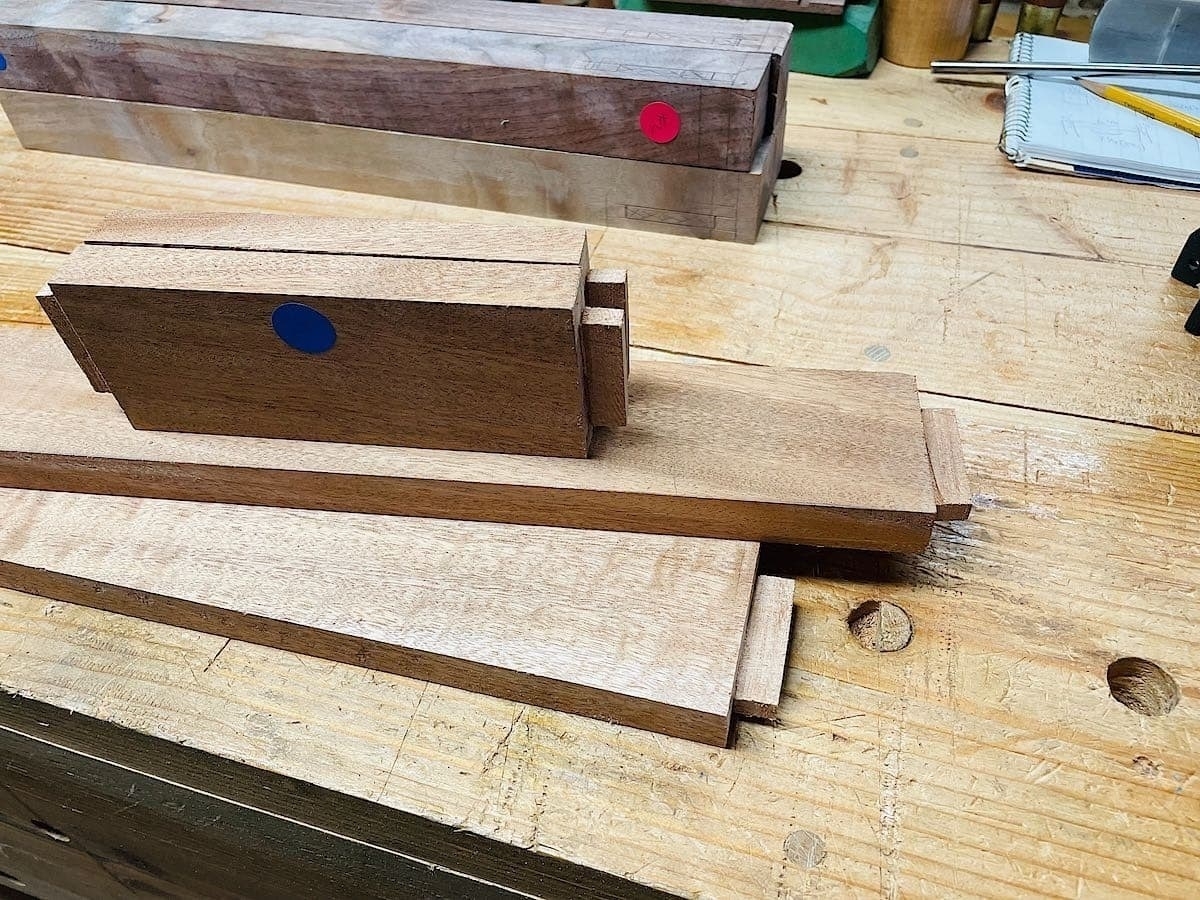
Then I started on the mortises. I marked it up so that the aprons will be flush with the edge of the walnut legs. The hand drill is used to cut out most of the tenon waste, then chisels to clean them out and square the edges.
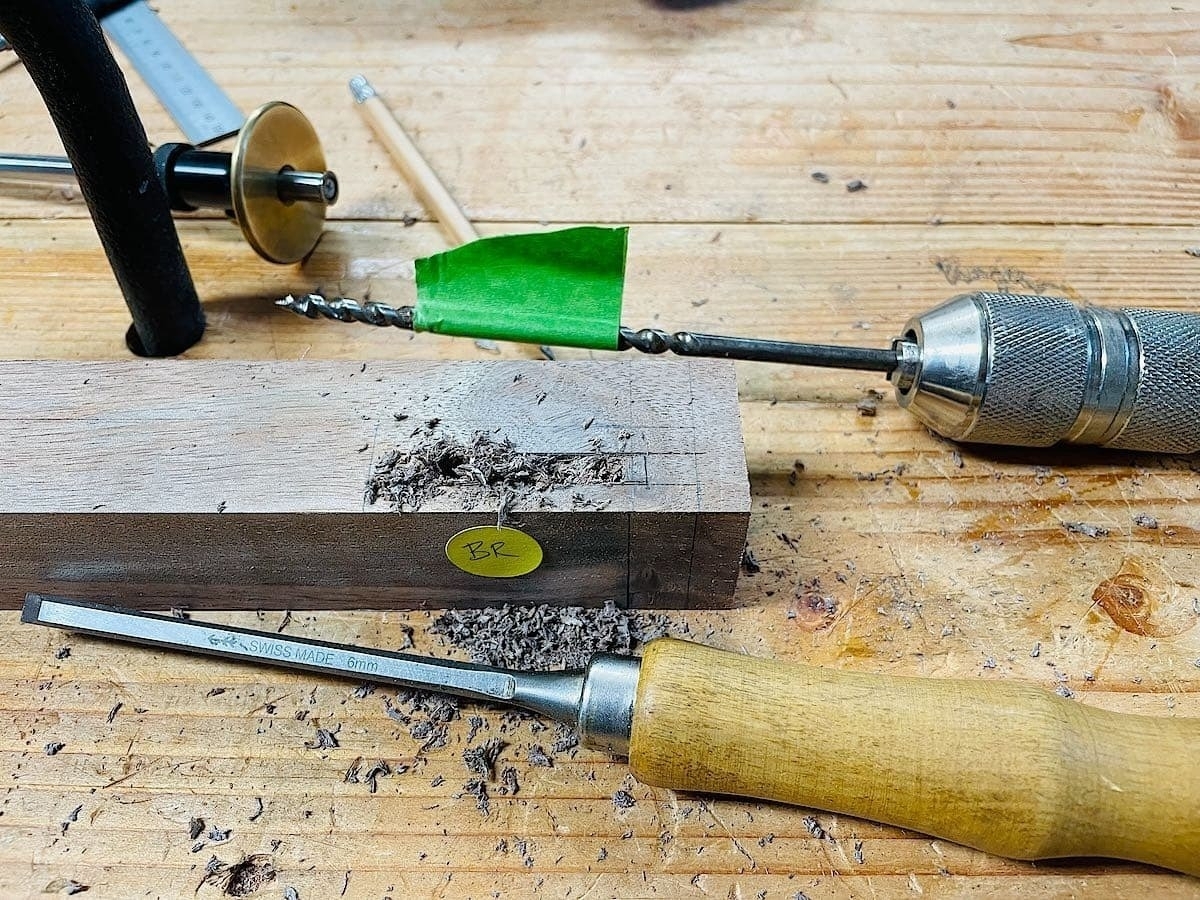
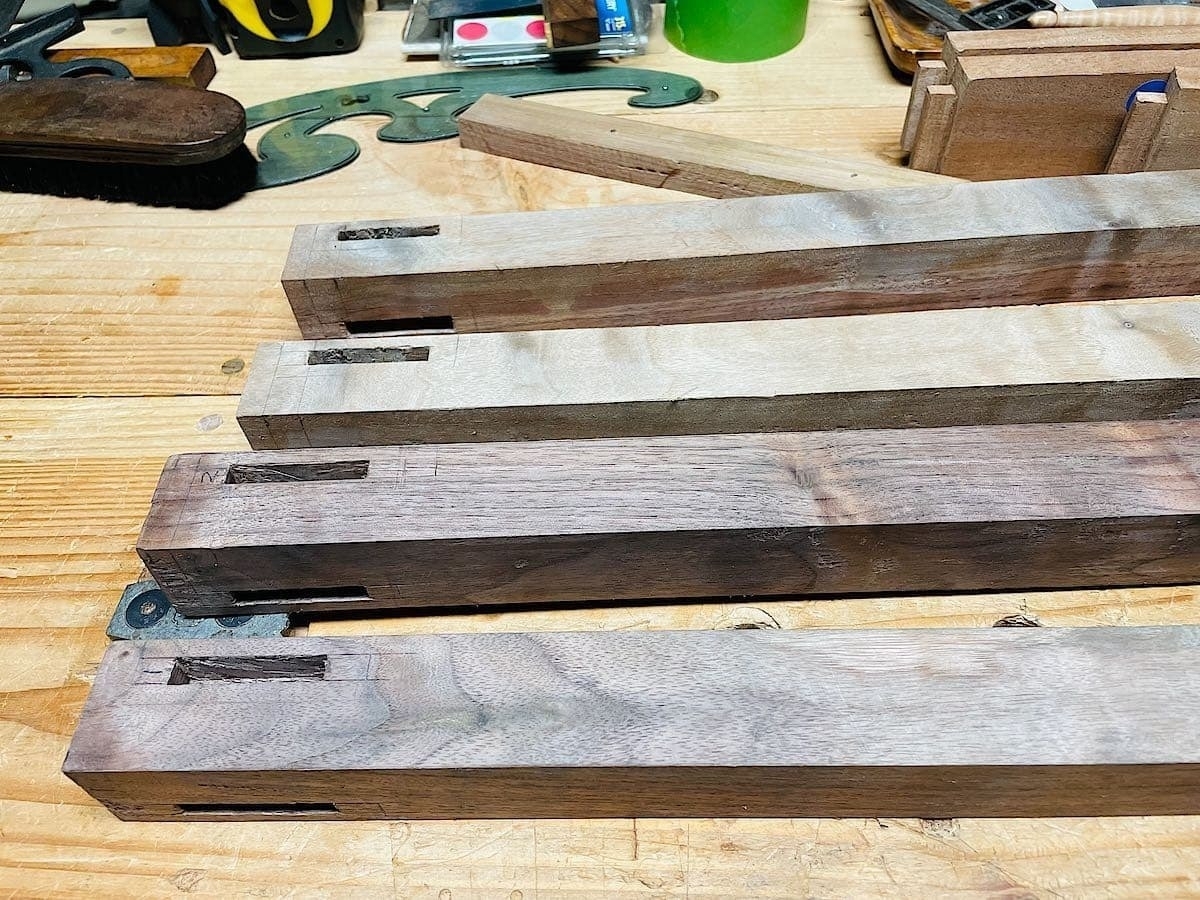
And … an hour or two later, all the mortises are cut in the legs.
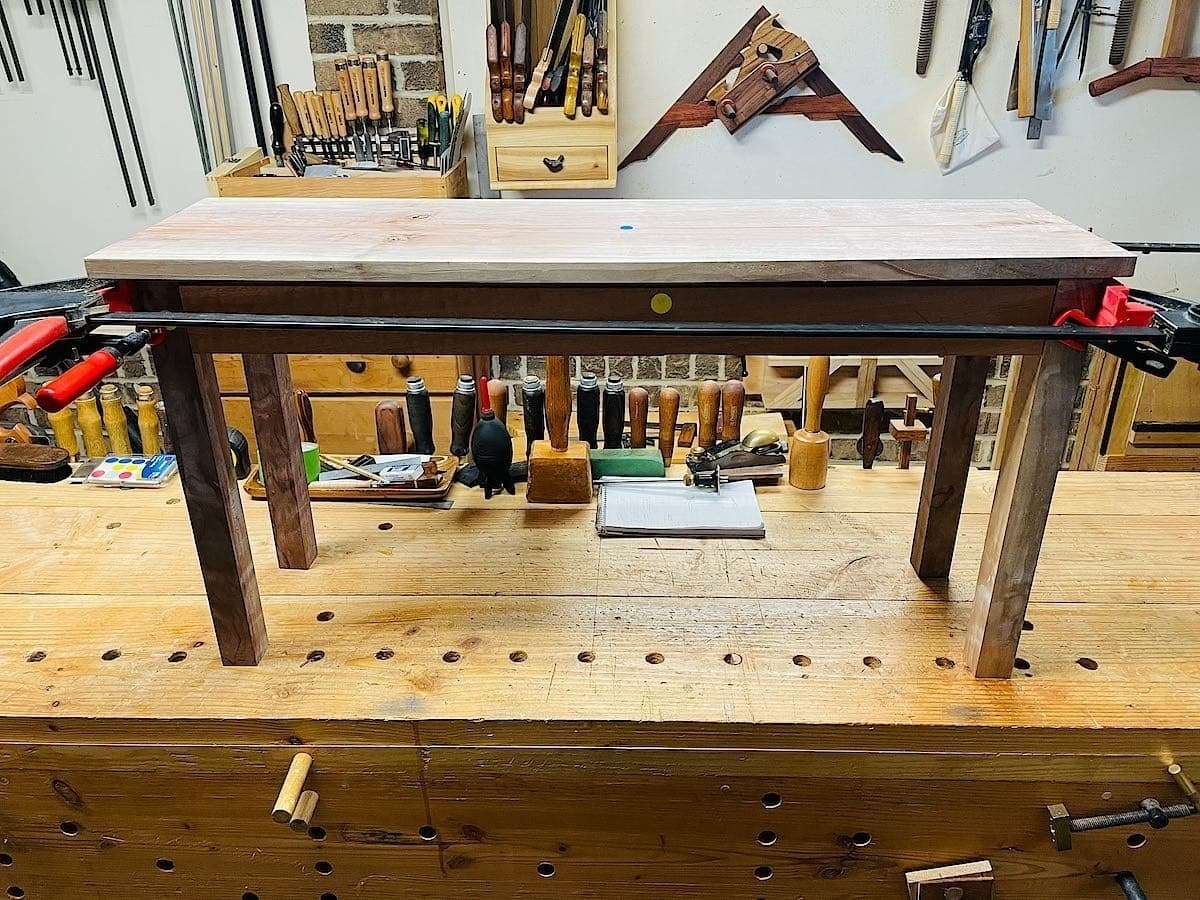
Here’s the dry fit of the bench, but the top is just sitting on top. In other words, I haven’t yet cut the mortise/tenons to attach the top.
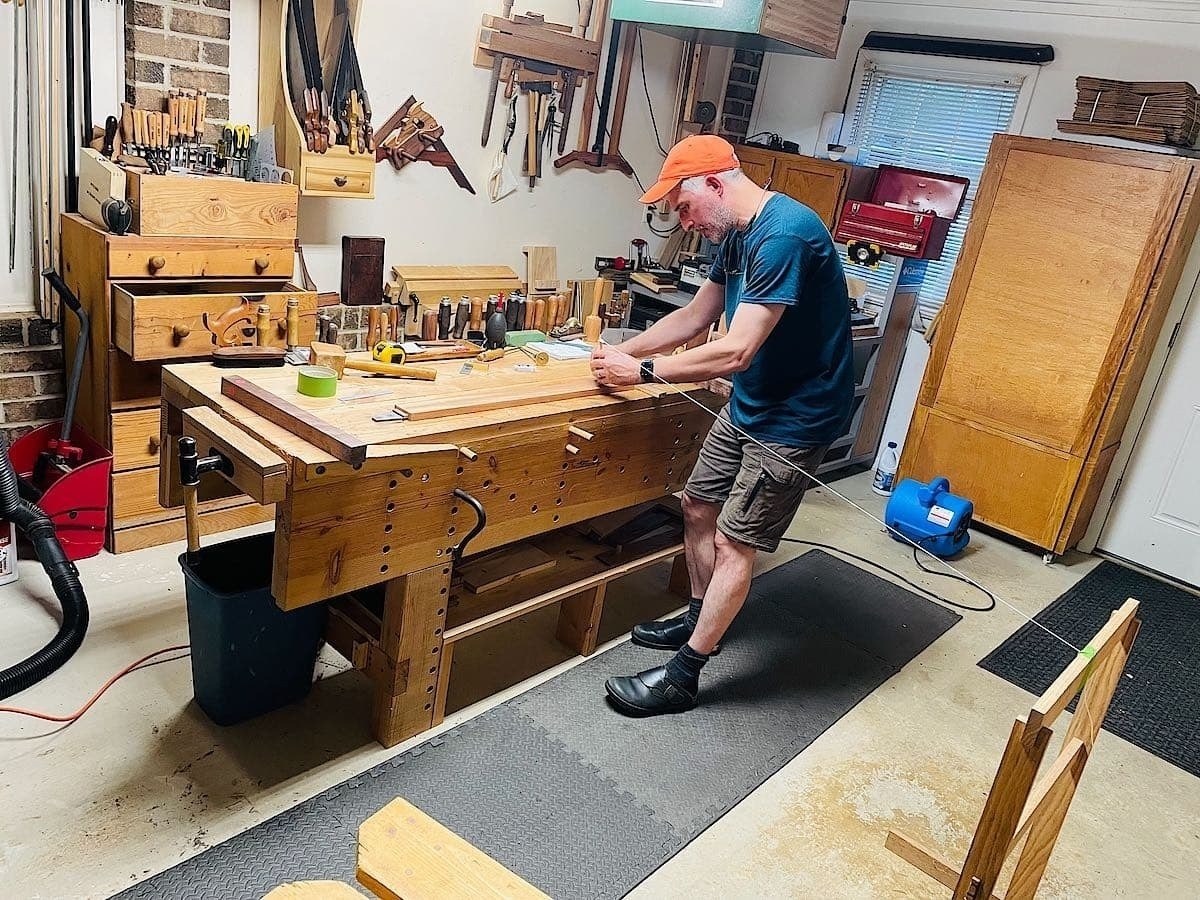
Next, I moved on to the front/back apron design. I decided to go for a big wide curve. To create that curve, I attached a string and pencil to my shop bents, then moved it to the right distance to get the desired arc. It took some trial and error (need to hold the pencil straight and taut) but it worked well. As you can see, I dressed up for the photo shoot to document the work.
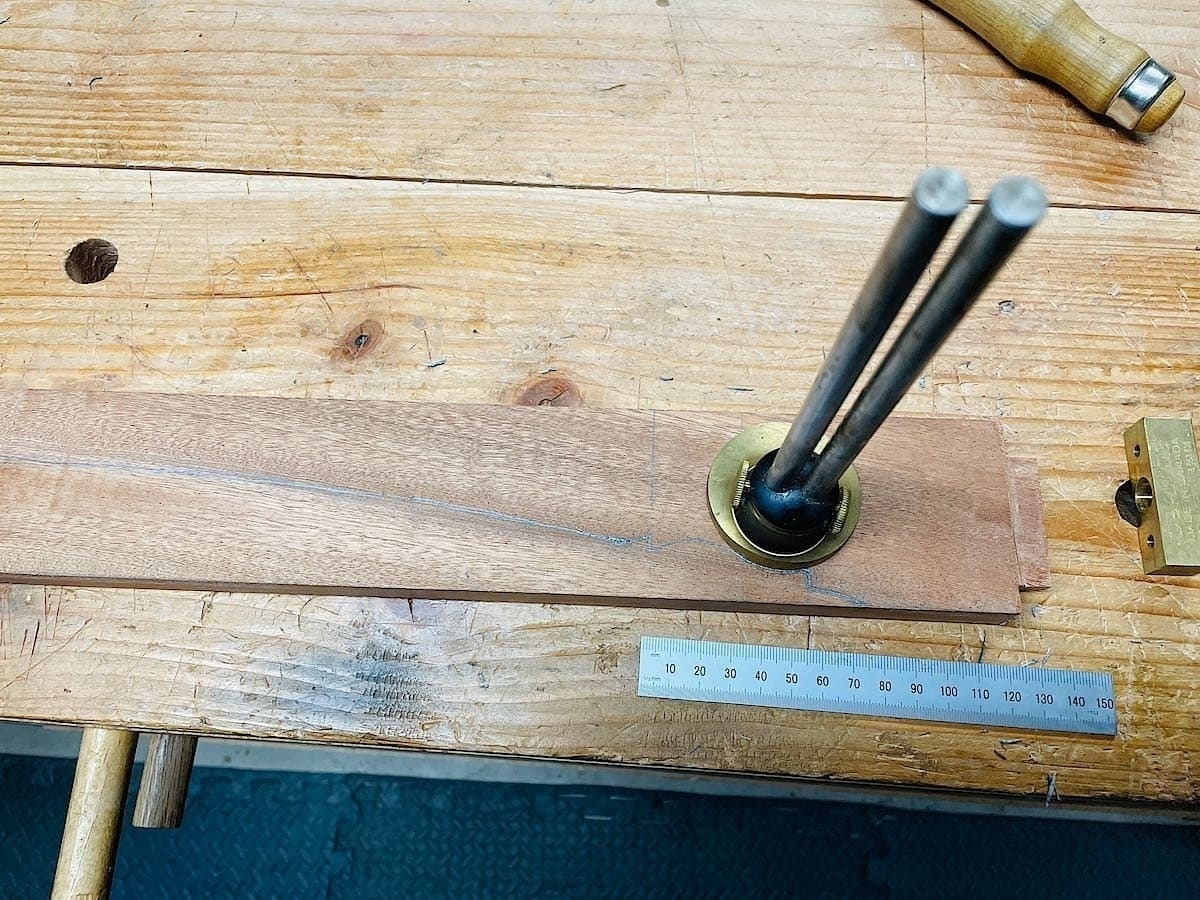
Next, I decided to create a nice profile so it wasn’t just a plain curve. I marked out proportions that looked nice to me by marking up three 10mm sections with two 5mm steps, and then using the base of a marking gauge to draw some circles until I liked the look of it. While I typically use English units, I often switch to metric for mark up for things like this because for me it’s just easier.
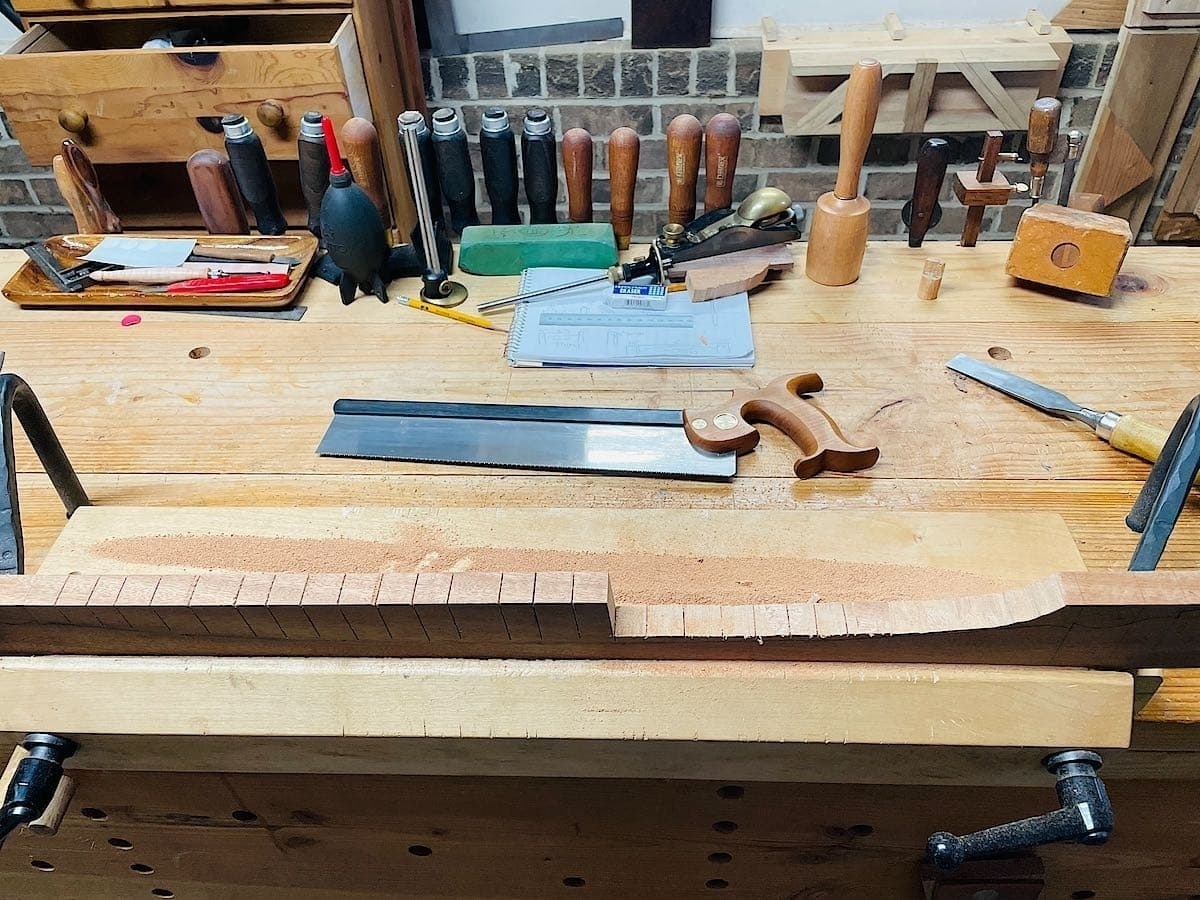
I started out using my bow saw, but I soon decided to saw to the line in segments across the curve just to help get rid of waste as I cut with the bow saw; cutting out little sections makes it easier for me, at least psychologically.
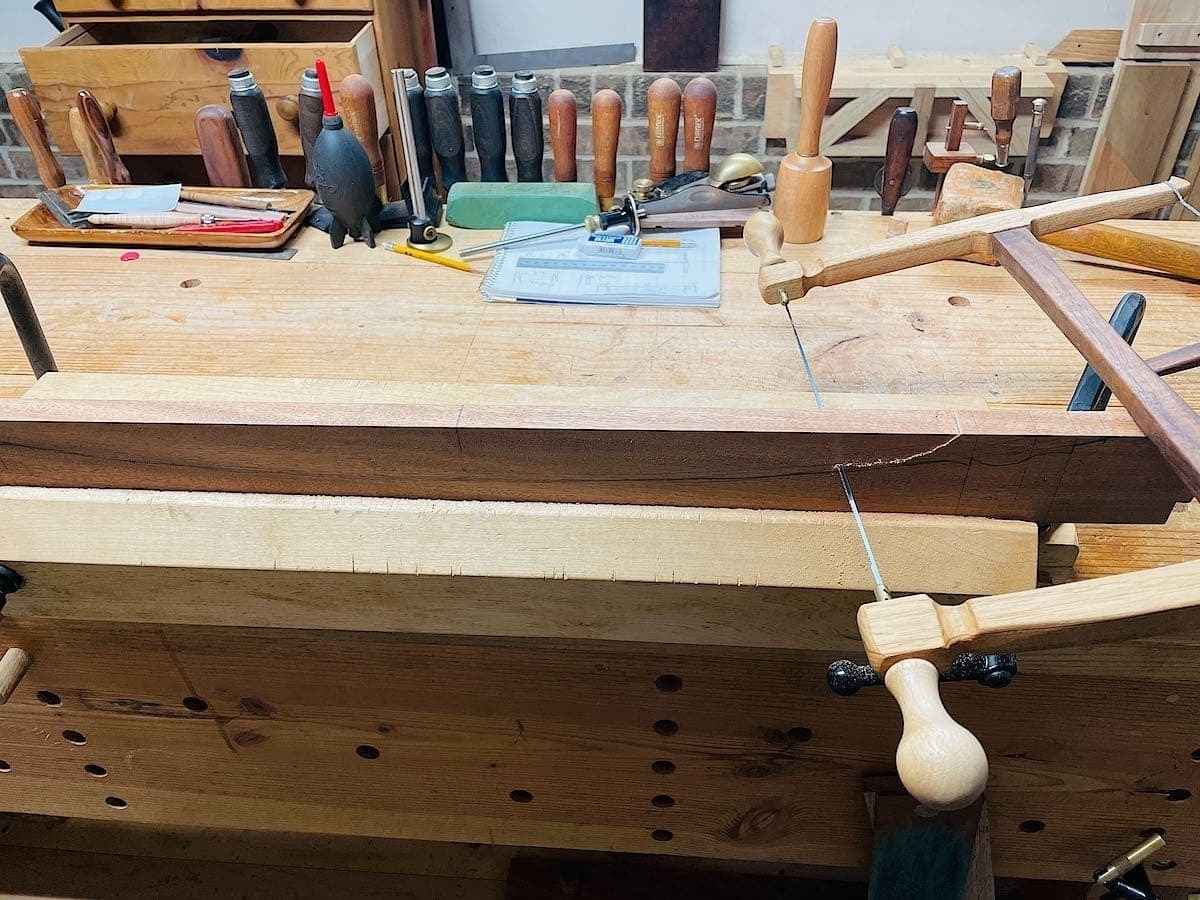
Here’s what that looked like about halfway through:
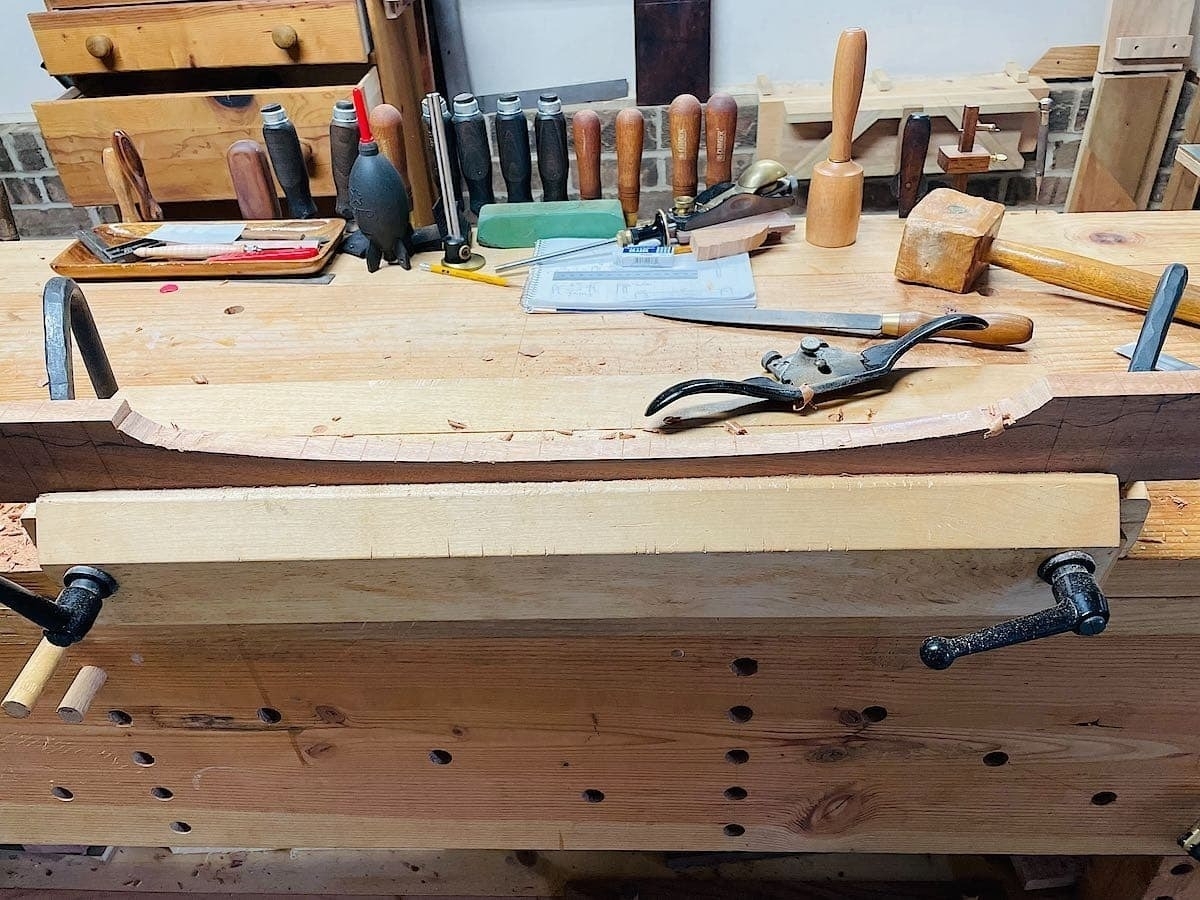
After it was roughed out, I started getting closer to the line with a spokeshave. Once I was happy with that, I moved on the fancy profile.
There may be better ways to do this, but this works for me. I cut down to my lines with my carcase saw and then use my files to finish the job. Here’s the before:
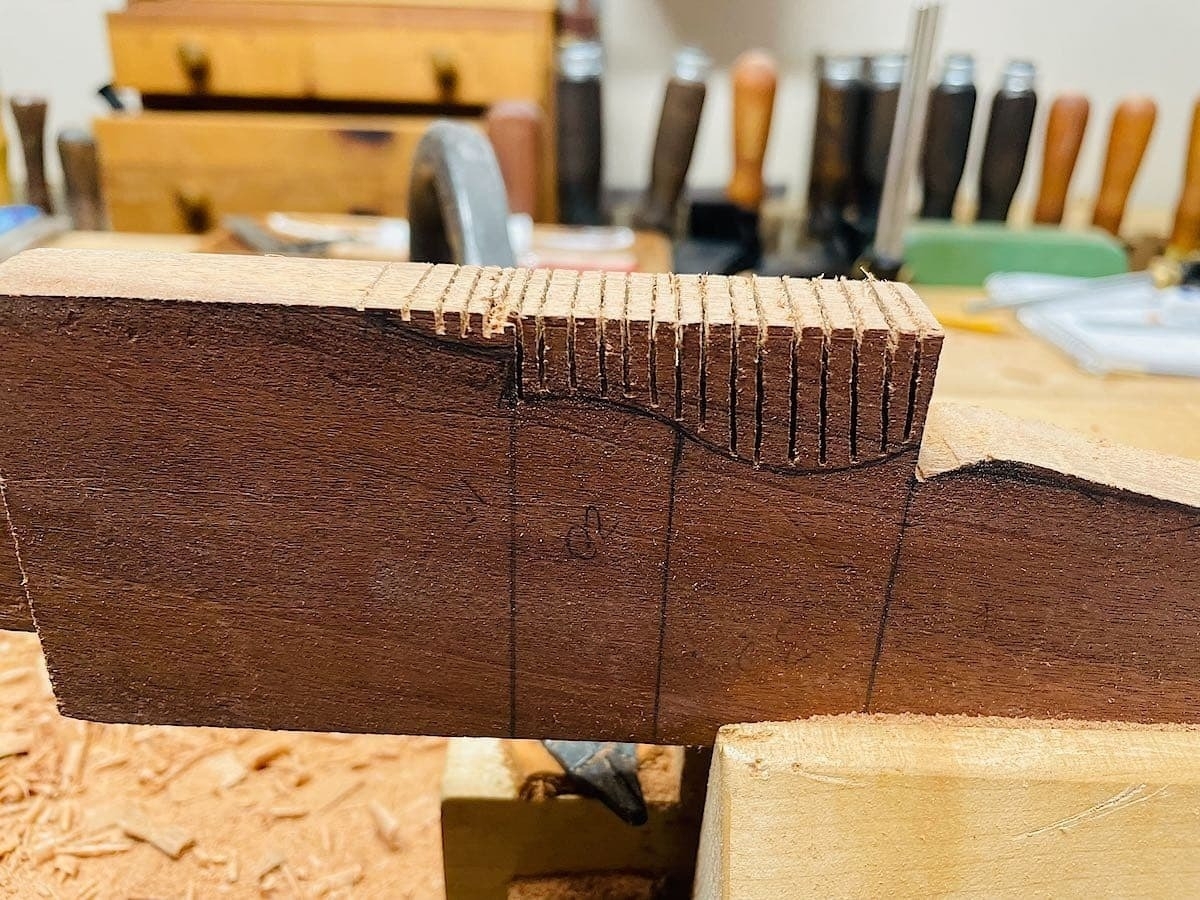
And the after:
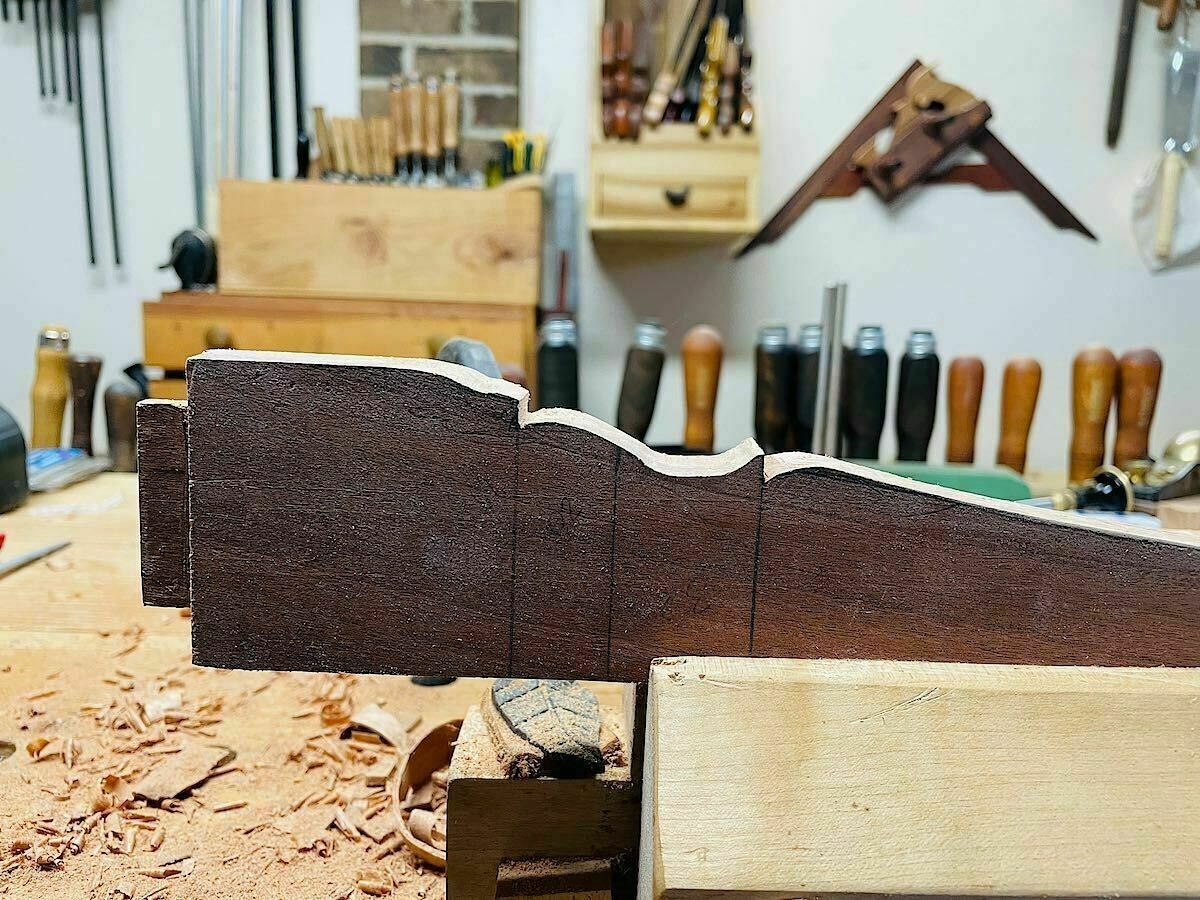
And the following is the front apron all finished up. Next, I need to do this for the back apron so it matches. I think I’ll just leave the short side sapele aprons as they are (squared off), but I want the front and back to match, even though the back of the bench will be against a wall (it’s going to be a bench for the mudroom to put on shoes). It may not always be used in this fashion, so it should look good from any angle. It’s getting close to completion!
