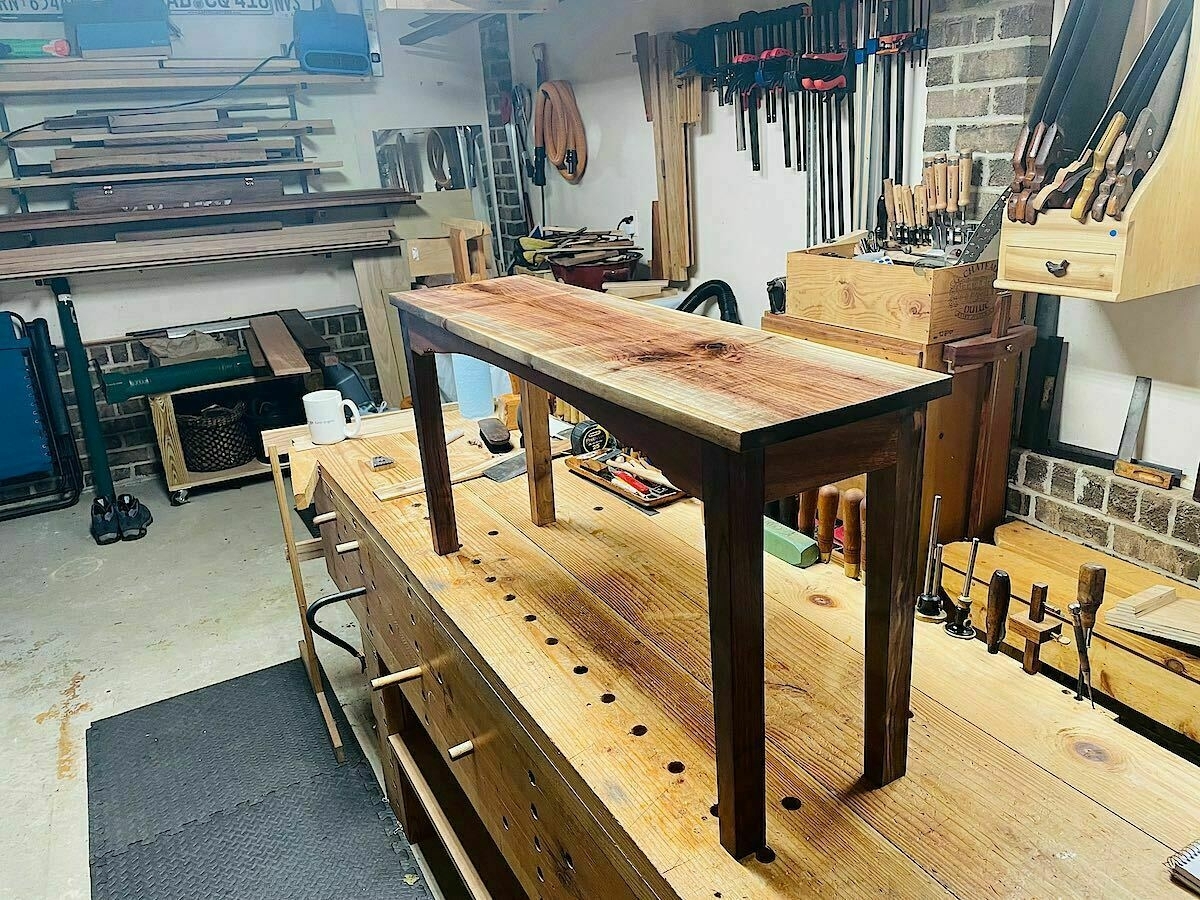
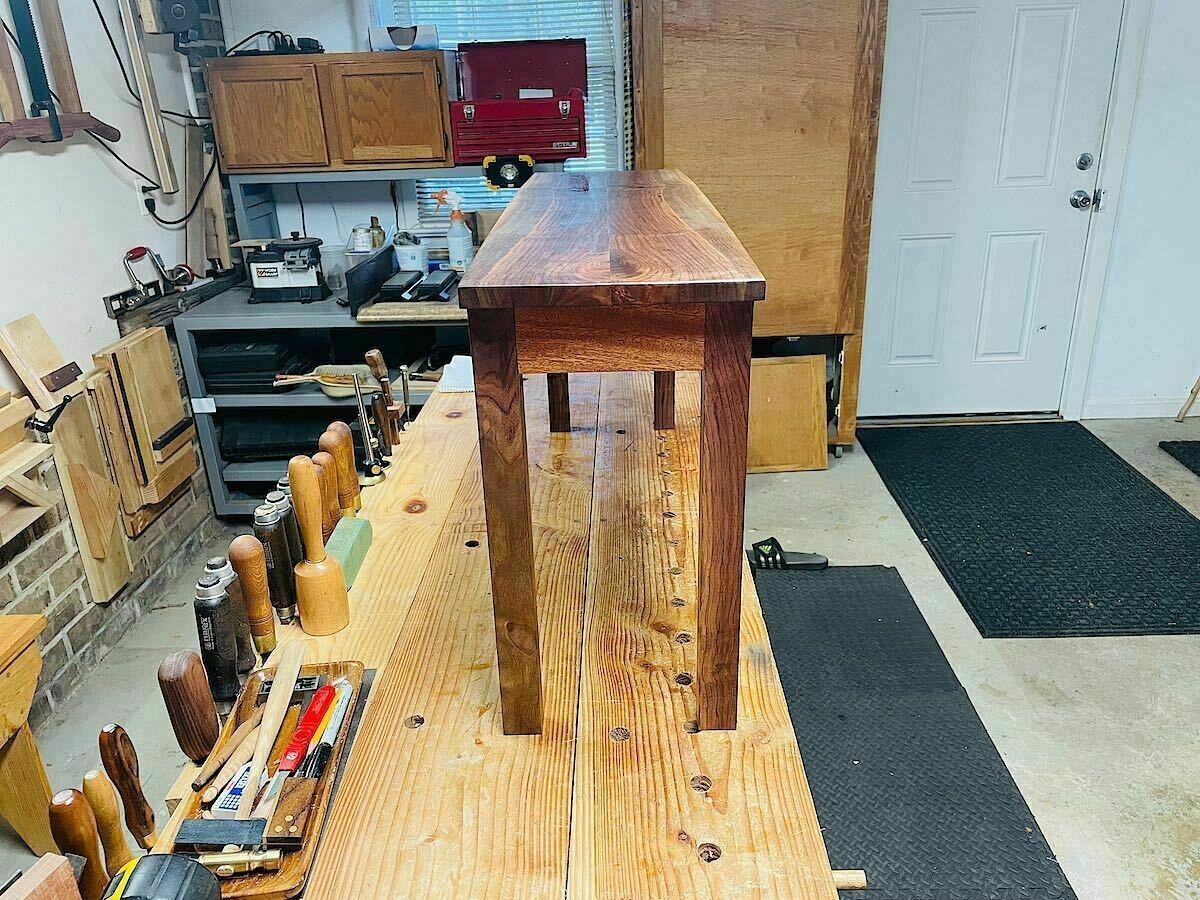
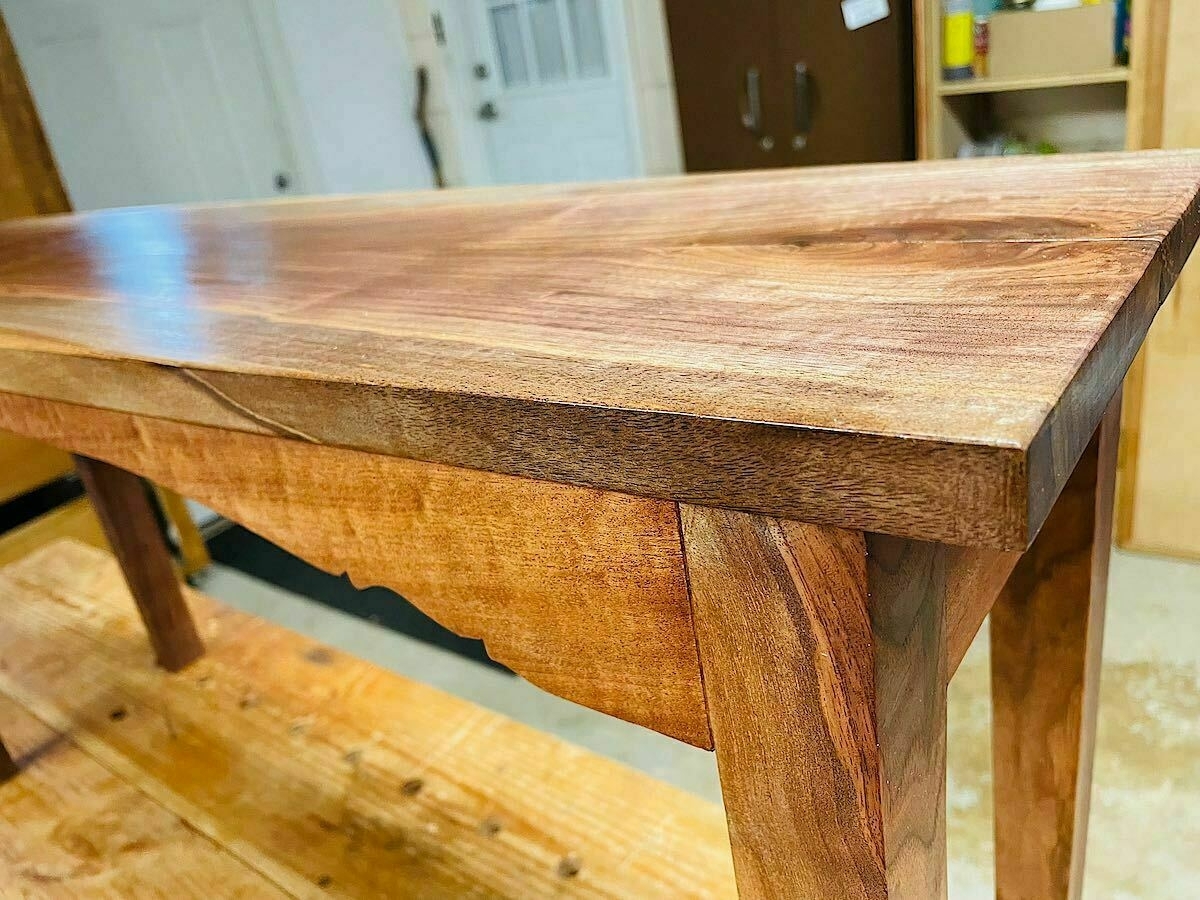
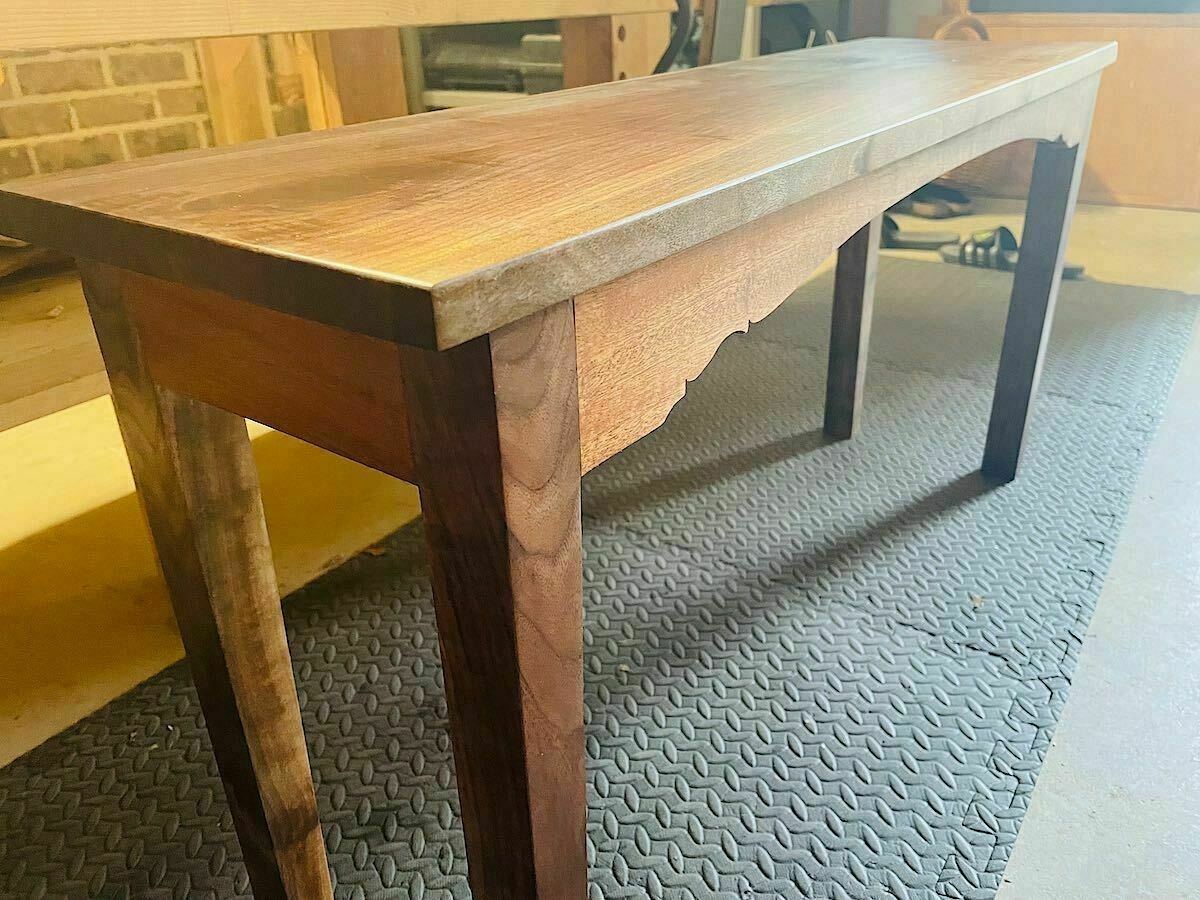
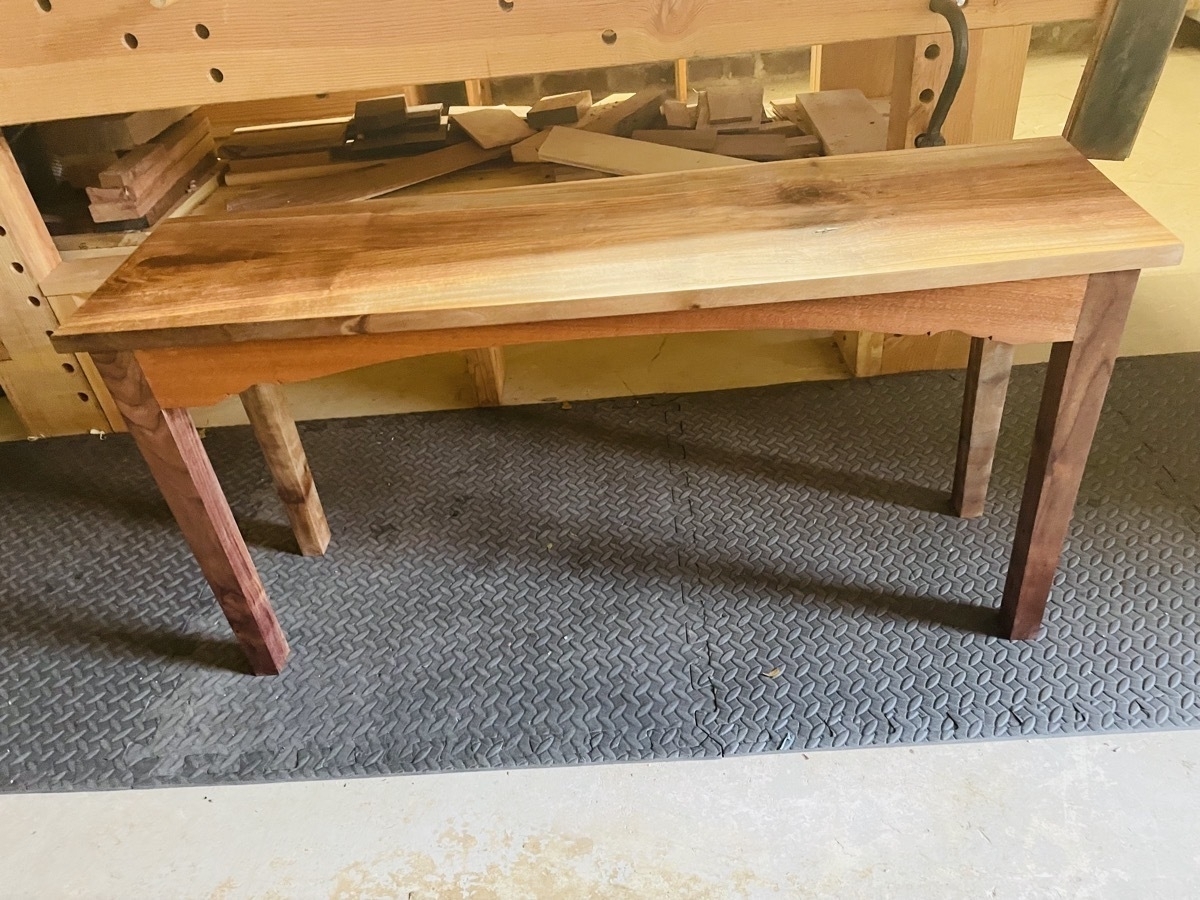
The small bench is complete. We’re going to use this for putting on / taking off shoes in the mudroom. It’s been an interesting hand tool project, and I’m happy with how it came out. The main issues I had with assembly were some small joinery gaps, but I fixed these with hide glue and matching sawdust, and those gaps are not noticeable in the end. I have to say I’m not crazy with the sapele choice for the aprons, in retrospect. In the right light, the sapele looks kind of orange, so I think that’s what is bugging me. But it will mellow with time and I think it will age nicely.
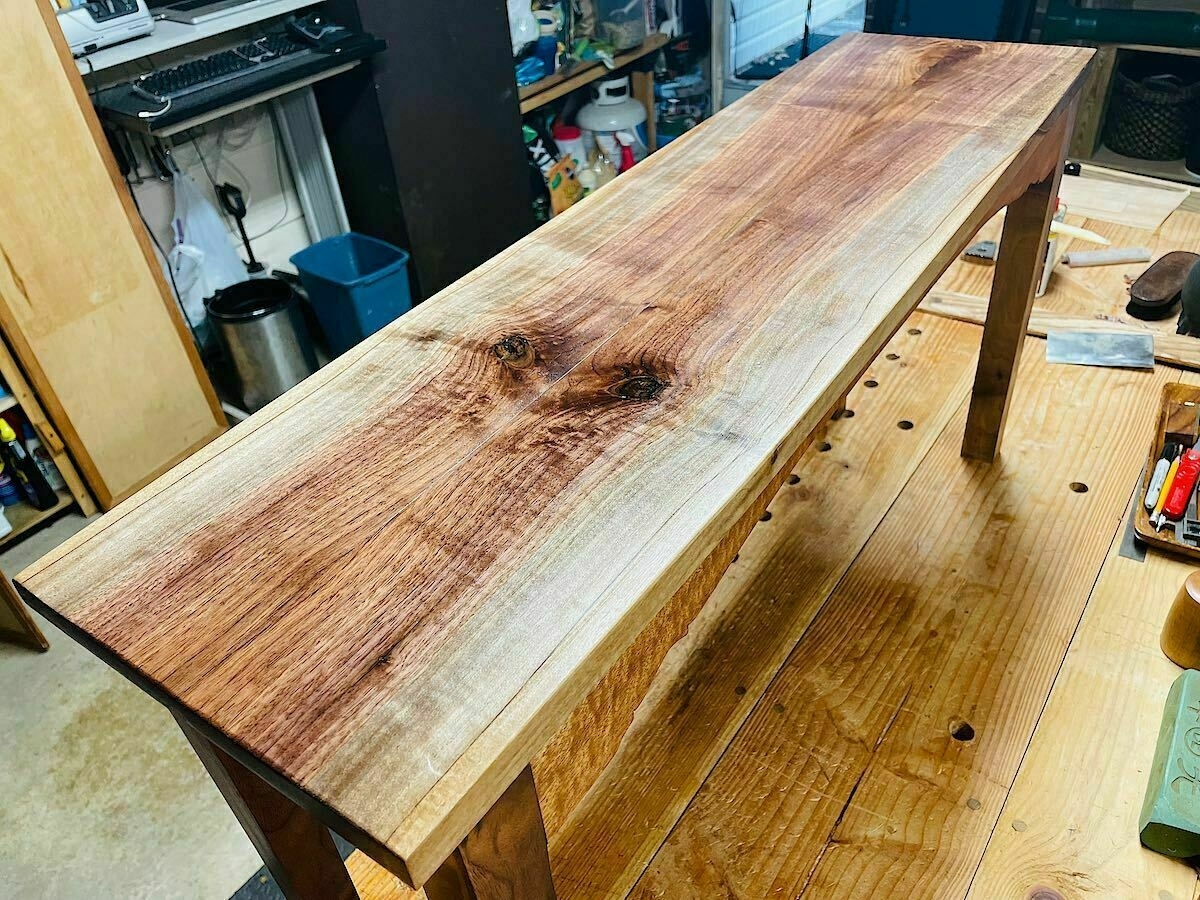
I’m really happy with how the grain shows in the walnut, and the top of the bench really in particular shows some interesting light/dark contrasts with strong gray streaks. I also added a slight bow to each long side of the bench top, which gives the top a gentle tapered (subtle) curve at each end. I finished it with Osmo Polyx-Oil.
Here are some final assembly shots:
Here’s a shot documenting the tenon cuts for the legs.
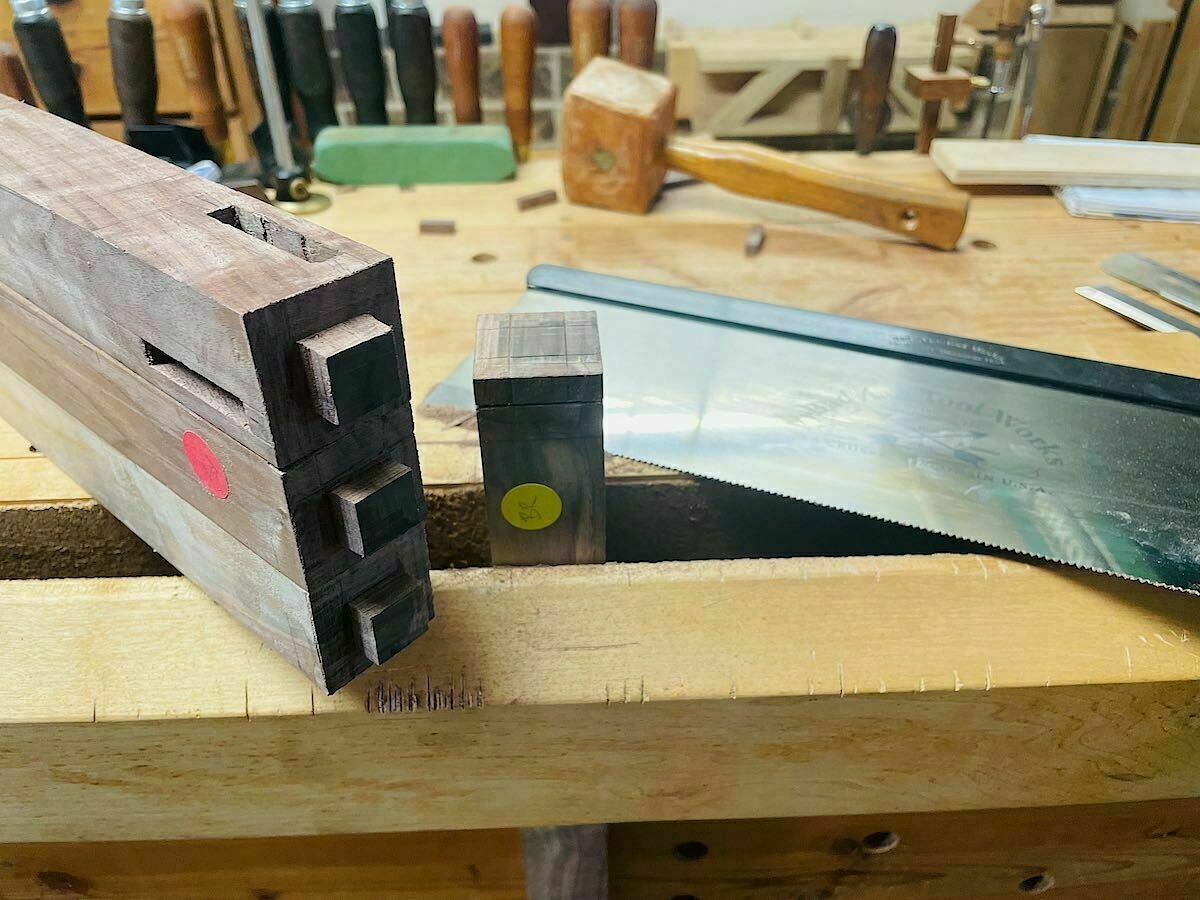
And the mortises for the bench top.
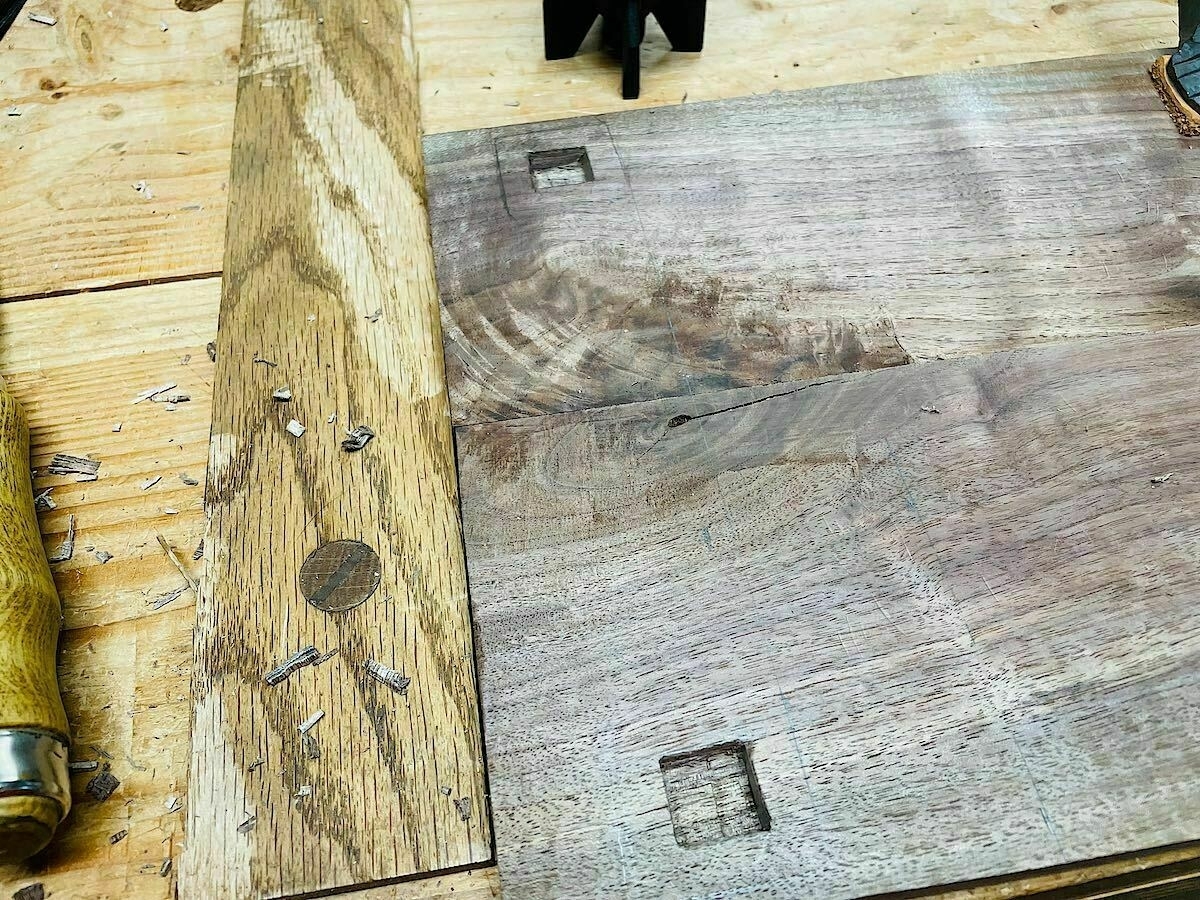
I tapered the legs on the inside to help give the bench a slimmer profile from the front.
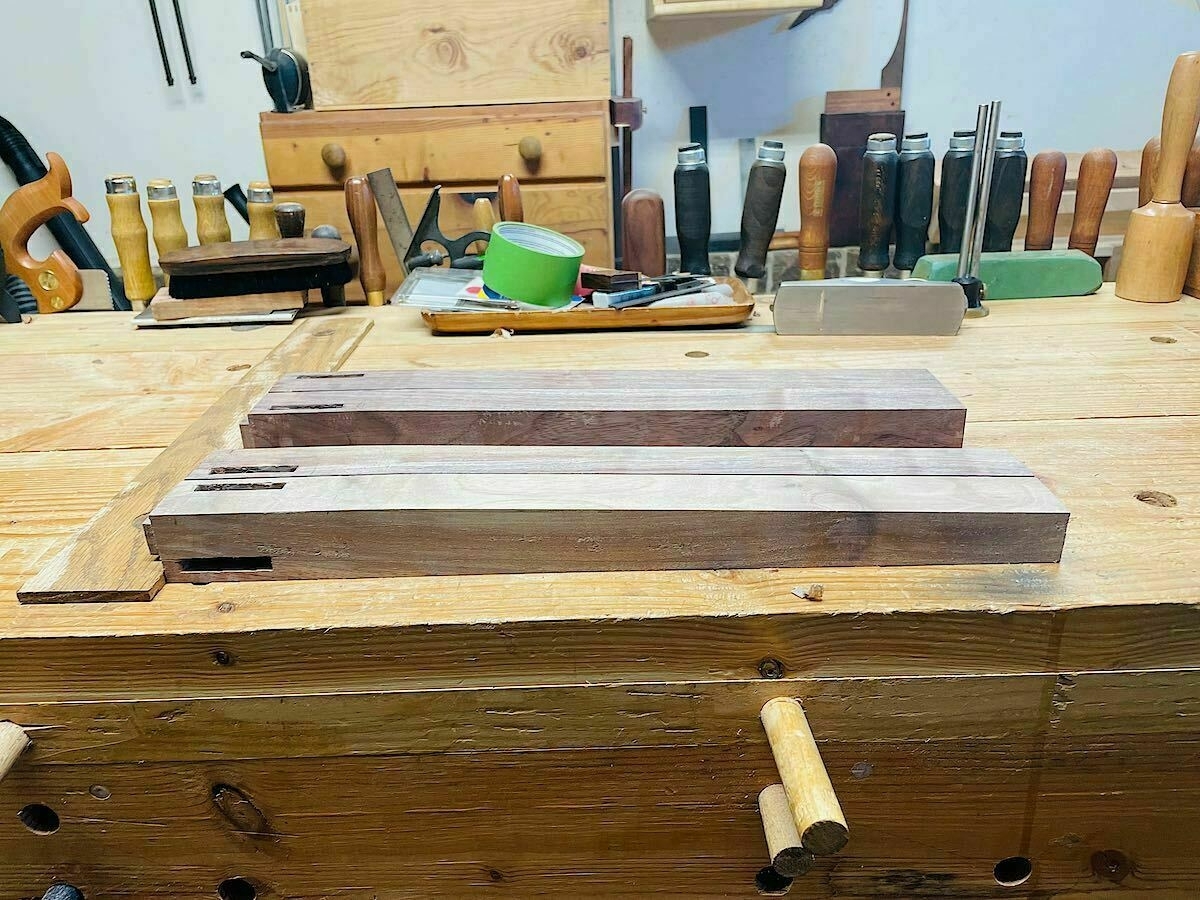
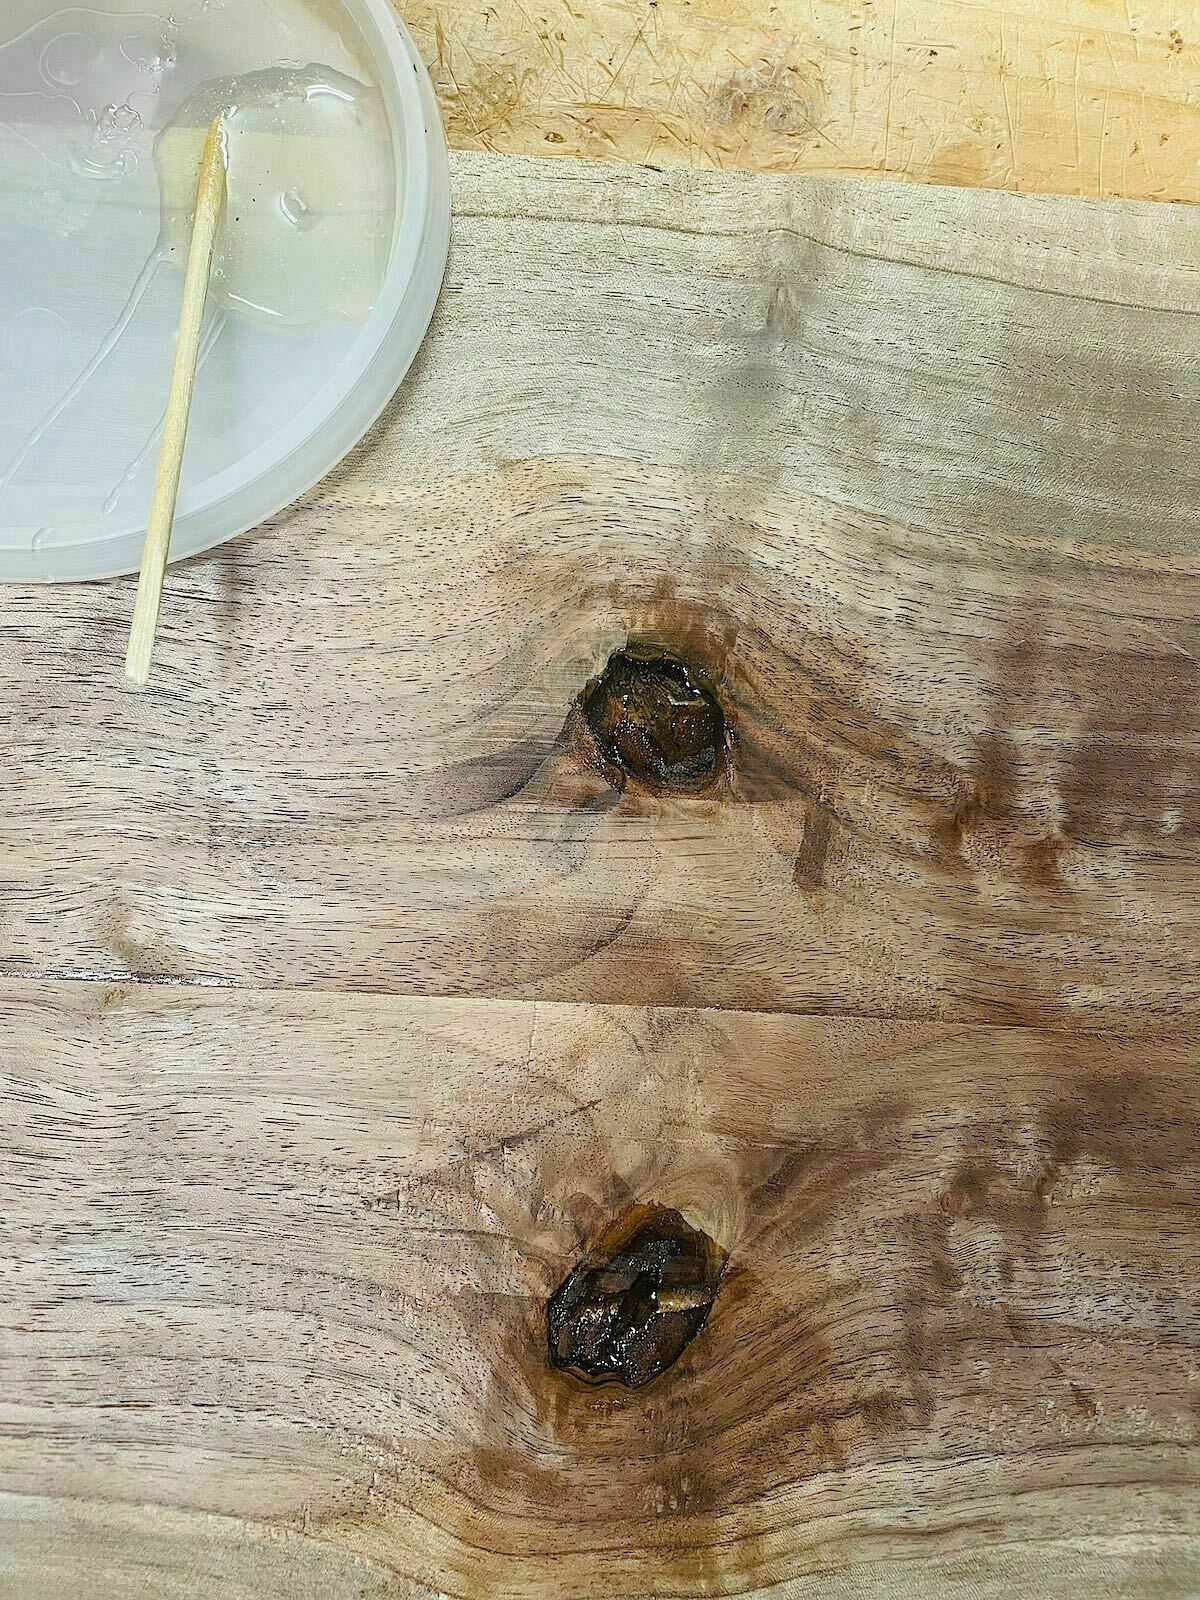
I locked in the knots on the bench top with some 5-min epoxy and it worked well. Since I just needed a little bit, I used the epoxy that I use for fly tying. I did this so that the knots don’t crumble over time.
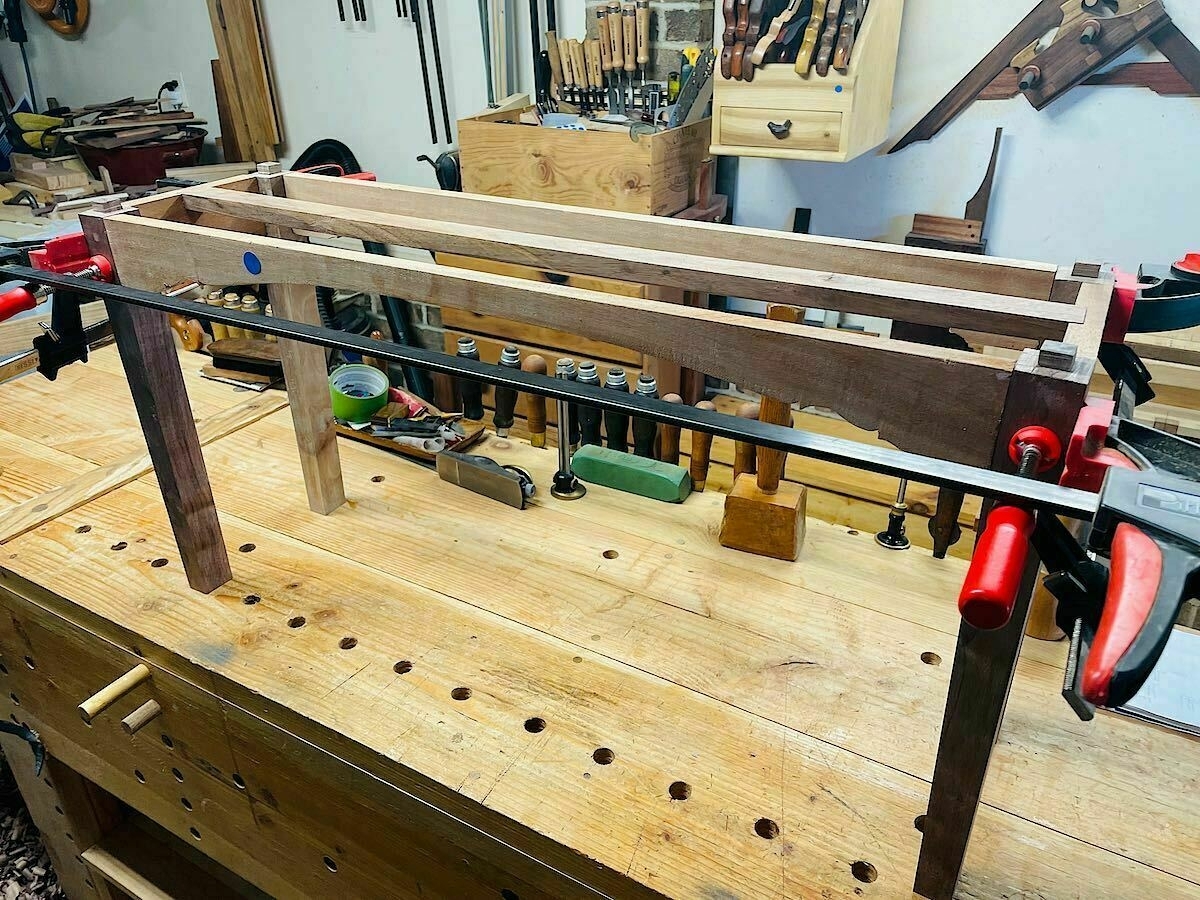
Here’s the dry fit of the frame.
And here’s some shots of the final bench after glue-up and finishing:

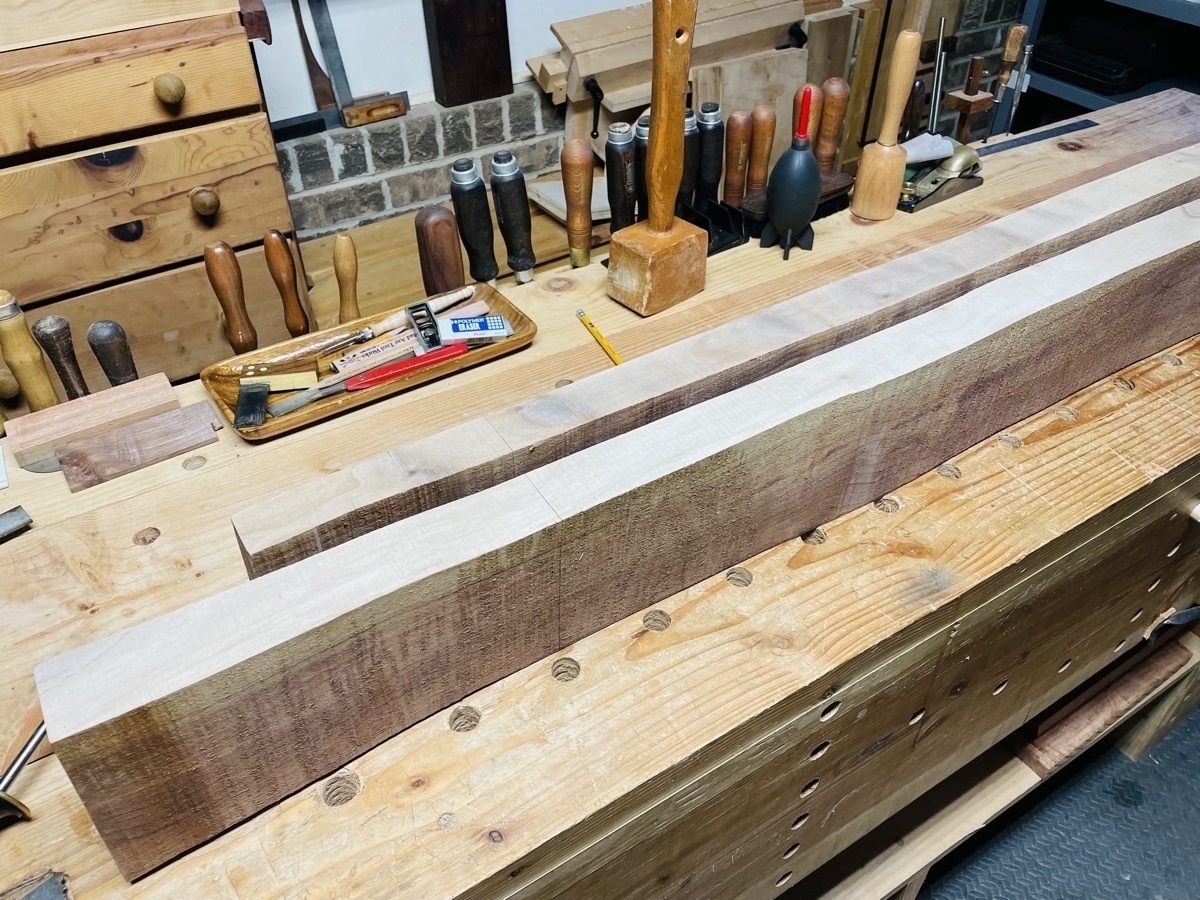
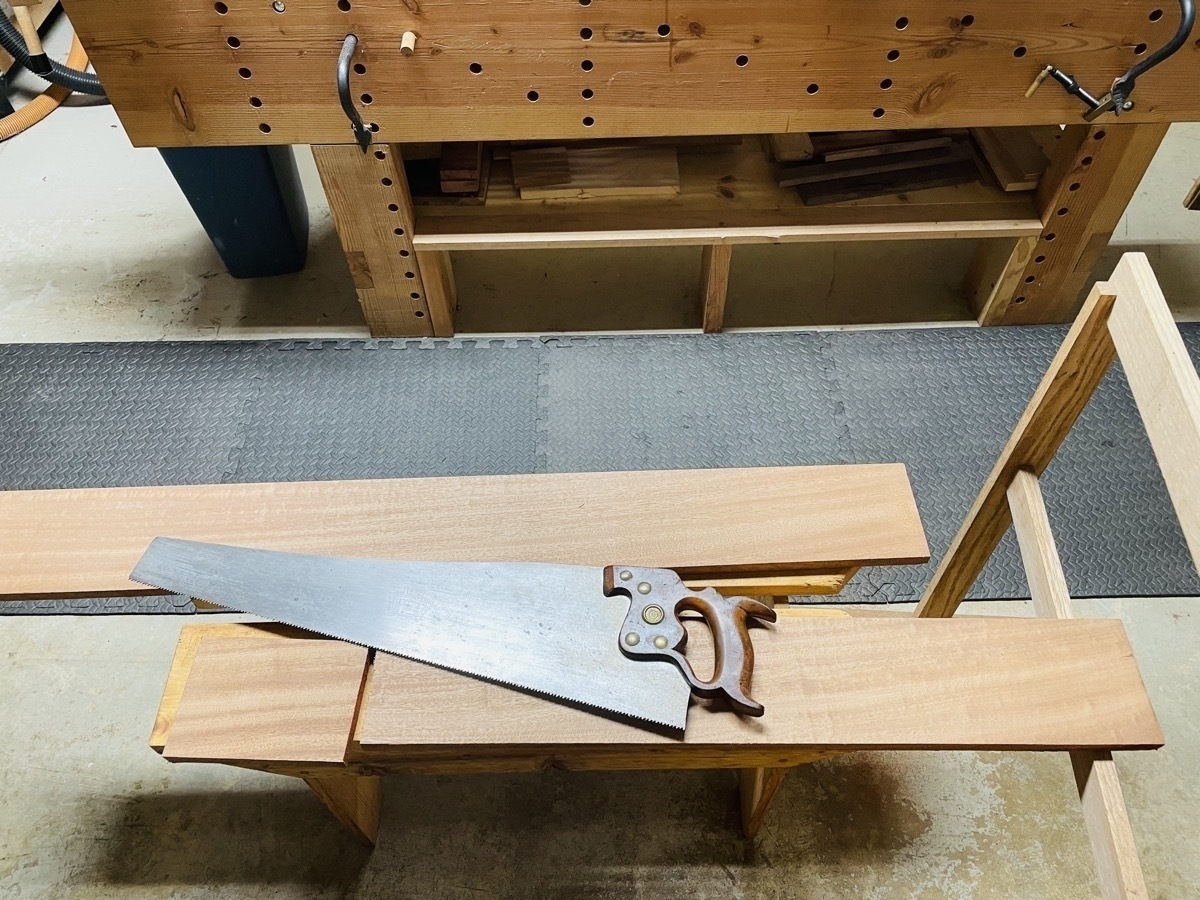
And here’s what I started with for reference: some old, incredbily warped slabs of walnut … and a new sapele board for the aprons. This transformation of chunks of wood to useable furniture is just magical to me. With some simple tool work and a plan, amorphous slabs can transform into something useful and beautiful.
