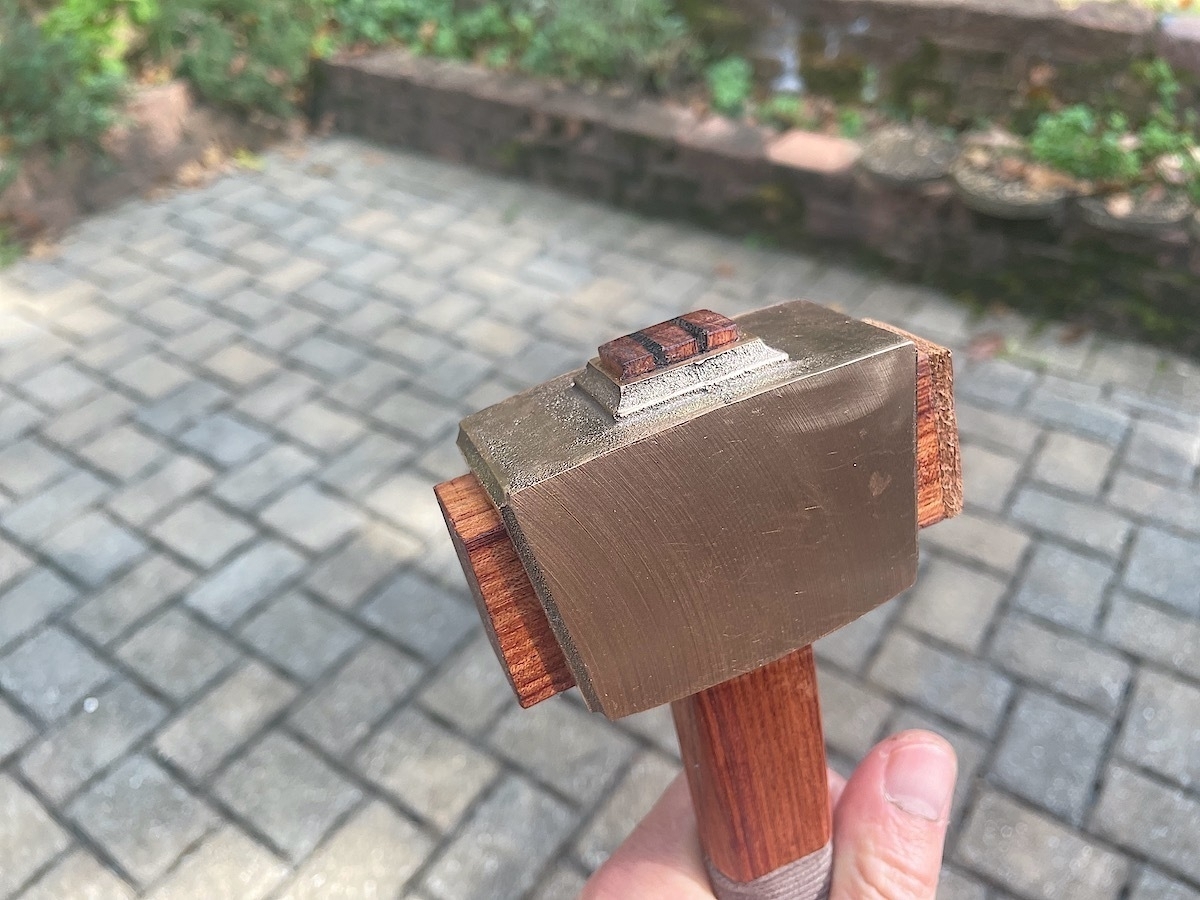
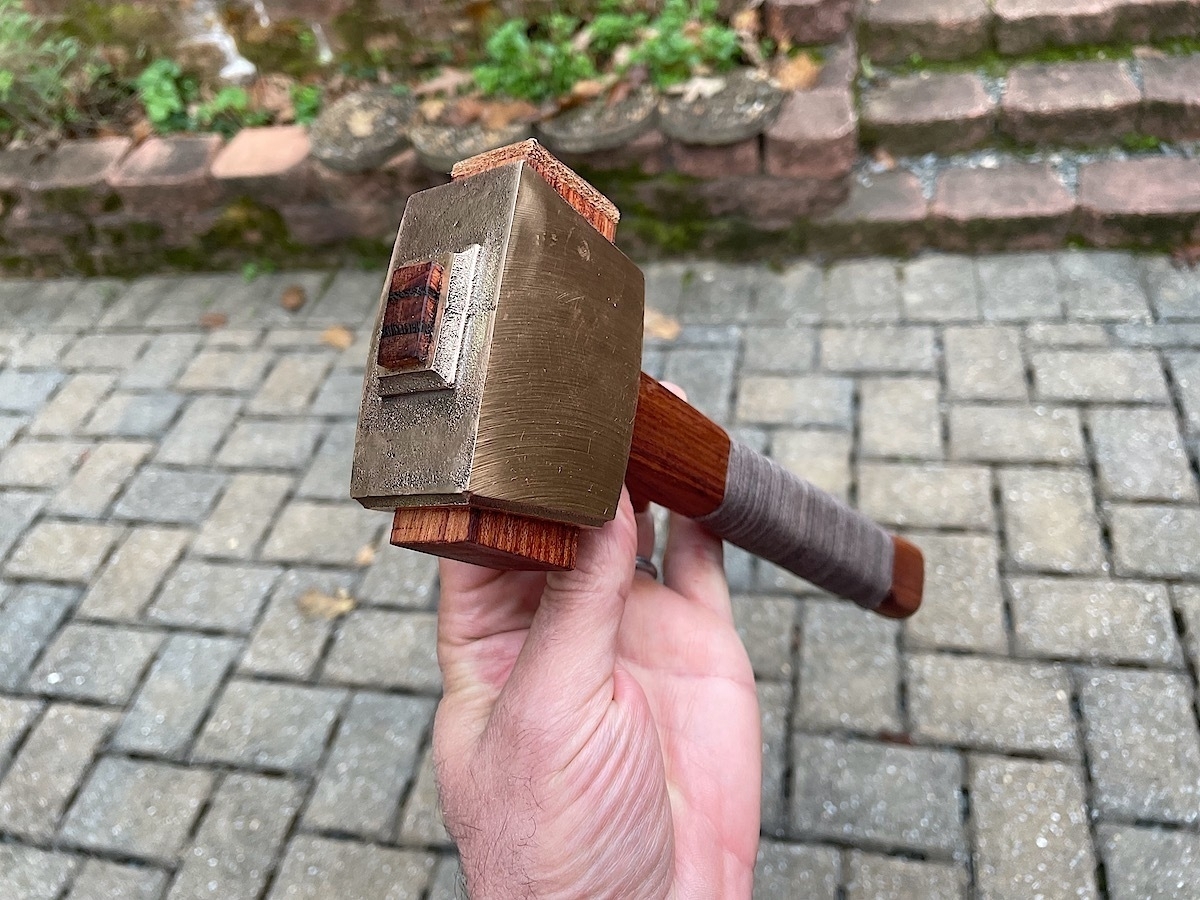
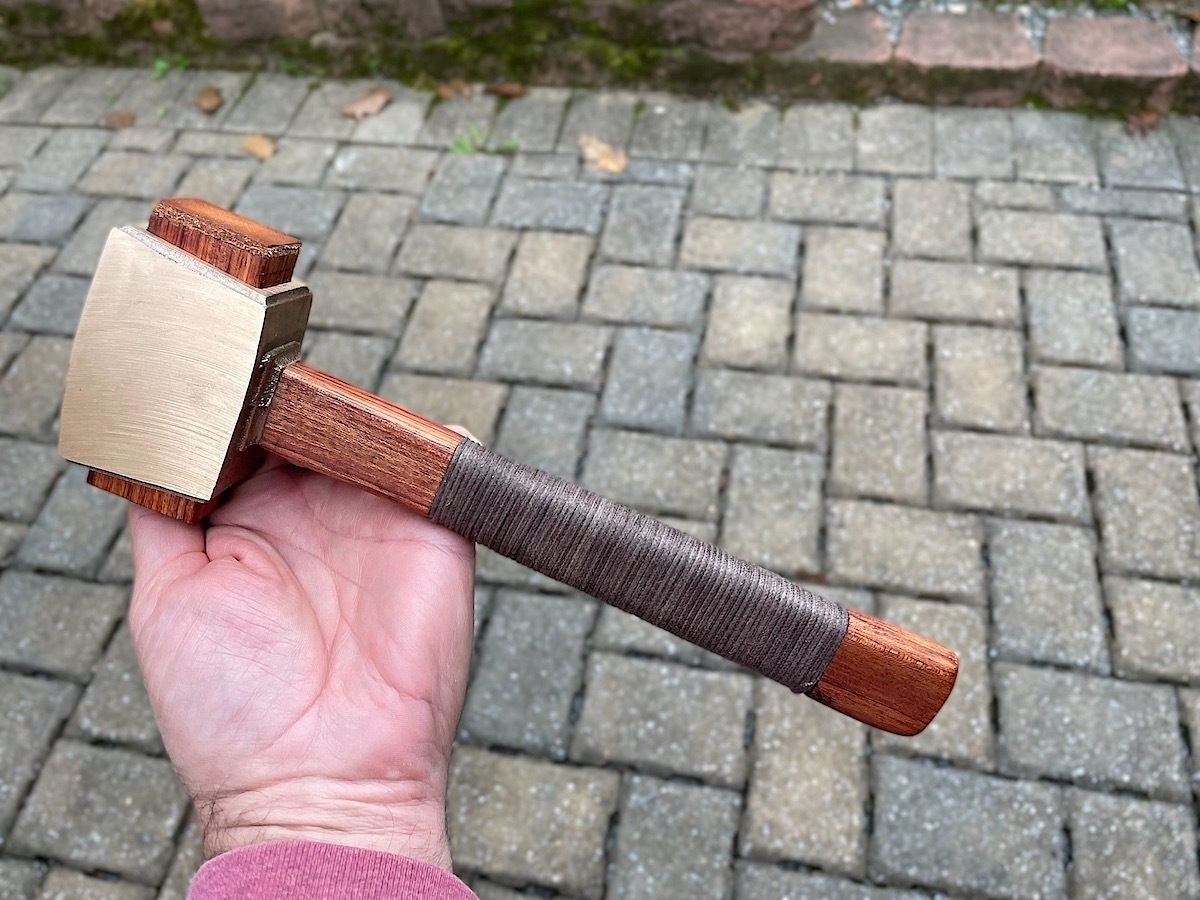
A short article in the September/October 2021 issue of Popular Woodworking called attention to retired pattern maker Bill Martley’s project to reproduce the bronze head of the classic Studley Mallet, named after Henry O. Studley (1838-1925) that many woodworkers know from his famous and mind-blowing tool chest.
A member of my woodworking group spotted this article and suggested we embark on a group build. The bronze casting for the mallet cost $69 with shipping included. What an amazing opportunity and bargain! I received my bronze mallet head in the mail a couple of weeks ago and here’s the mallet I made with it using bubinga, bocote wedges, and a handle with inset waxed cord. I just love how this came out and I’m so grateful that Martley made this possible.
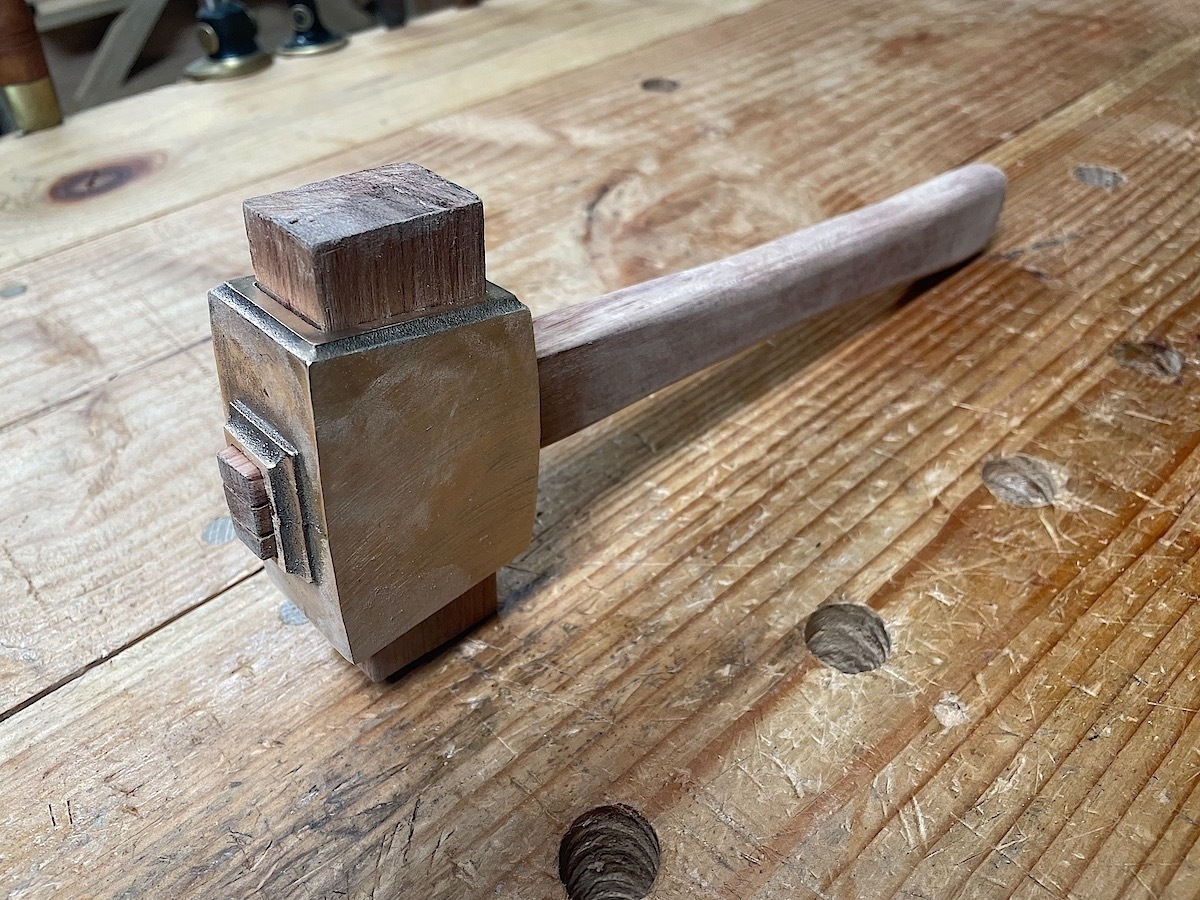
Here’s the mallet I made with the casting:
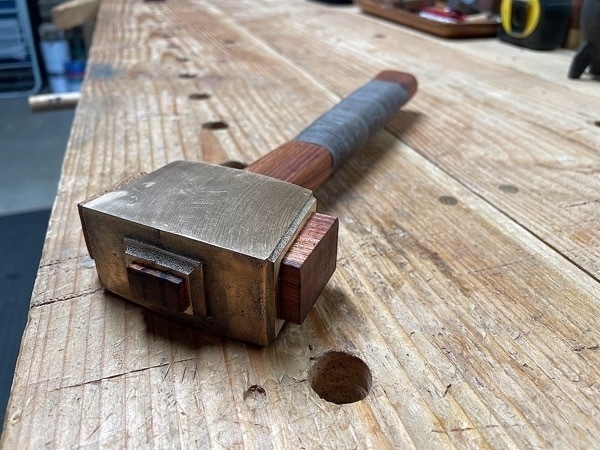
And I’ll briefly document the steps I took to make it.
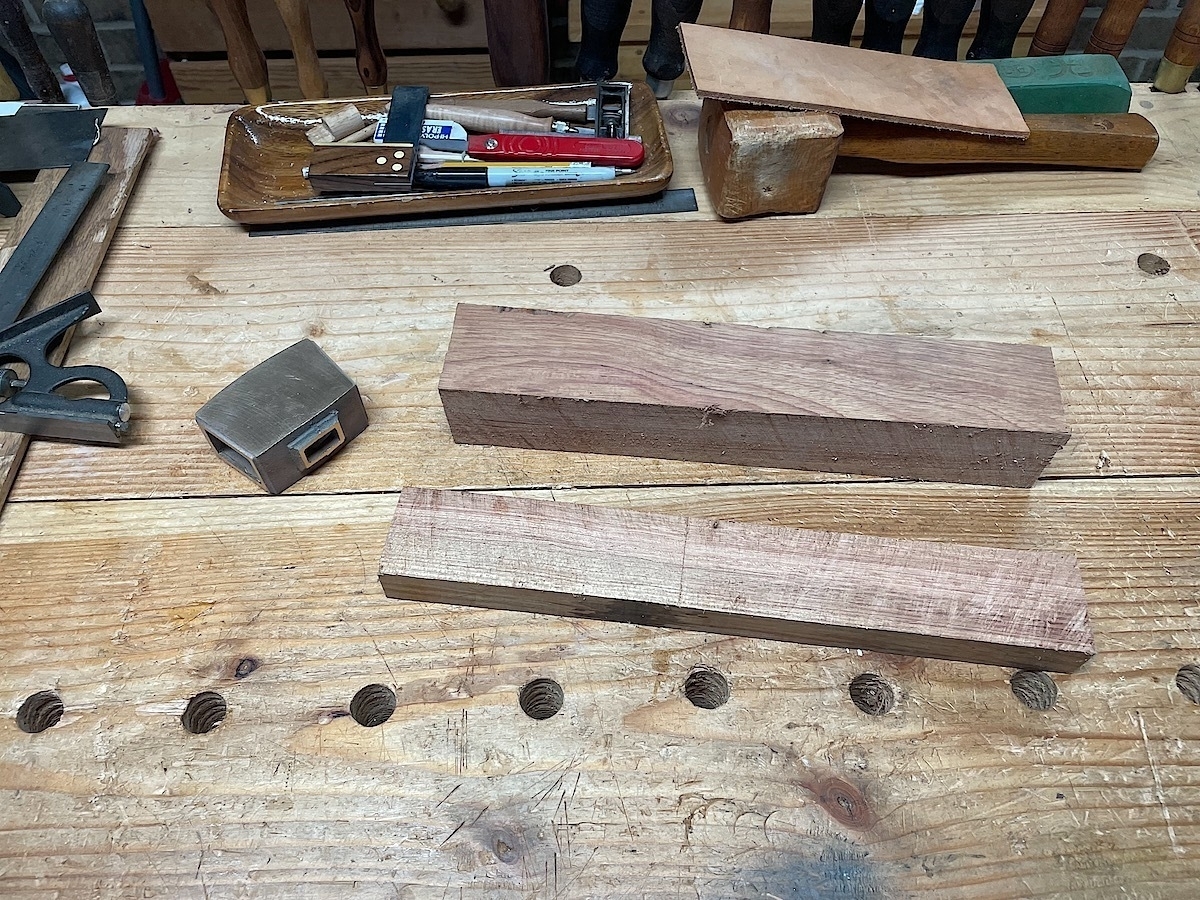
First off, here’s the bronze casting as it arrived in the mail, along with the wood I selected to make the infill and handle. I went with bubinga.
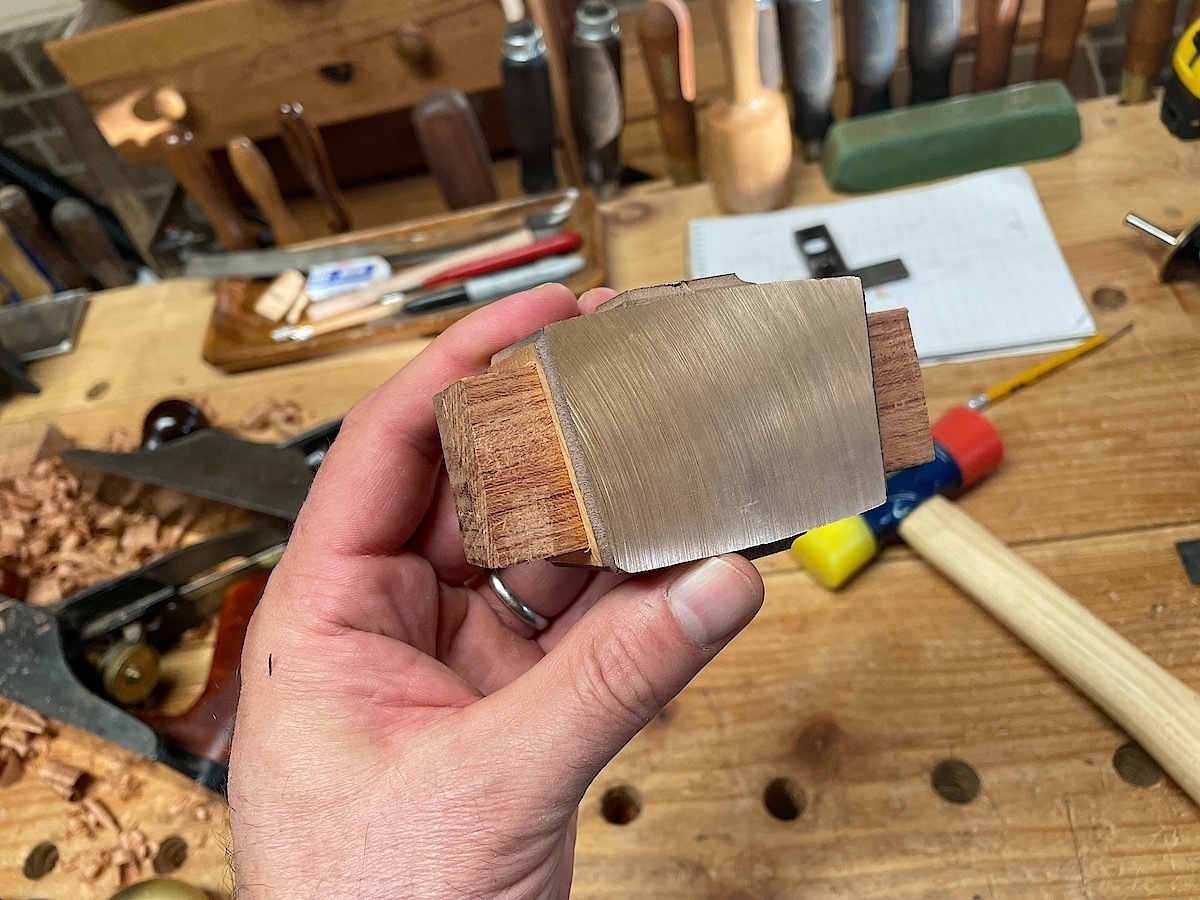
Here’s the infill block sized to fit through the hole in the bronze head.
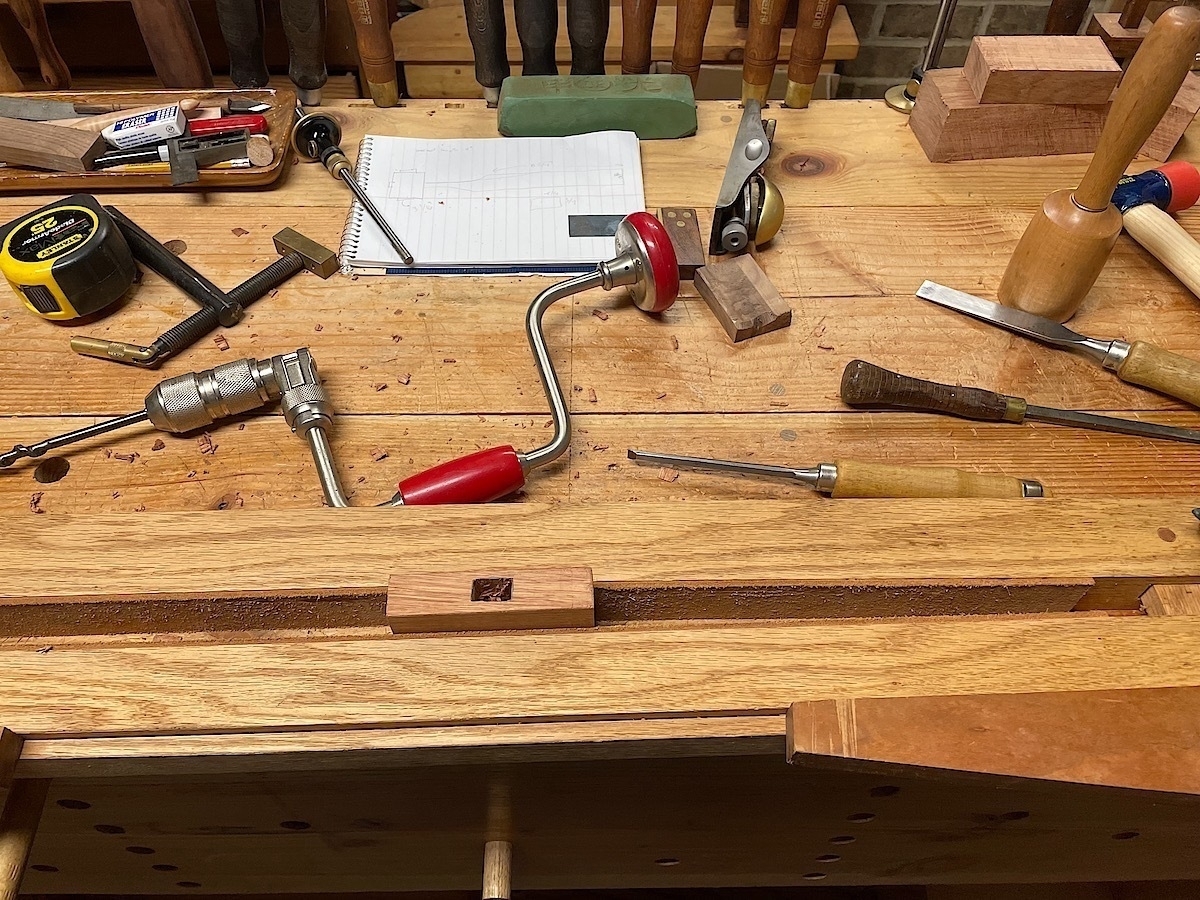
Next I chop out the through-mortise to match up with the hole where the handle will fit.
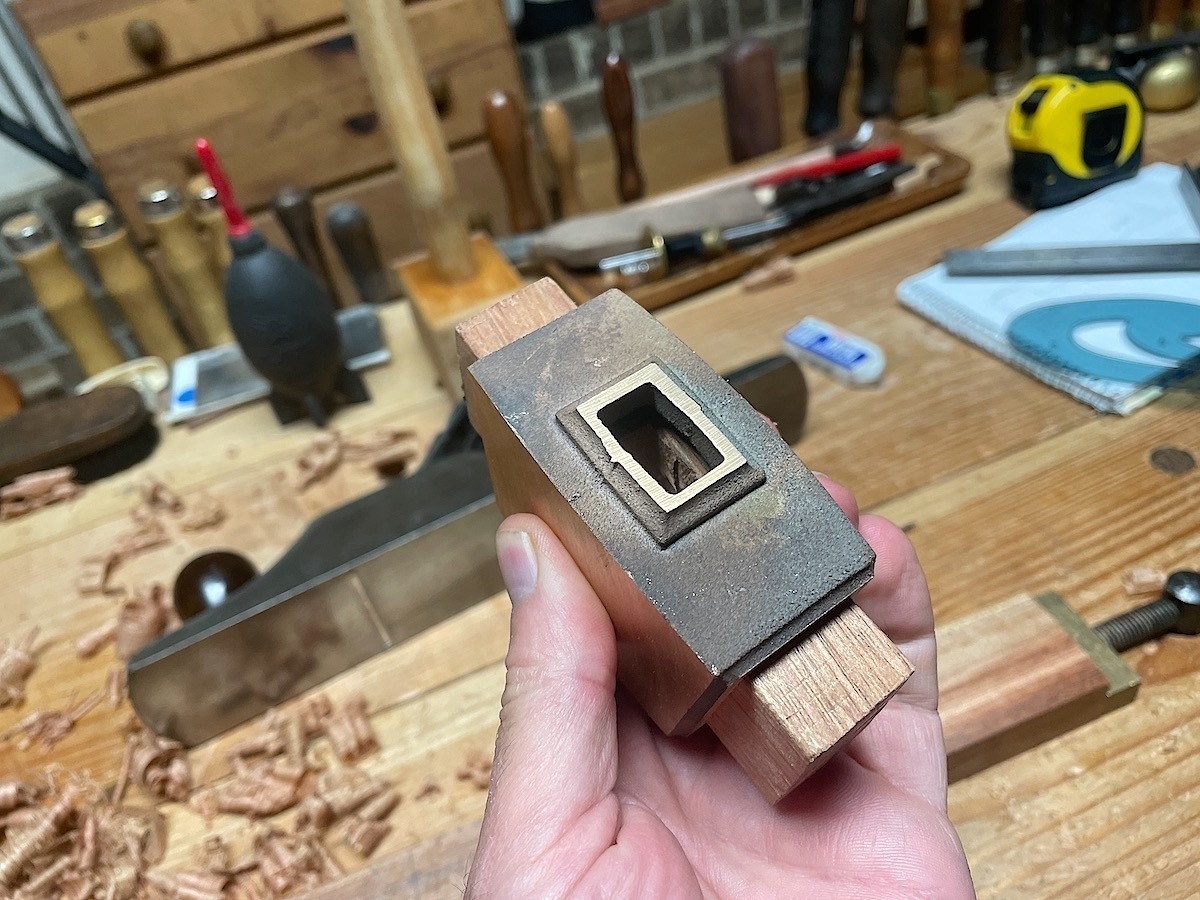
Here’s a view of the wooden insert with the mortise completed, mostly to show what the top and bottom of the casting looked like before I polished it up.
Now I began to shape handle, drawing out what I wanted in pencil.
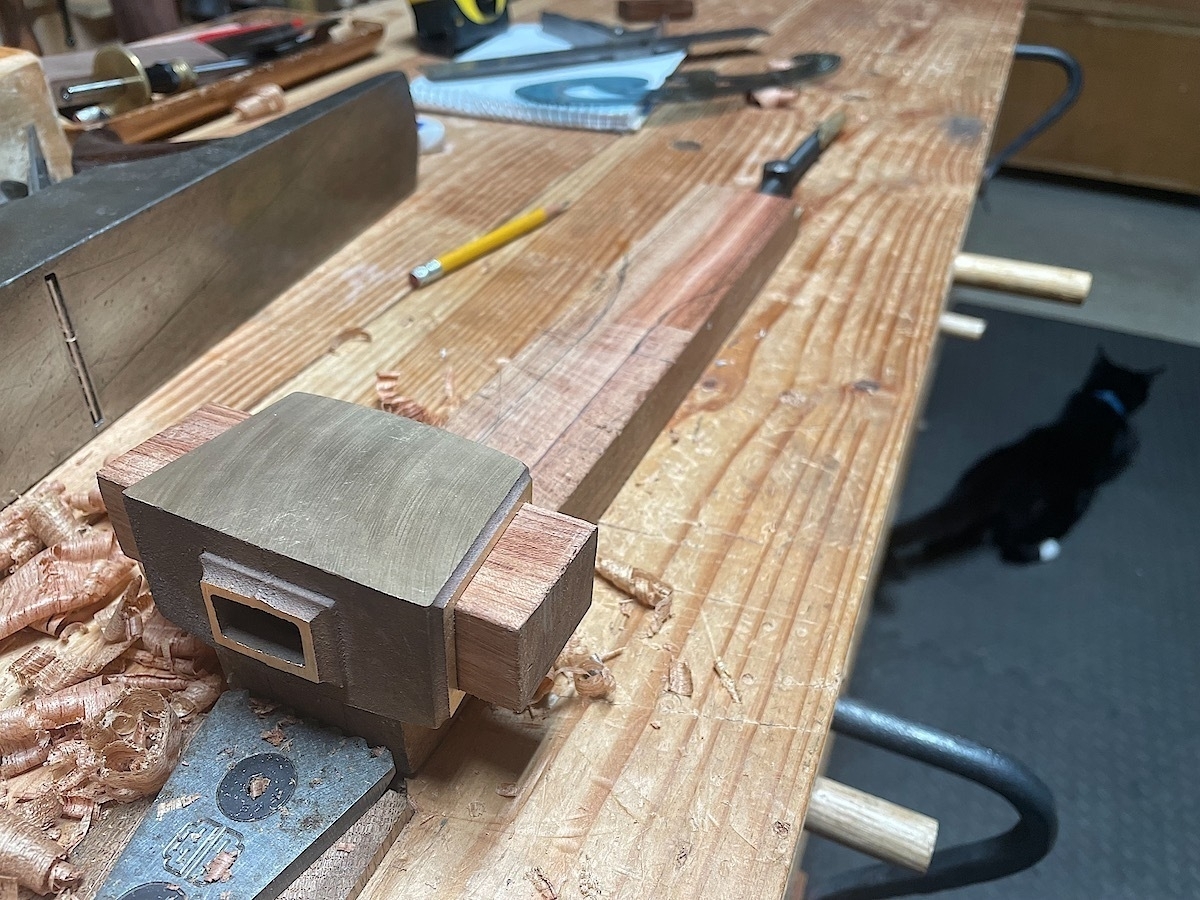
Here’s a view of the handle, where I’ve cut out the slot to fit into the bronze casting. I used my large tenon saw for this. I squared it all up with chisels.
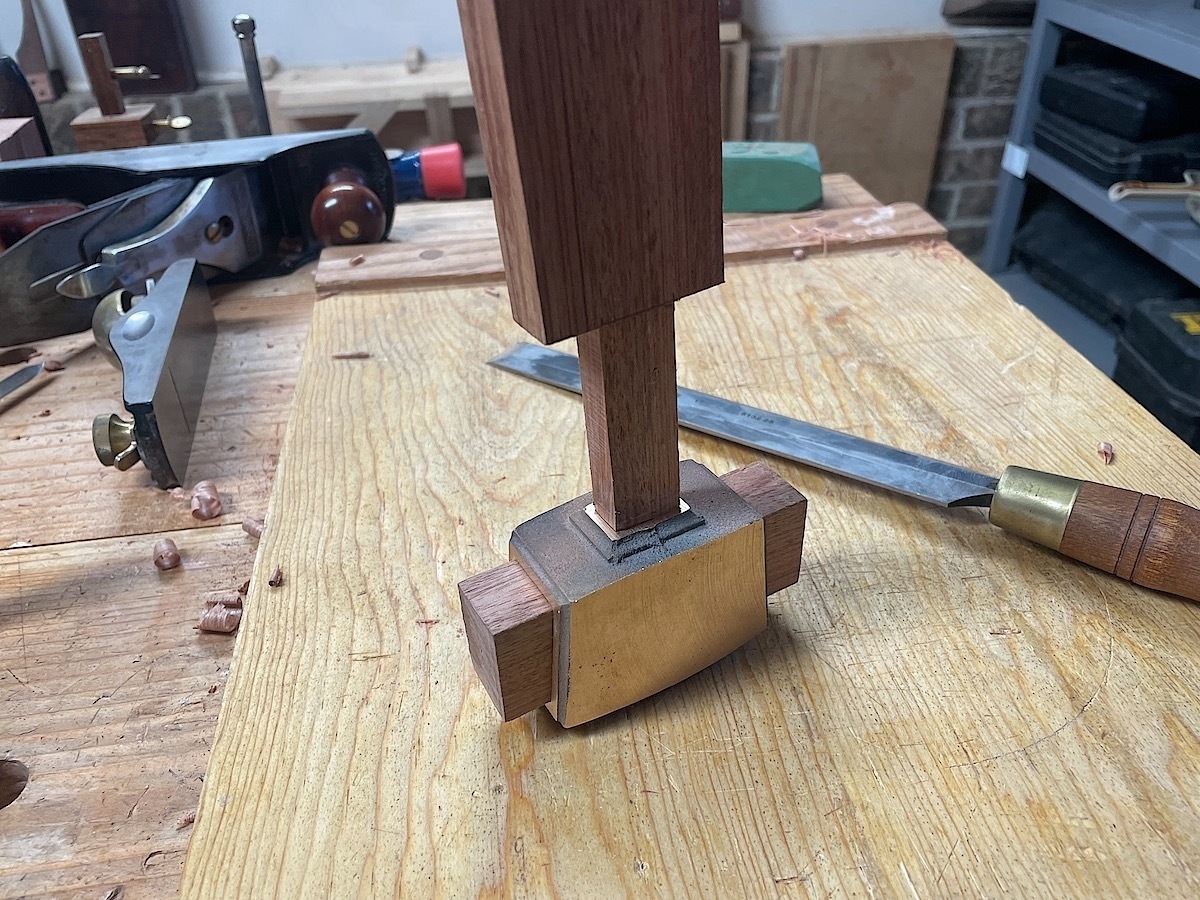
Here it is all rough fit together. Looking like a mallet now.
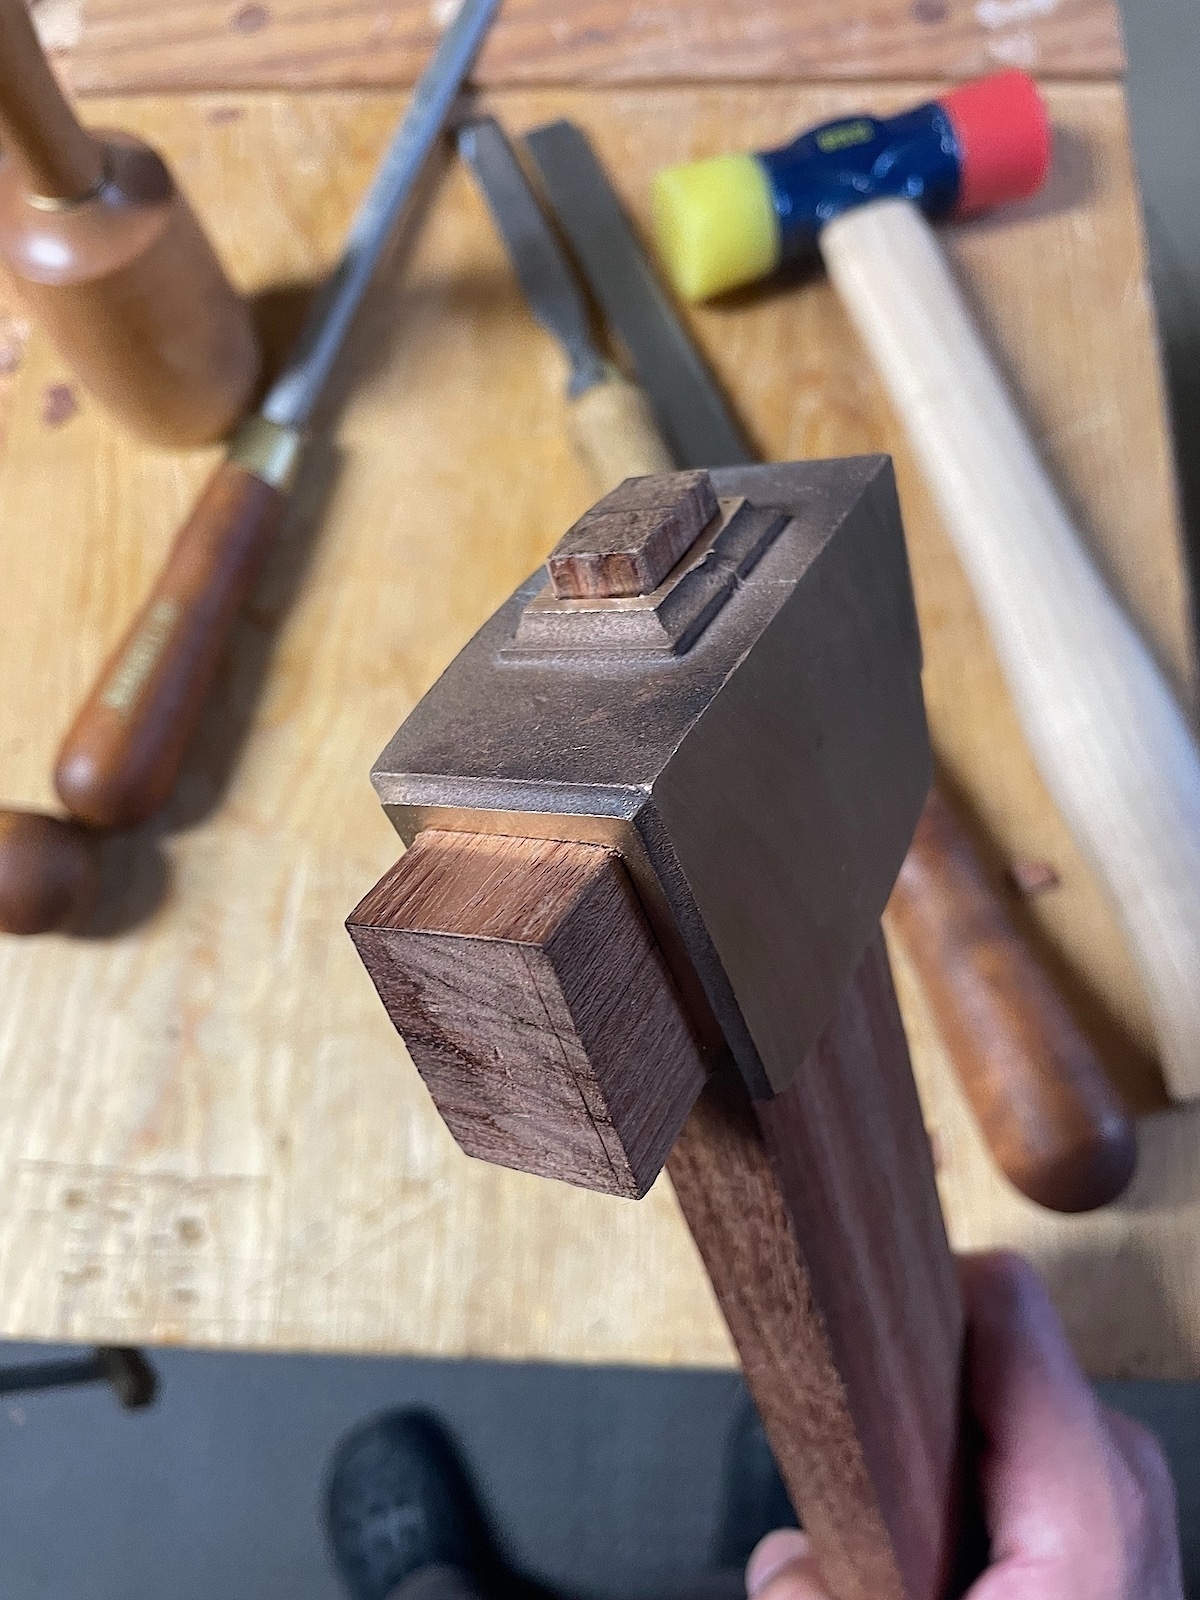
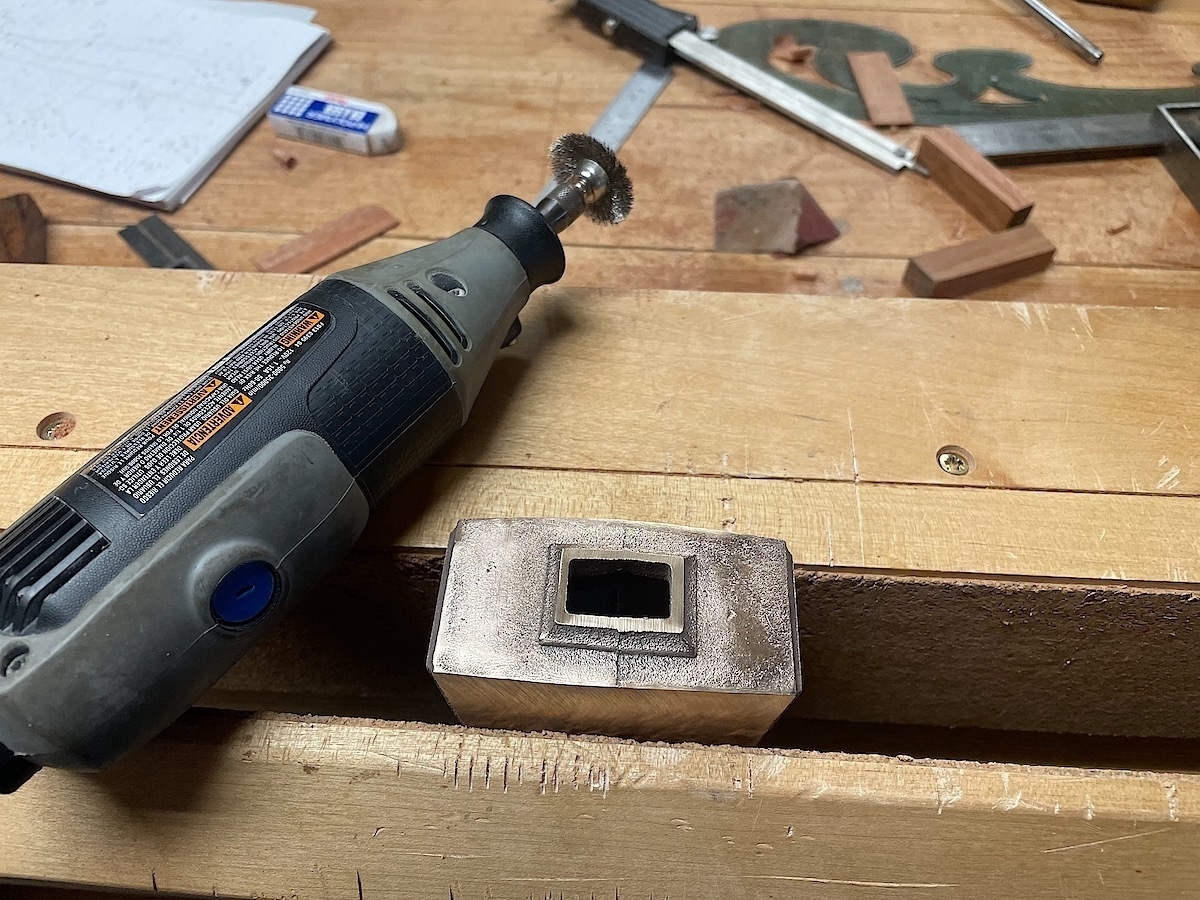
Next, I shined it all up using a Dremel. Wow, what a difference. I left it rough, because I liked the look of it.
Now, onto the handle. I cut it out roughly with saw work, then filed down with my beloved Auriou rasps.
Here’s the handle, showing the cuts for the wedged tenons that’ll go in the top to splay the wood out and hold it firm. The infill wood has not yet been cut to length.
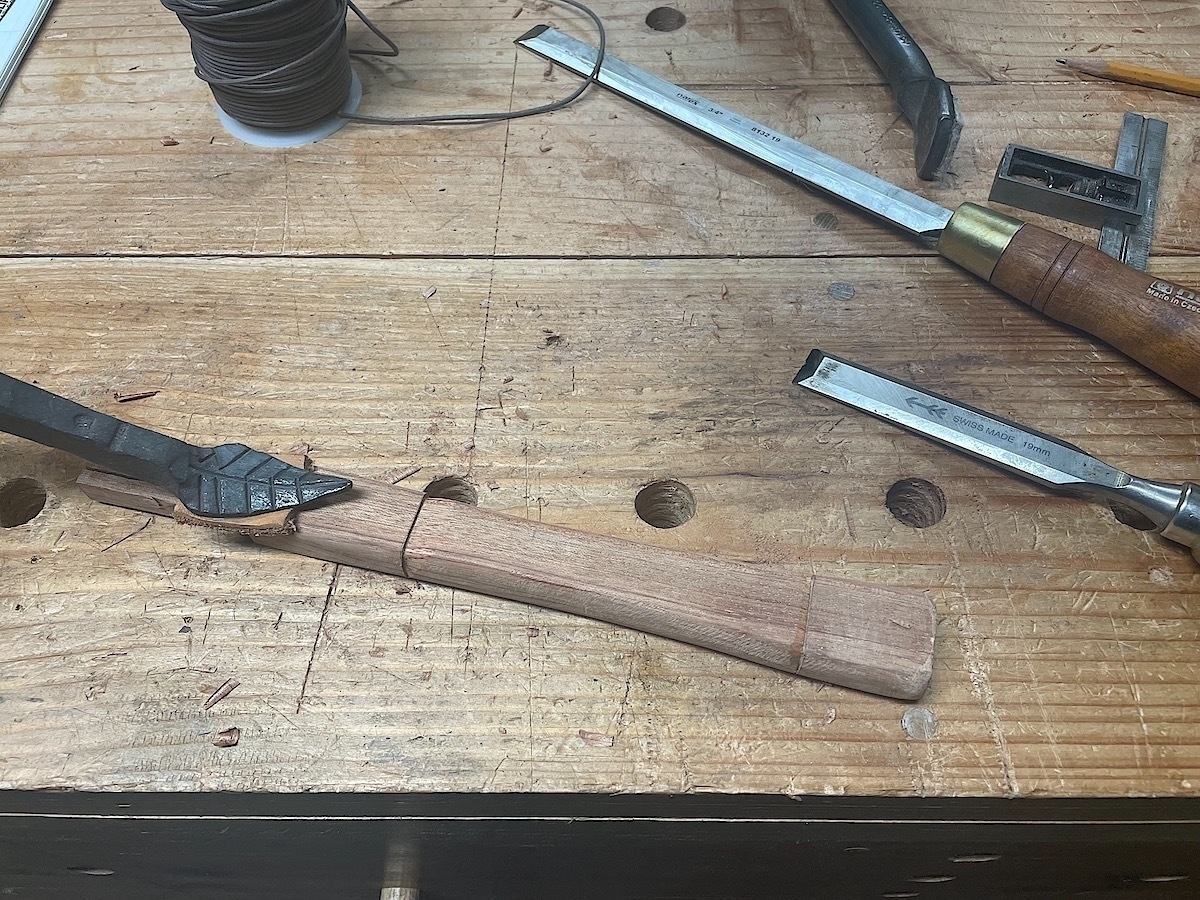
Next, I decided to go with a wax cord wrap for the handle. I wanted it to sit flush, so I chiseled out the beginning and the end so it slopes inward from each side, so when I wrap the cord it’ll gently slope upward. This will form a nice place to hold it.
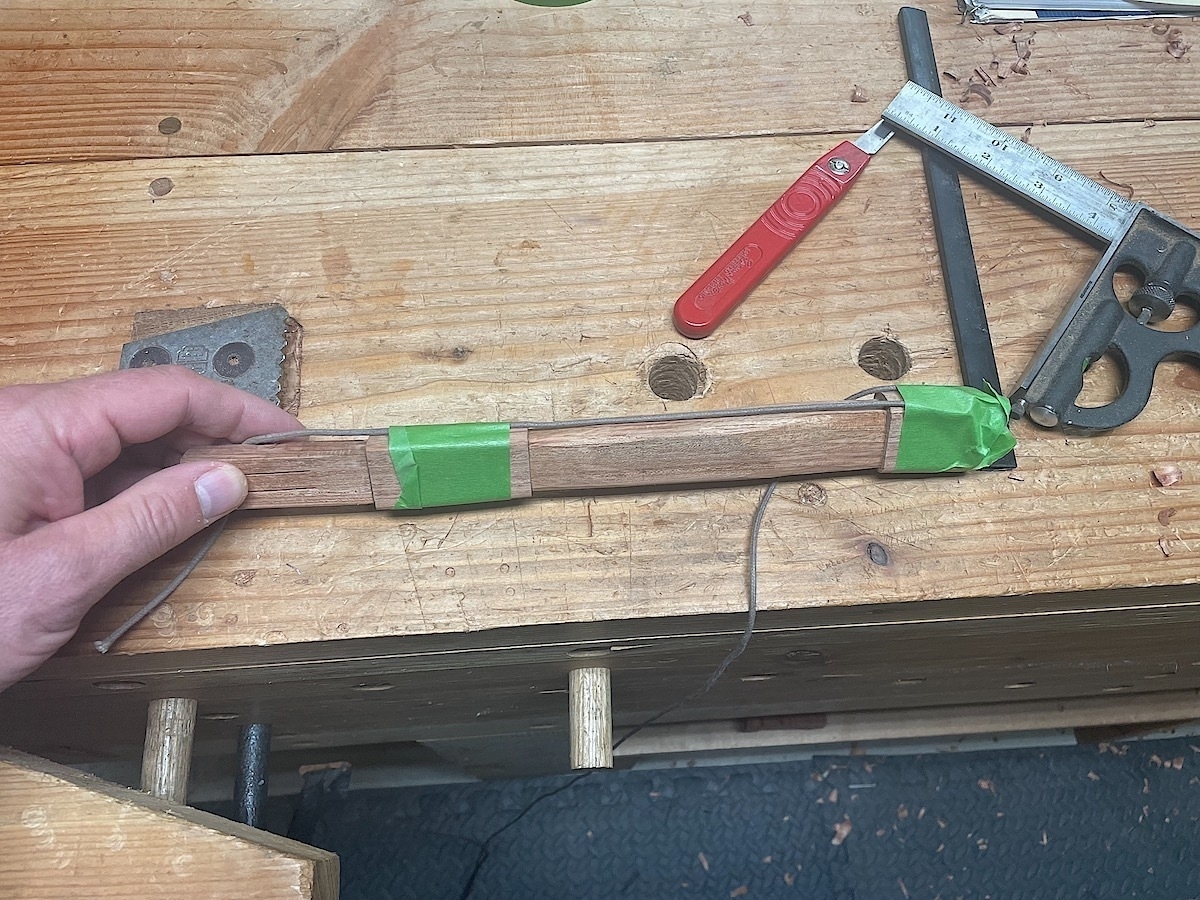
This image shows the beginning of the cord wrap, using tape to hold the ends in place. I wrapped the cord so tight, my hands cramped up.
And here a few glamour shots of the completed mallet, which I finished with boiled linseed oil. Oh, and I forgot to mention, I’ve added the wedges here. The two top wedges are tiny slices of bocote, which I think contrasts nicely with the bubinga. It was a fun project, and now I have a small mallet with a lot of mass. It’ll be a useful shop tool that I hope will still be in use by someone long after I’m gone.
